
Want to make it easier for customers to make choices regarding product specifications or personal preferences? Instead of giving them a text-based list of options to choose from, present it in an engaging visual format.
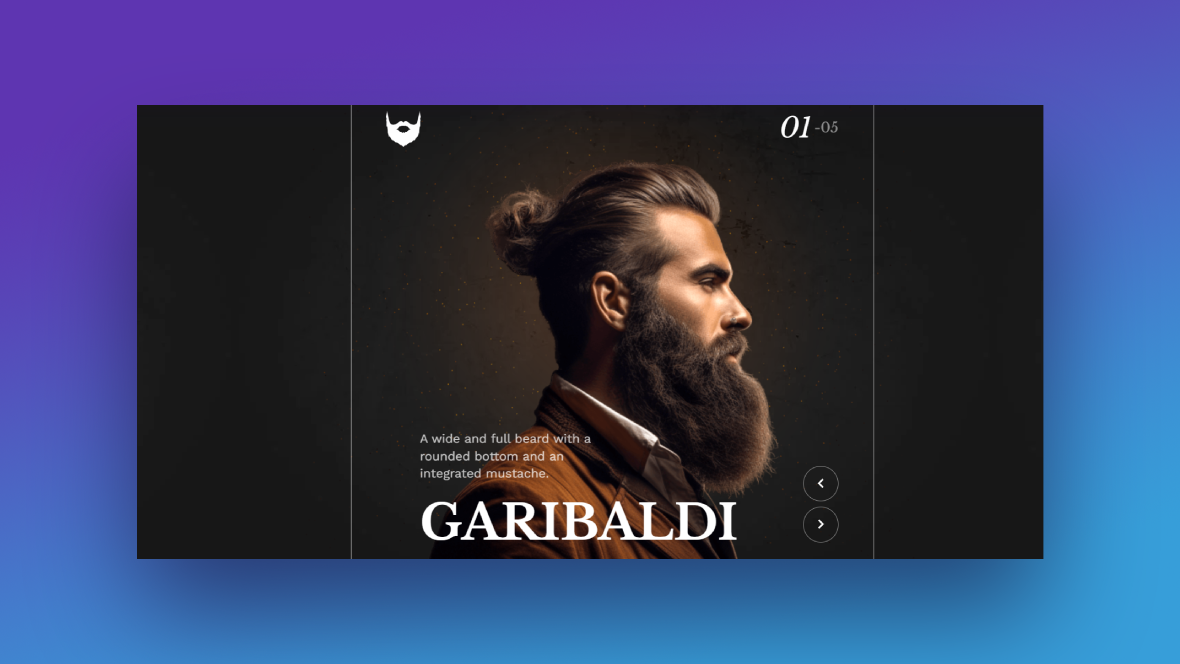
In this tutorial, we’ll demonstrate how to present various subscription choices in a beautiful full-width image carousel format. We’ll use the Beards Full Width Image Carousel Template as our starting point.
Table of Contents:
- Step 1: Edit the background
- Step 2: Update the images
- Step 3: Rearrange the text layers
- Step 4: Edit the text
- Step 5: Make each option clickable
- Step 6: Create a custom animation
- Step 7: Delete radial background
- Step 8: Customize the global layers
How to create a full-width image carousel to present different product choices
A picture is worth a thousand words, they say. With consumer attention spans shrinking every year, this becomes an incredibly important lesson to live by when designing interfaces for your customers.
In this tutorial, we’re going to take the template above and turn it into a clickable full-width image carousel for our meal kit company.
Want an introduction to Slider Revolution before you jump into the tutorial? Start here:
Step 1: Edit the background
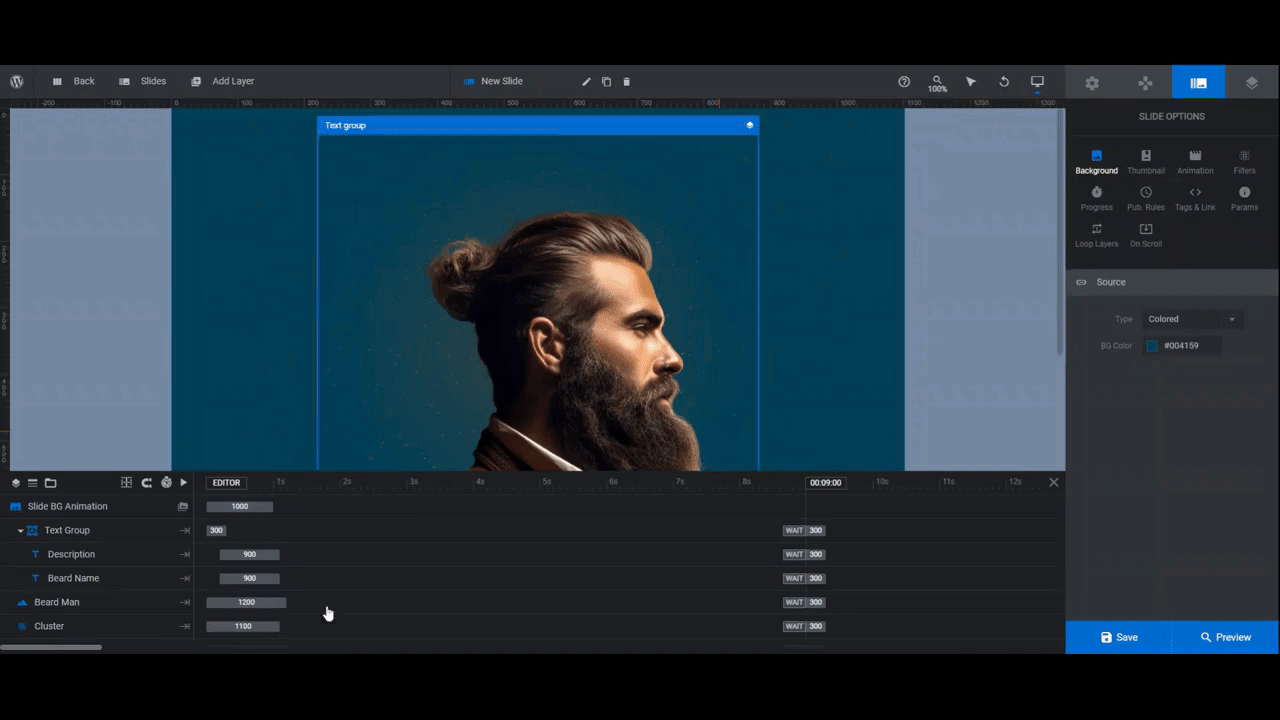
There are two parts of this carousel that need to be updated in order to customize the background. Let’s start under “Slide Options” and “Background”.
Currently, there is a texture image being used in the background of each slide. You can replace it with one of your own.
Another option is to change the Type to Colored and apply a singular color to the carousel’s background so it appears as one continuous strip of options. This is what we’re going to do.
Go through each slide and apply the same color (or image) to the background.
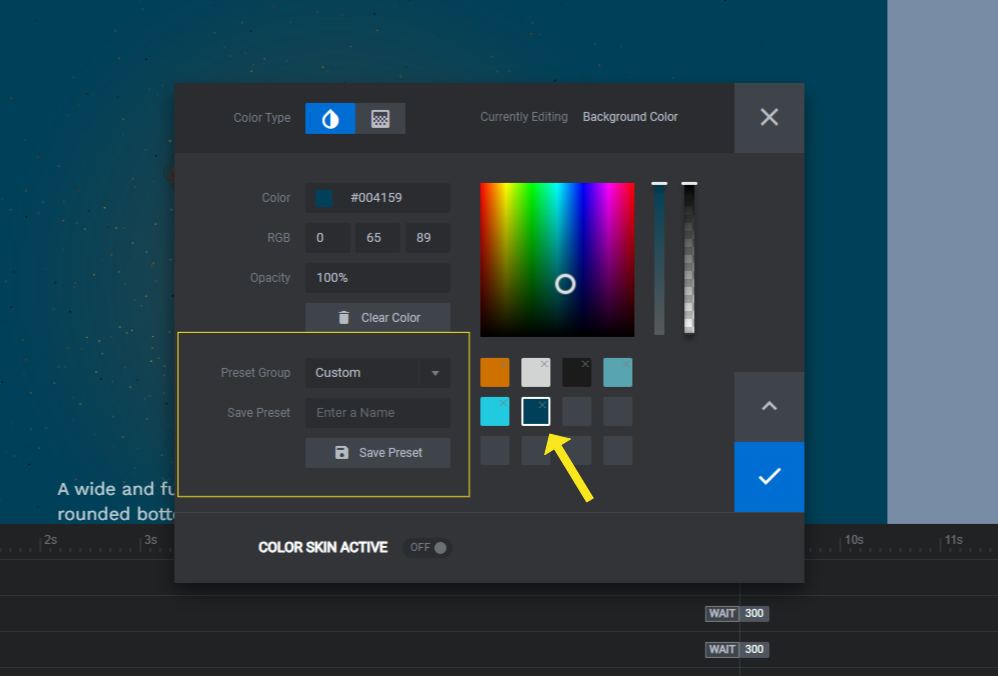
Pro tip: If you’re using a custom background color, save it as a preset to speed up the editing process. To do this:
- Open the color selection module.
- In the bottom-left corner, change the Preset Group to Custom.
- Give this color an original name in the field below.
- Click Save Preset when you’re done.
The color will now appear as a custom preset on the right that you can select (as opposed to entering the HEX code every time).
When you’re done updating the slides, go to “Module Options” and “Layout” next. Set the “Module Background” color to the same one you just applied to your slides.
Learn more:
Step 2: Update the image
The photo in each slide is a layer called Beard Man.
To edit this image, first create and export your own. Aim to make it about the same size as the original in the template — 521px by 650px. Also be sure to export it with a transparent background.
To replace the existing image, select it from the timeline editor at the bottom. Then go to “Layer Options” and “Content” to upload it to the Media Library.
Note: You may want to adjust the size of your images once you see them in the canvas. For instance, the image in Slide #3 is not the same size as the others, so you’ll want to edit it for consistency’s sake. To do this, go to “Size & Pos”. Use the W value to modify the width.
Learn more:
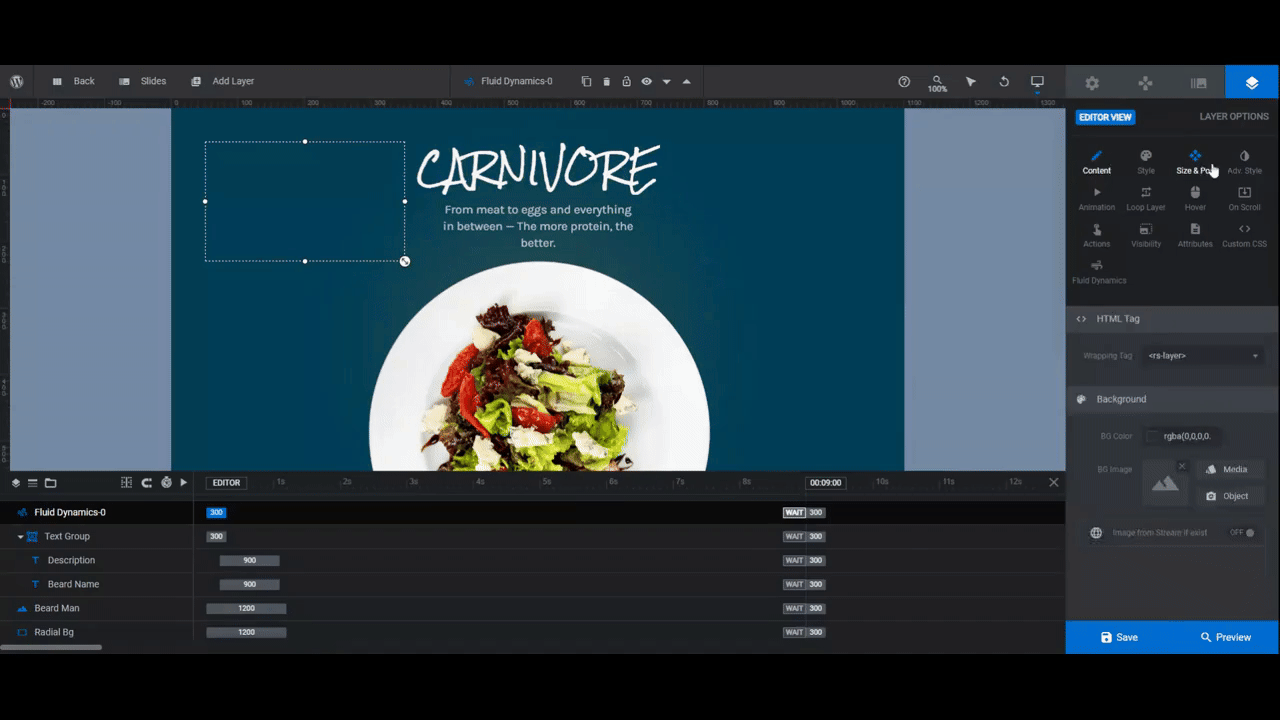
Step 3: Rearrange the text layers
We’re going to give our carousel a more traditional layout with the text at the top.
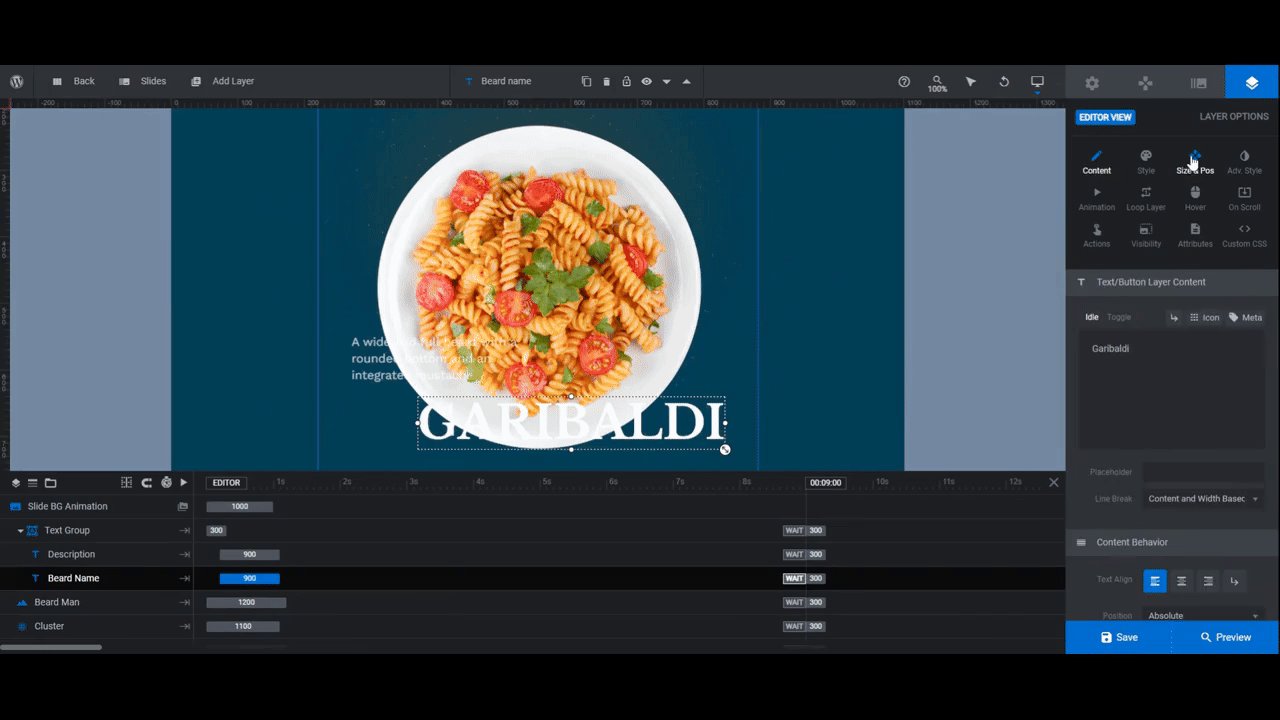
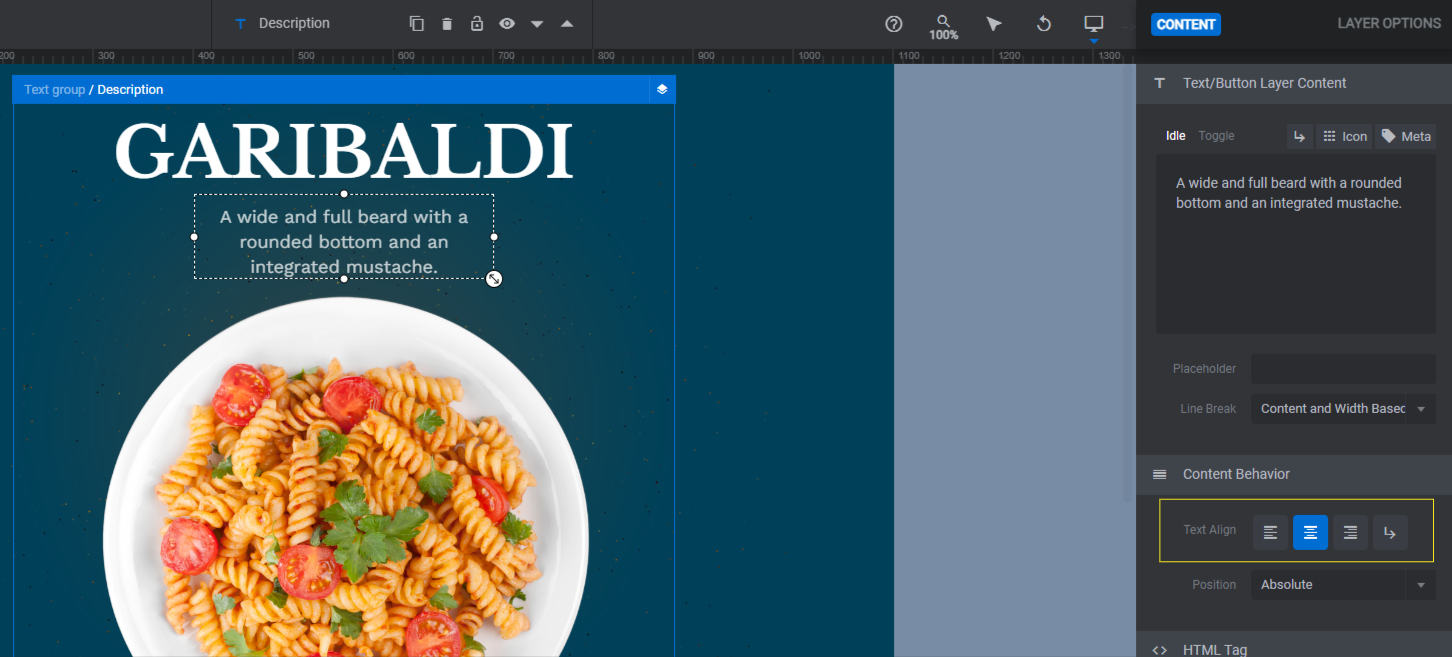
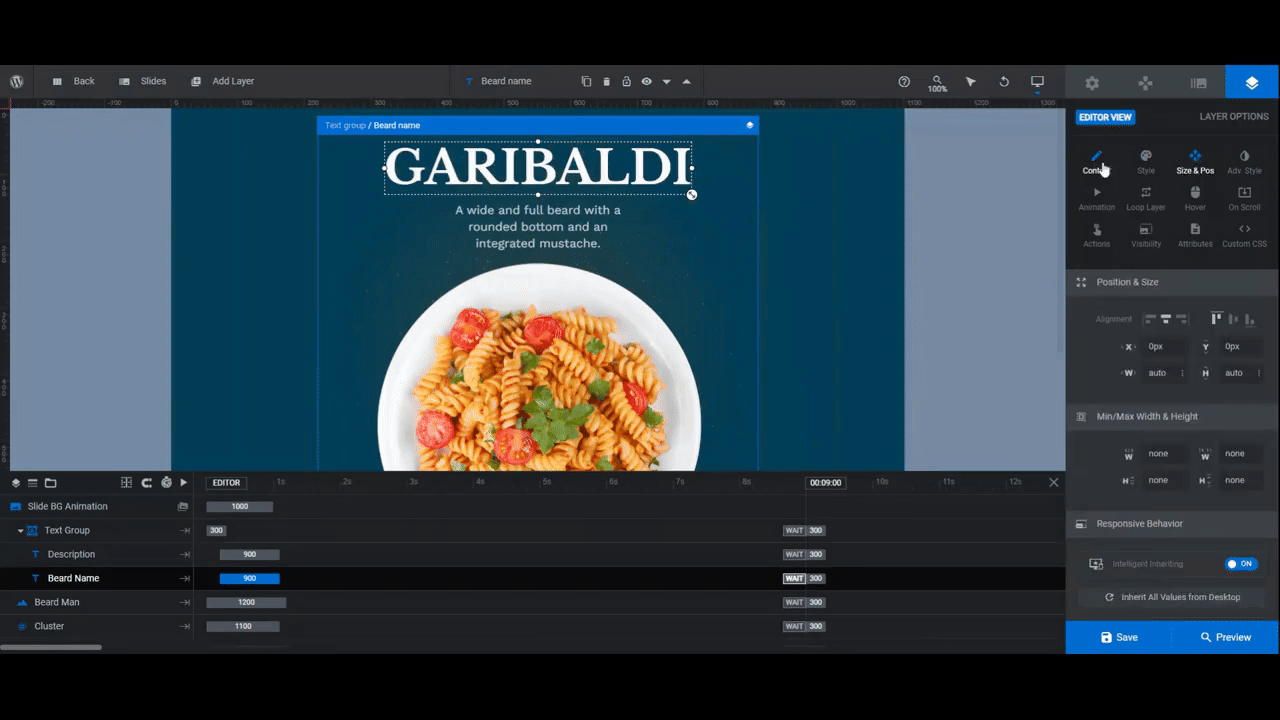
Beard Name is the headline in each slide. We want this layer to appear centered and at the top of the carousel.
Description is the descriptive paragraph. We want this layer to appear centered and just below the headline.
Start by selecting Beard Name from the timeline editor. Then go to “Size & Pos”. Using the Alignment buttons, center it horizontally and move it to the top vertically.
Next, select Description. Use the Alignment buttons to center it horizontally and move it to the top. Using the Y setting, move the description down so that it sits below the headline with some breathing room in between the two layers.
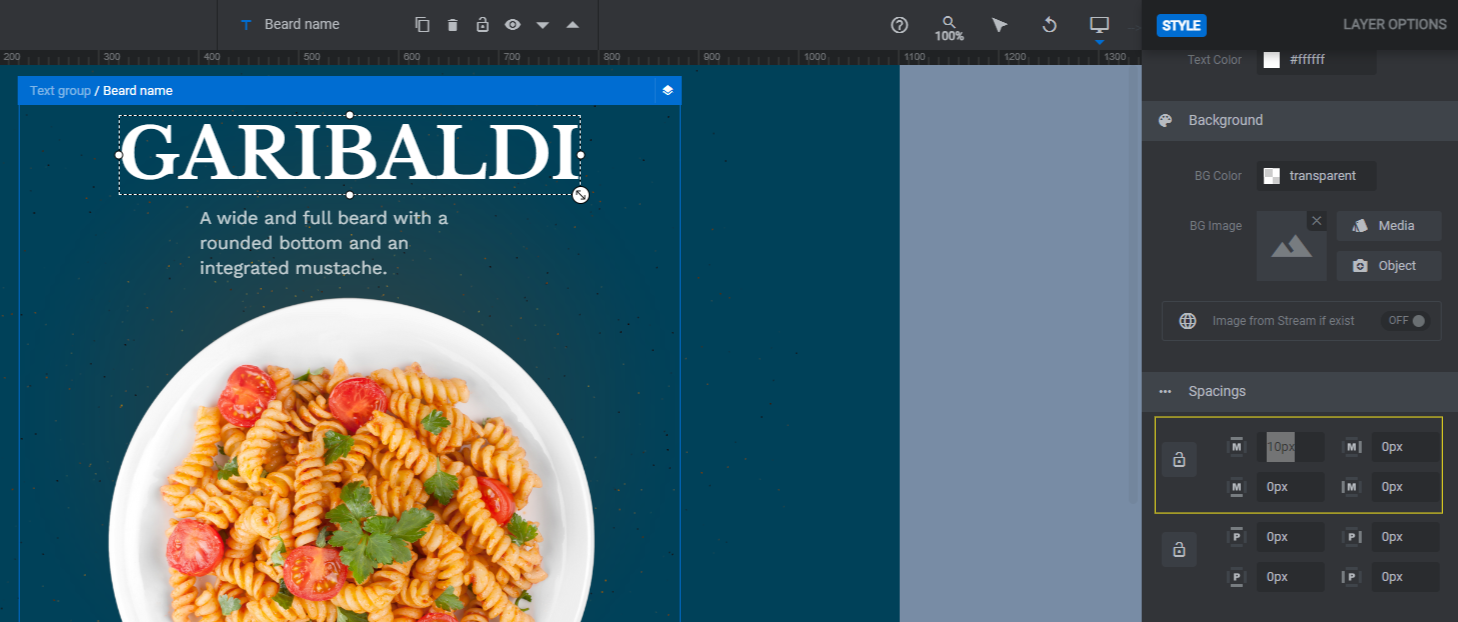
You might want to add some space between the Beard Name headline and the top of the carousel. To do this, go to “Style” and scroll down to the “Spacings” section. Add a 10px margin to the top.
Another thing you might want to do is change the alignment of the text not within the page but within the content block. For example, we want our Description to be centered instead of left-aligned.
You can change this under “Content” and “Content Behavior”.
Once you’ve settled on positioning, apply the same changes to all of the slides.
One last thing: Because we’ve moved the text around so much, we now need to do a responsive check before moving on.
Go to the top toolbar and hover over the responsive editor options. Go through each of the variants to make sure your text and image layers are well-positioned on the smaller canvas.
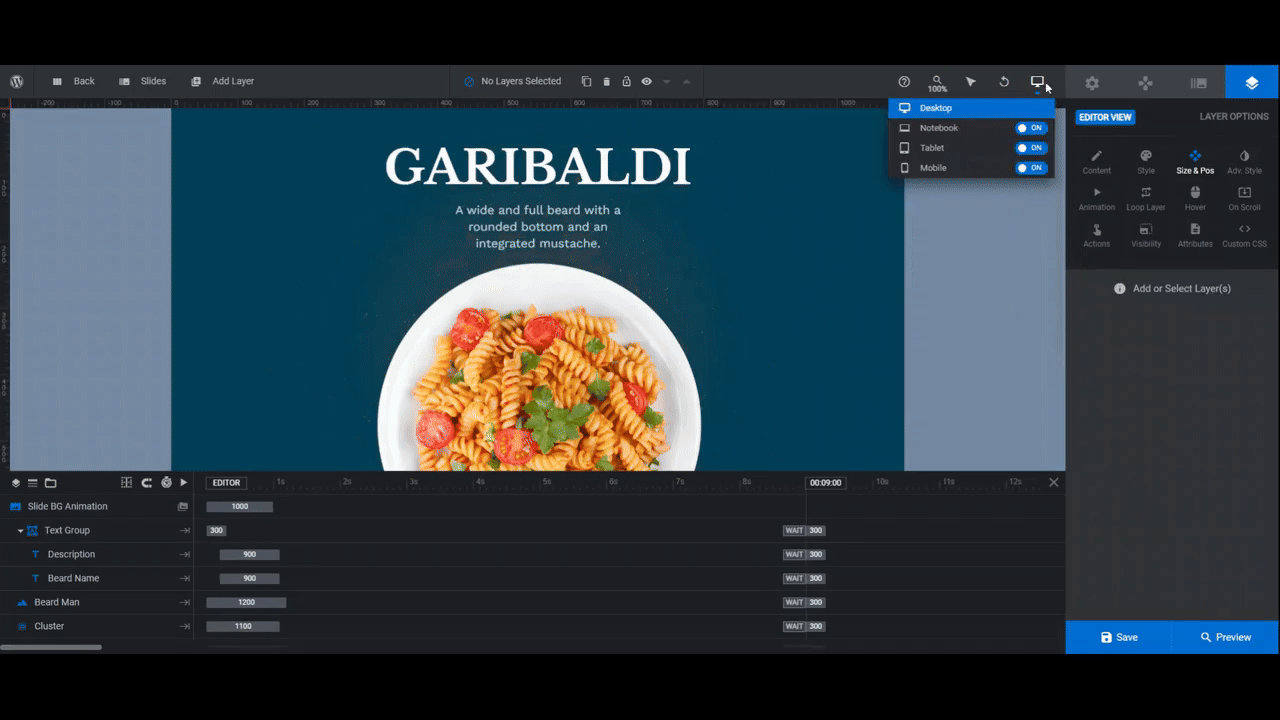
Any changes you make in this mode will apply only to the device you’re editing.
Learn more:
Step 4: Edit the text
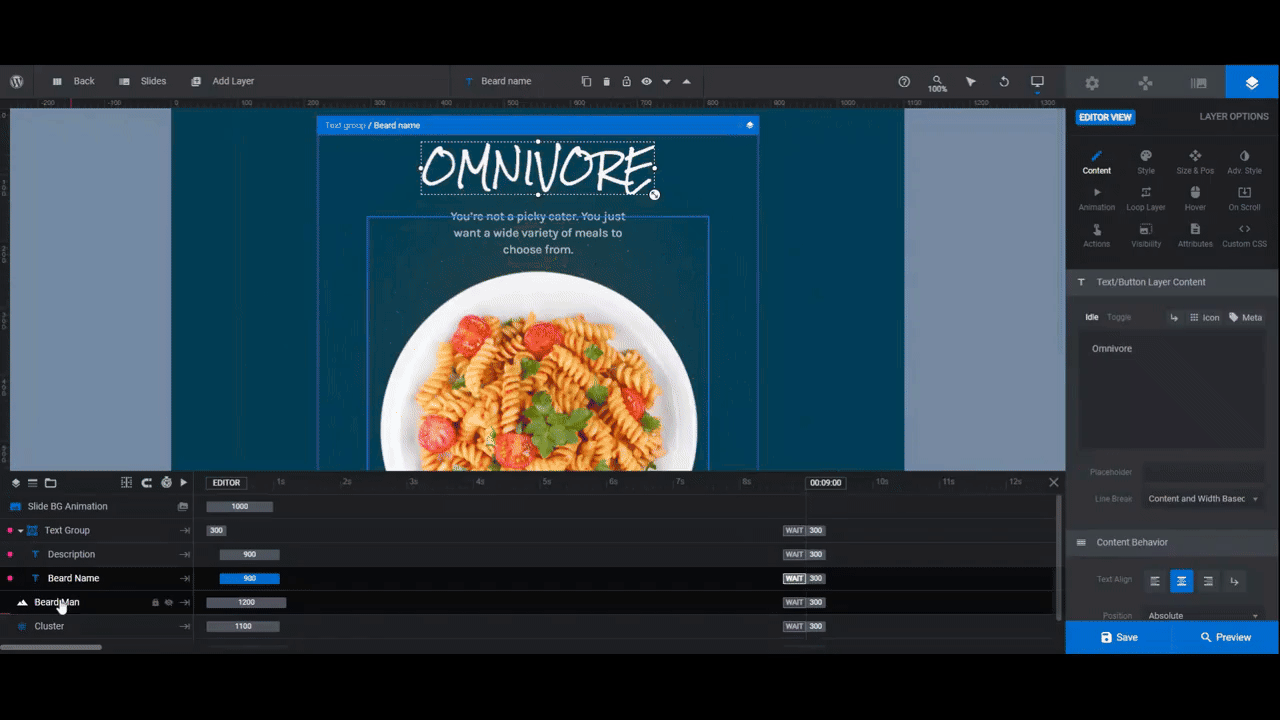
With the text layers in place, you can now edit them.
To change what each layer says, go to “Content” and replace the existing copy with your own. Then go to “Style” to change the font, color, and other settings as needed.
Apply the same stylistic changes from slide to slide. Save your changes when you’re finished.
Learn more:
Step 5: Make each option clickable
Since the purpose of this image carousel is to present customers with different options, we need them to be able to select one.
Instead of adding a button to the design, though, we’re going to make the plated dish clickable. The question and directions that appear above the carousel will explain that they need to click the plate to select an option. We won’t go into that piece of it in this tutorial, but we will show you how to add a unique link to each of the slides.
Select the Beard Man layer in the timeline editor. Go to “Actions”. Select Simple Link from the list on the right. Enter the details for the page you want to send them to.
To ensure that customers know that the image is clickable, go to “Hover” and switch the Cursor to Pointer.
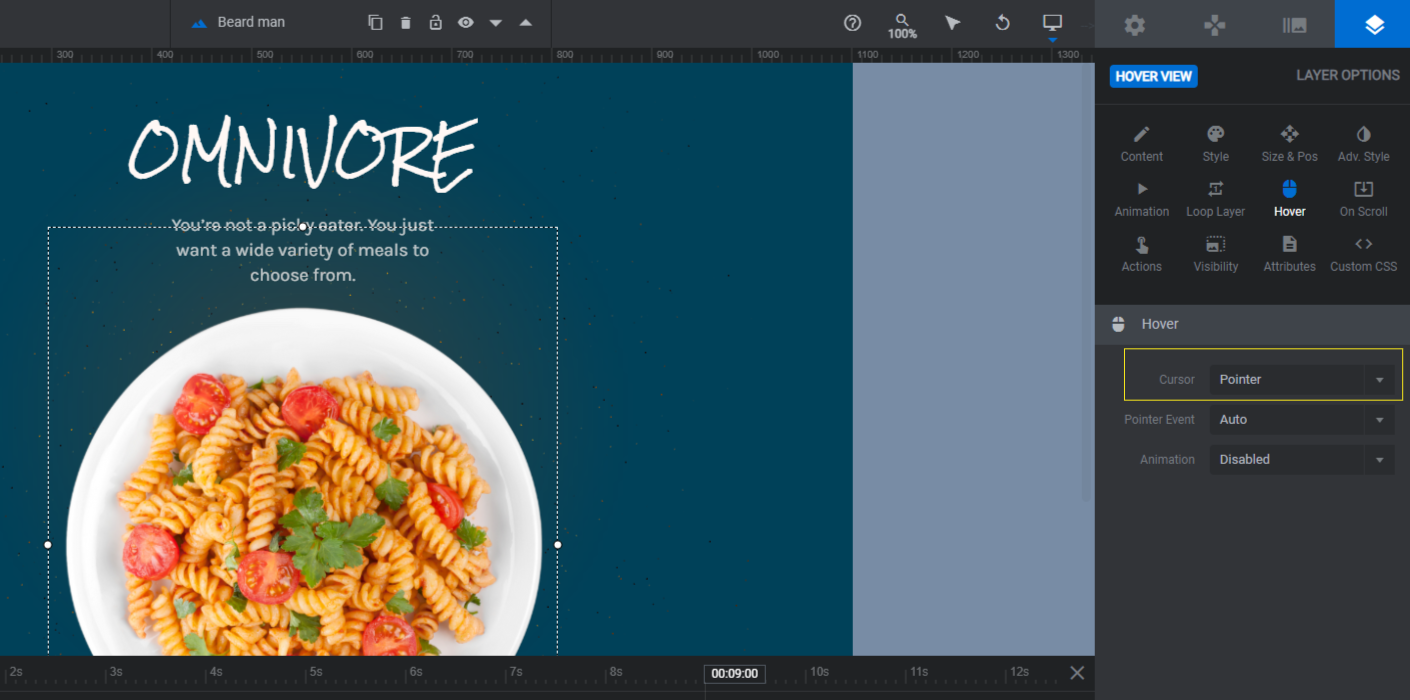
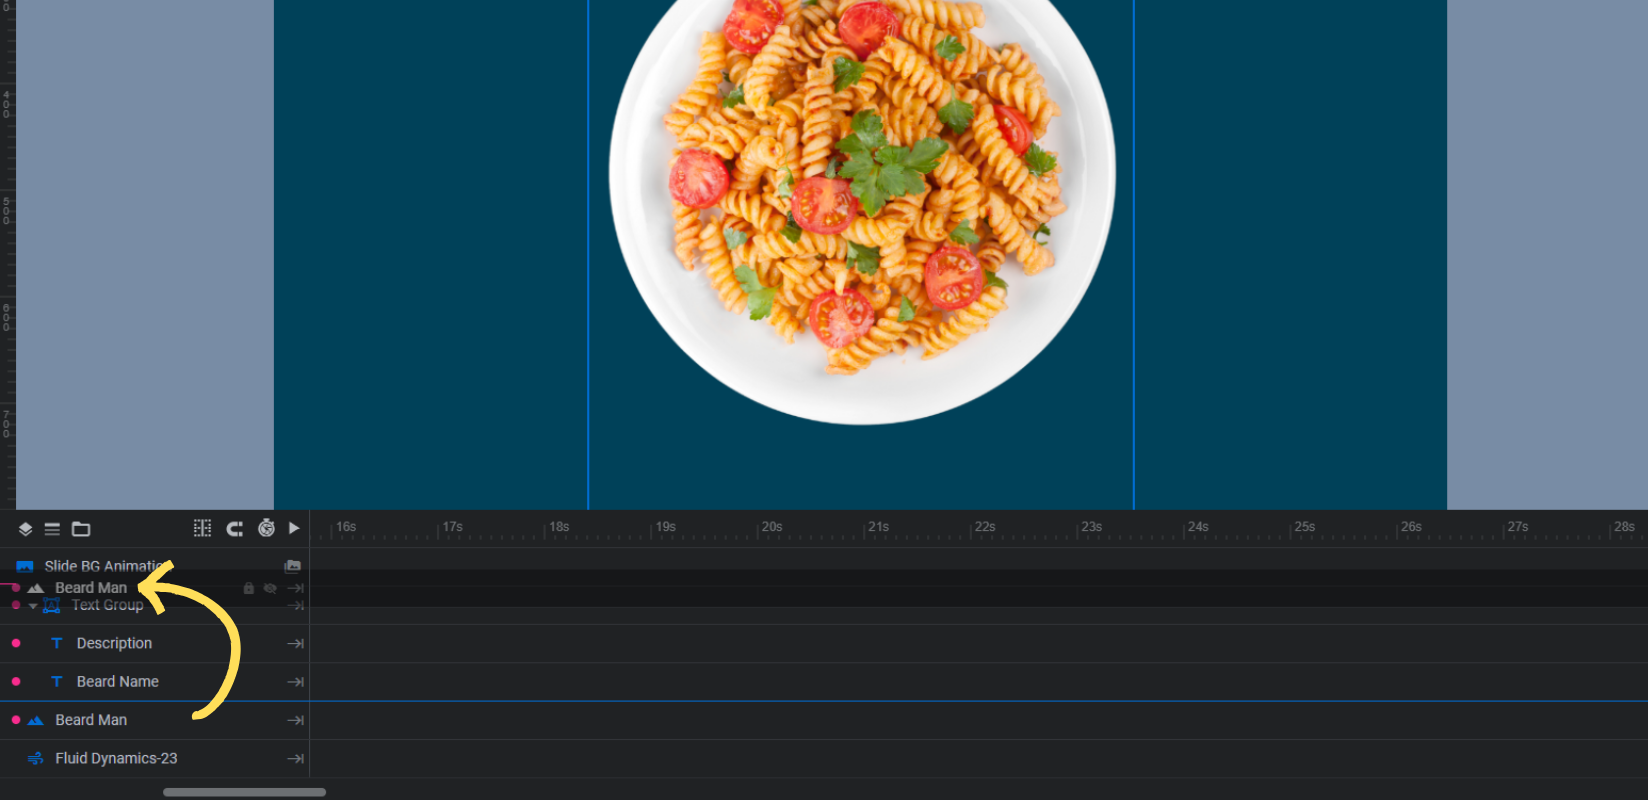
Note: In order for the image to be clickable, it needs to sit in front of the text layers. From the timeline at the bottom, drag-and-drop the Beard Man layer so that it’s above the Text Group.
Repeat this process for each slide.
Learn more:
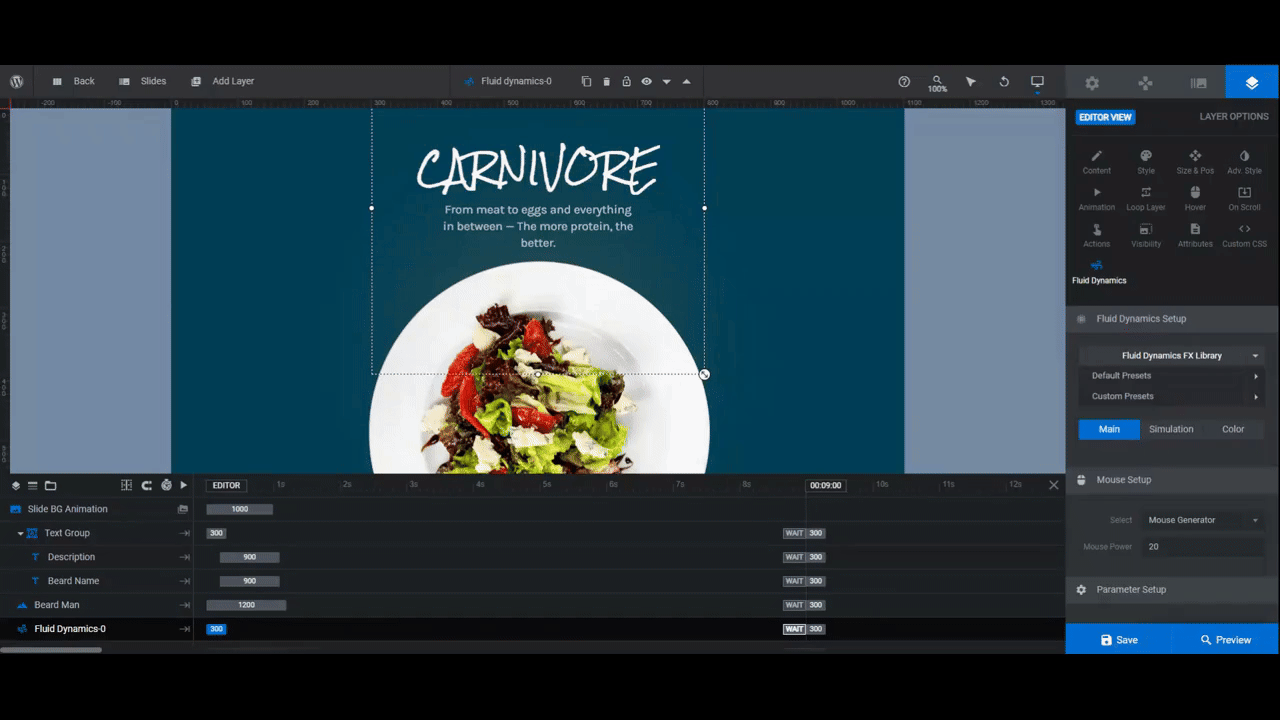
Step 6: Create a custom animation
The Cluster special effects look nice against the dark backdrop and behind our bearded men photos in the template. However, it doesn’t quite work for our meal kit choices.
If you feel the same way about your new design, you have a couple options. The first is to select the Cluster layer in the timeline editor. Then go to “The Cluster” settings to peruse other default effects under the Cluster FX Library.
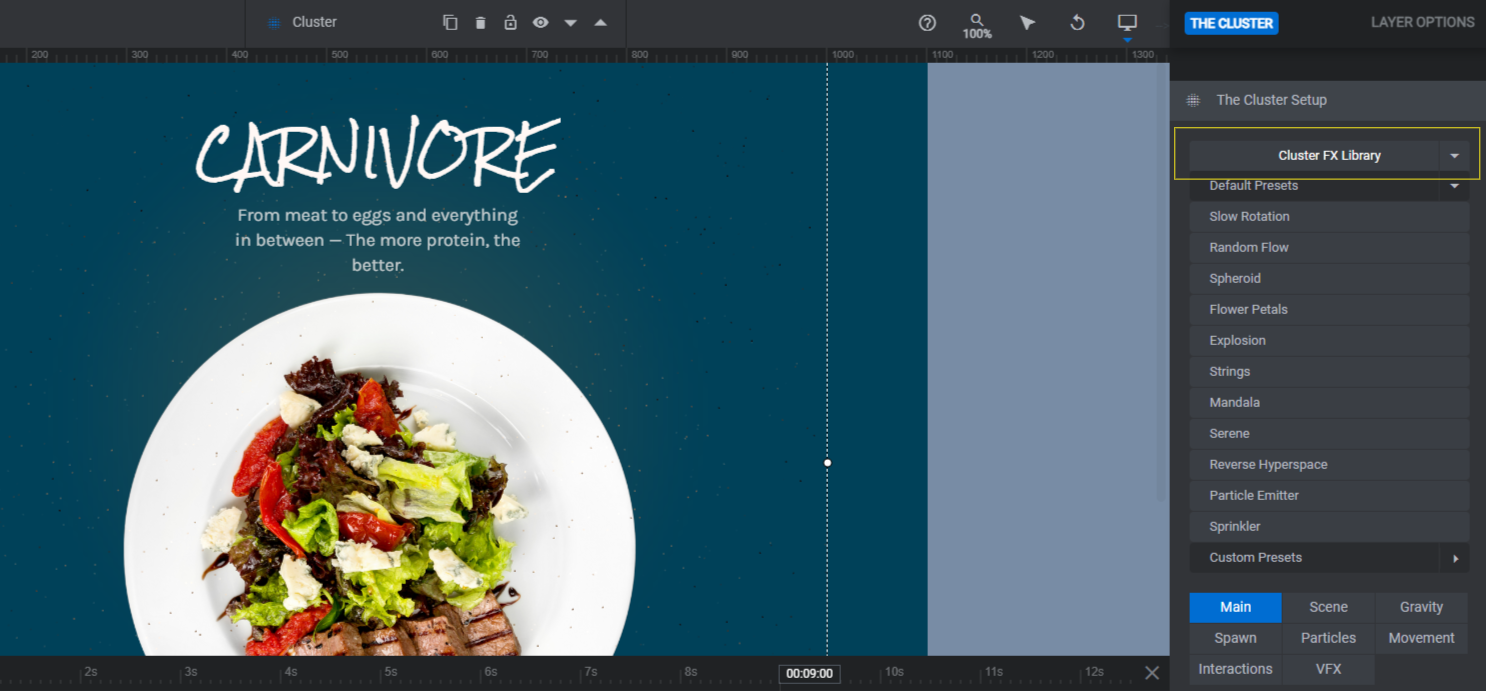
If you find one you like, select it and customize it using the settings down below.
If it’s still not working for you, you can try one of Slider Revolution’s other special effects AddOns. For the example we’re working on, we’re going to use Fluid Dynamics.
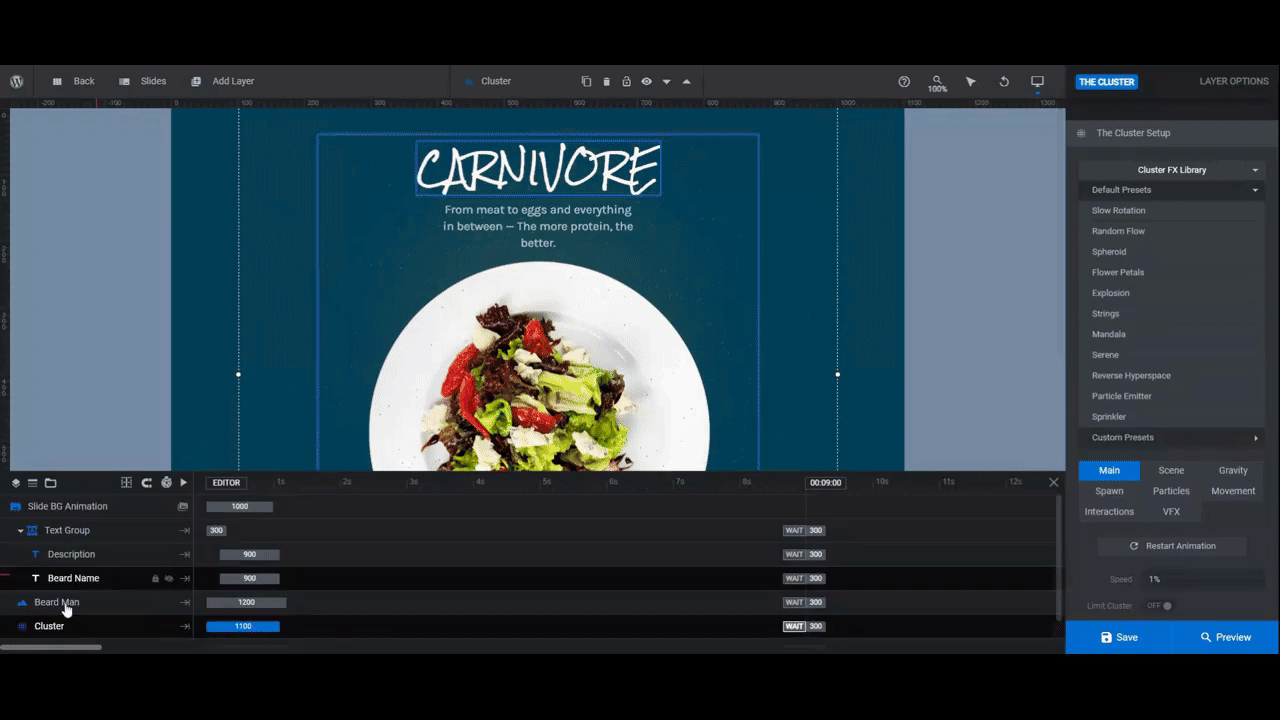
First, delete the Cluster layer by selecting it in the timeline and hitting Backspace or delete on your keyboard.
Next, go to “Module Options” and “AddOns”. Enable Fluid Dynamics. Then go to “Add Layer” in the top toolbar and add a new Fluid Dynamics layer to your carousel.
Right now, the layer is a small rectangle in the upper left part of our design. To resize and move it to a more suitable position, use the “Size & Pos” settings panel.
- Alignment instantly moves it to the left, right, or center.
- X and Y allow you to move it left or right, up or down.
- W and H allow you to resize it.
You will also need to change its forward positioning so that it appears behind the text and image layers. To do this, go to the timeline editor. Drag-and-drop the new Fluid Dynamics layer so that it appears between Beard Man and Radial Bg.
Lastly, go to the new “Fluid Dynamics” settings panel on the right.
Go through the presets to find the fluid style you like best. Then use the settings in the three tabs below to customize it to your liking.
When you’re done, apply the same effect to the other slides in the carousel. Do one more responsive check before moving onto the next step.
Learn more:
- Customizing Cluster FX
- [Julian, please add the page for Fluid Dynamics when it becomes available]
Step 7: Delete radial background
The radial background serves a purpose when we have a darker background with a subtle gradient in front of it. Since we’ve changed that up with this redesign, it’s no longer needed.
Locate the Radial Bg layer in the timeline editor. Then hit Backspace or delete to remove it.
Learn more:
Step 8: Customize the global layers
The last bit to edit is under Global Layers. To access them, go to “Slides” in the top toolbar.
There are some layers we don’t need to appear on our slider. These include:
- Current Slide
- Total Slides
- Logo
If you want to delete them as well, hold down the Ctrl or command key, select Slide Index and Logo, and then hit Backspace or delete.
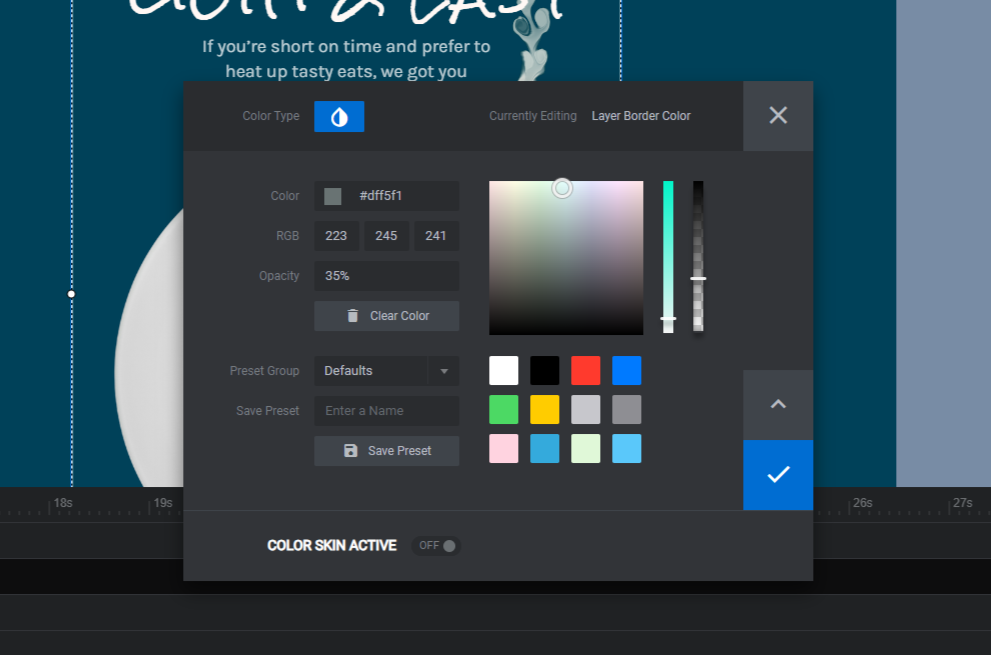
There are three layers remaining. Prev Arrow and Next Arrow are the navigation buttons in the bottom-right corner of the carousel. Global Group is the rounded border that appears around our meal choices.
You can change the color of each to match your new design under the “Style” panel.
When you’re finished, save your changes. Then preview your work to make sure you’re satisfied with how the full-width image carousel turned out.
When it’s all good to go, embed this carousel on your site using the shortcode found under “Module Options”. Alternatively, you can use the Slider Revolution widget in your page builder to do the same thing.
Learn more:
Create a visually engaging array of options with a carousel
After a while, users get tired of performing the same actions online. Want to keep them interested in what you’re selling? Switch it up a bit.
With the Beard Full-width Image Carousel Template, you’ll have a good foundation to start from. You can keep it simple and swap out the existing content for your own or you can mix it up and make further customizations to aspects of the template like the layout, animations, and so on.

