
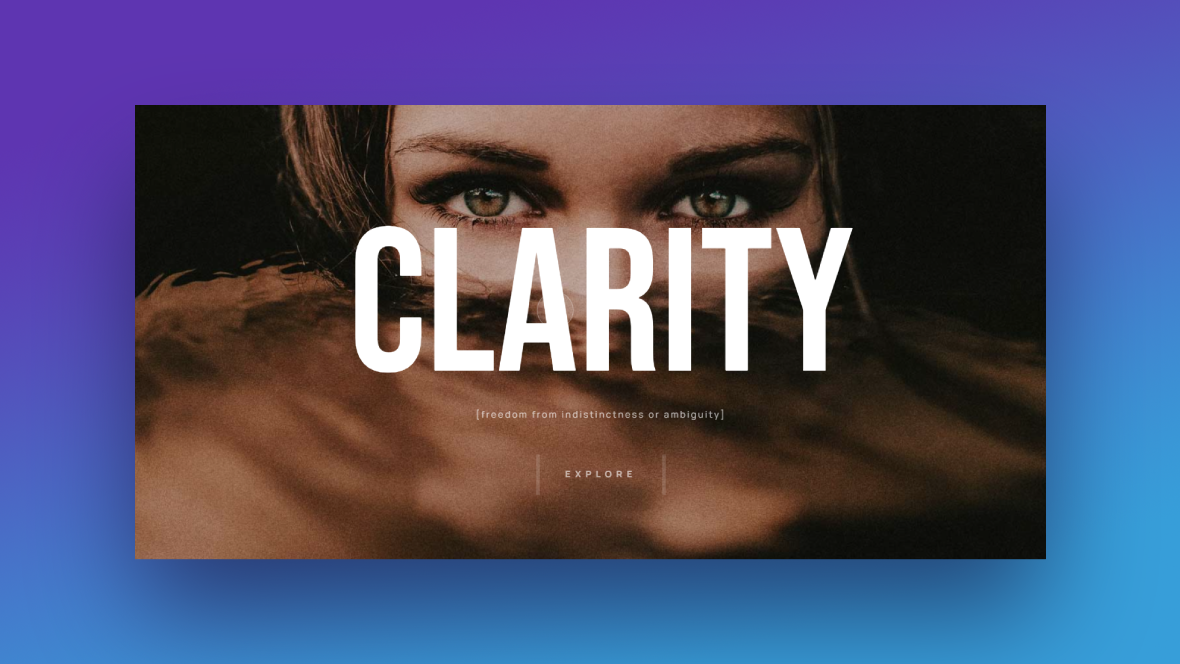
Want your product images to really pop on the home page of your ecommerce site? A cool way to do this is by adding a focus effect. You can use it to darken, blur, or mute the colors of your product imagery until your visitors’ cursors move over the center of the image.
In this tutorial, we’ll show you how to create a focus effect of your own using the Serenity Hero with Focus Effect template as your starting point.
Table of Contents:
- Step 1: Modify the slider structure
- Step 2: Edit the module background color
- Step 3: Customize the background graphics
- Step 4: Adjust the focus effect
- Step 5: Edit the text
- Step 6: Finish setting up the button
- Step 7: Update the global layers
How to create a focus effect for your product imagery
Although the Serenity Focus template uses the focus effect to build intrigue, there are other ways to put it to use.
Below we’ll demonstrate how to use this effect to amplify your colorful and eye-popping product imagery. In this example, we’ll design a slider using this effect for our eyeglasses shop:
Here are some quick-start references to help you get started with Slider Revolution if you’re new to it:
Step 1: Modify the slider structure
There are five slides in the template slider. If you want to change how many slides there are, go to “Slides” in the top toolbar.
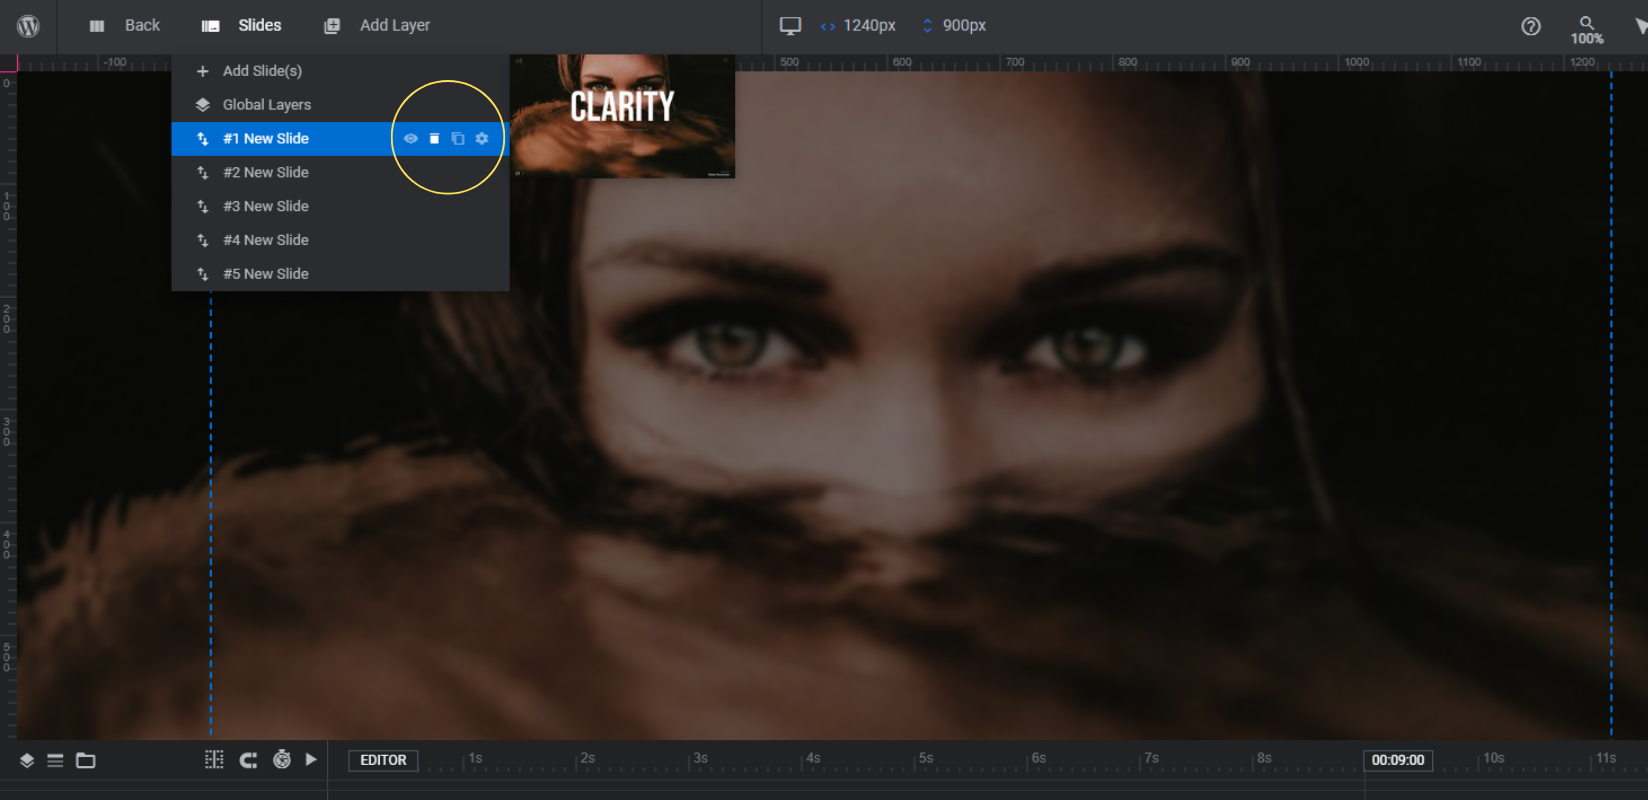
When you hover over the slides, a set of options appears to the right.
To delete a slide, click the trash can icon. Rather than use “Add Slide(s)” to create a new one, use the copy icon to duplicate an existing one. That way, you don’t have to build any slides from-scratch.
You can also reorder your slides by dragging and dropping them into place. Most of the slides in this slider are image-based slides with identical layouts though, so the only reason you would need to do this is to move the video slide (#3) to a different spot in the slider composition.
Learn more:
Step 2: Edit the module background color
Currently, the slider loads with a black color in the background. This looks great for our dark and alluring slider template. However, if you’re going to create a brighter or more colorful slider design, you might want to change this color.
To do so, go to “Module Options” and “Layout”. Scroll down to the “Module Background” section and click on the color block next to BG Color.
You can choose a color from the presets at the bottom or enter a custom HEX code into the Color field.
Although you won’t be able to see the color in the canvas, you’ll be able to see it when you Preview your slider design.
Learn more:
Step 3: Customize the background graphics
The template has four image slides and one video slide. You can use a mix of images and videos in your own slider, if you’d like.
For each slide with an image in it, locate a layer in the timeline editor called Image-Bg. To edit it, go to “Layer Options” and “Content”. Click the Media button to upload your replacement graphic.
For each slide with a video in it, locate a layer called Video-Bg. To edit it, go to “Layer Options” and “Content”. You can either upload a video file or switch the Type to YouTube or Vimeo and enter the video’s URL to be imported into the slide.
When you’re done, save your changes.
Learn more:
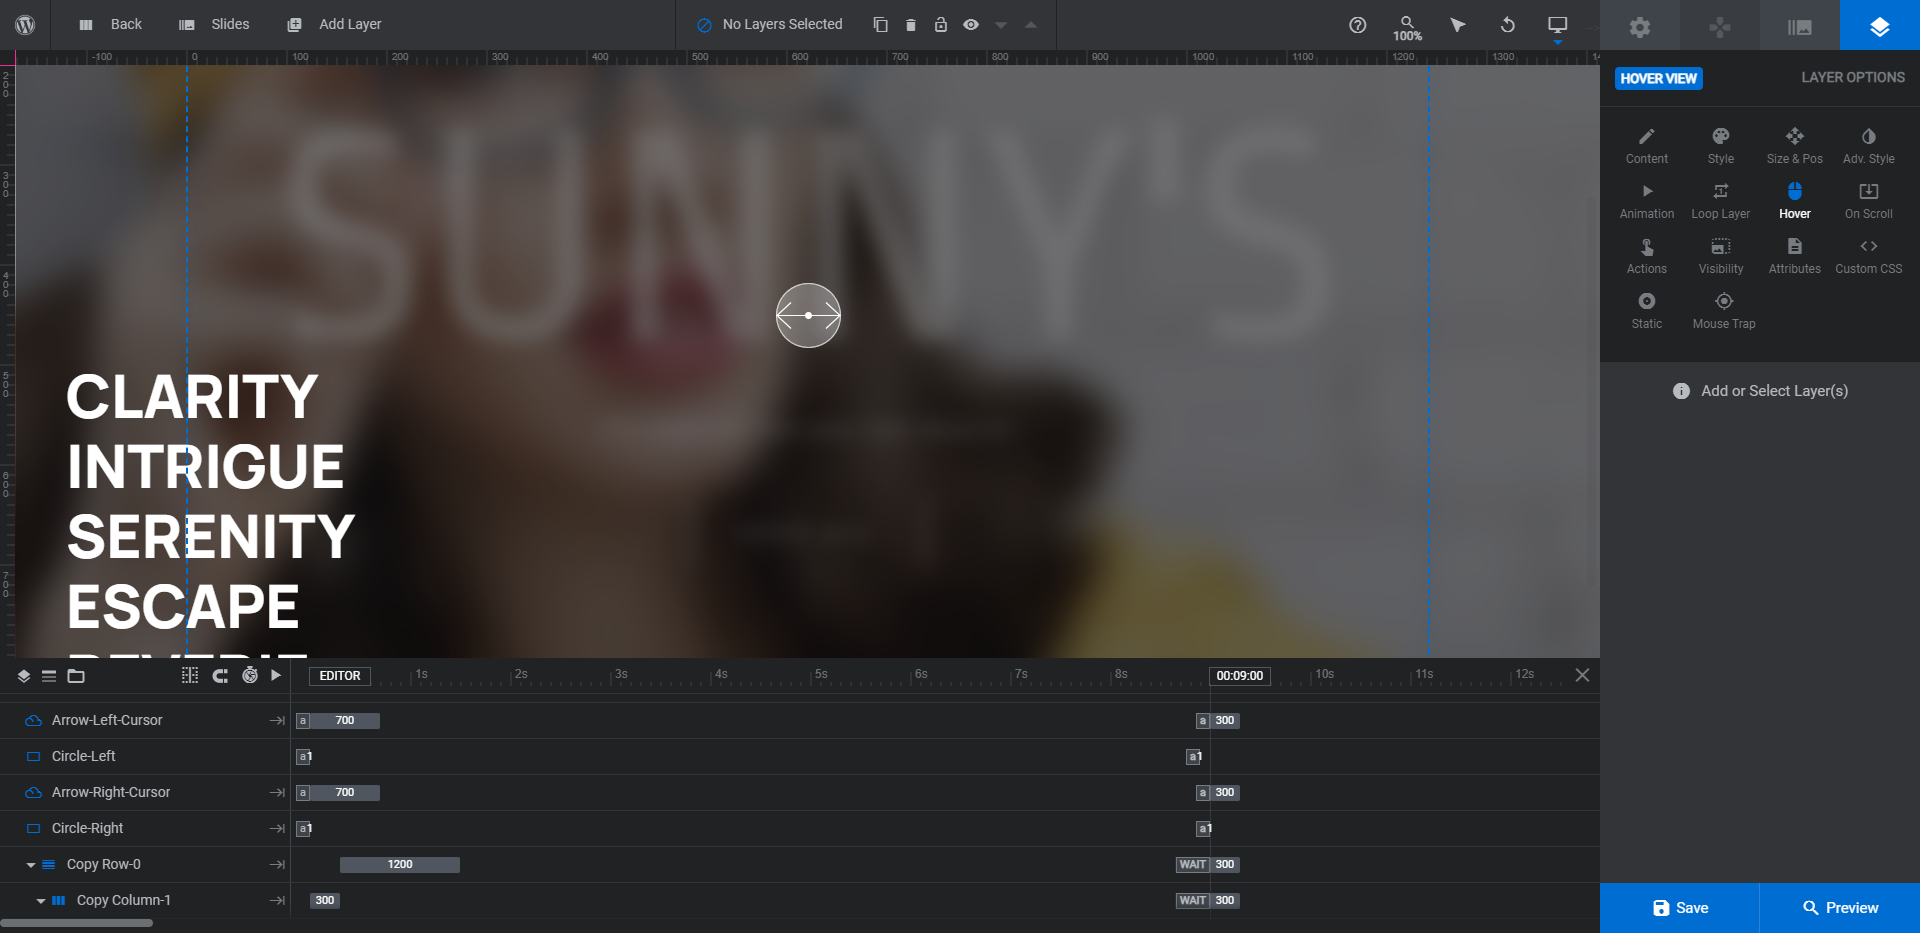
Step 4: Adjust the focus effect
To adjust the focus effect for these graphics, go to the “Animation” tab. Different focus effect settings have been applied to each of the keyframes.
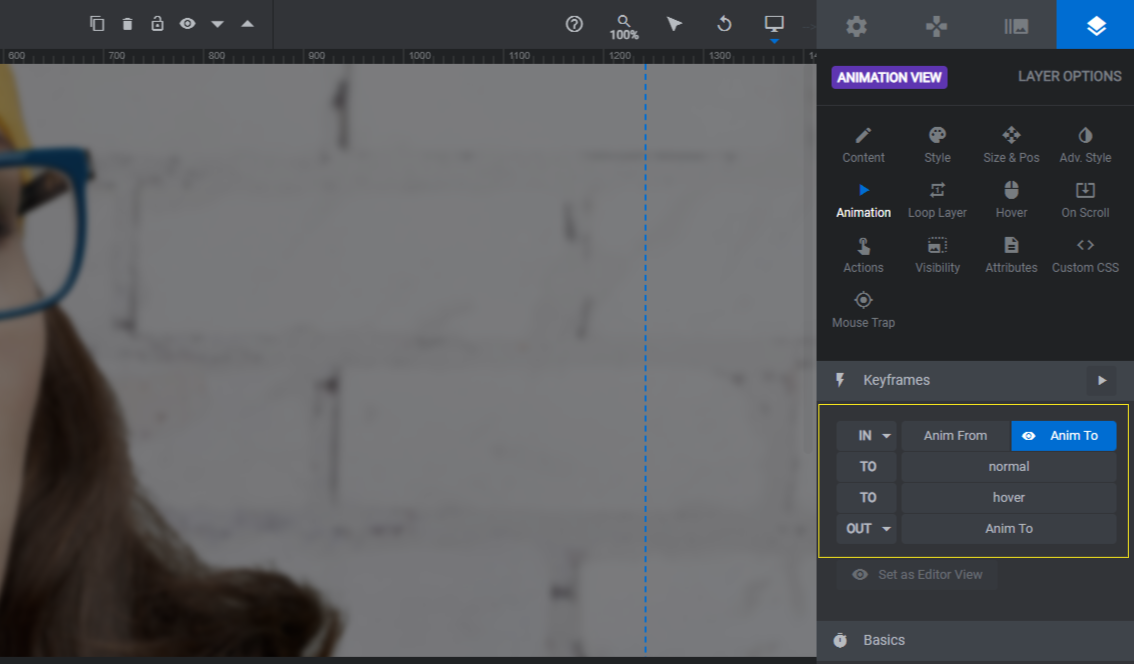
Scroll down to the Layer Filter section to modify the focus effect settings for each keyframe as needed.
The setting directly to the right of the ON toggle is the Blur Filter. The higher the pixels, the blurrier the image will be.
The setting below the toggle is the Grayscale filter. Anything above 0% applies a level of grayscale to the image.
The setting to the right of that one is the Brightness filter. Anything below 100% dims the image.
Make note of the settings you apply to the first slide. You’ll need to make the same changes to the rest for a consistent visual look.
Learn more:
Step 5: Edit the text
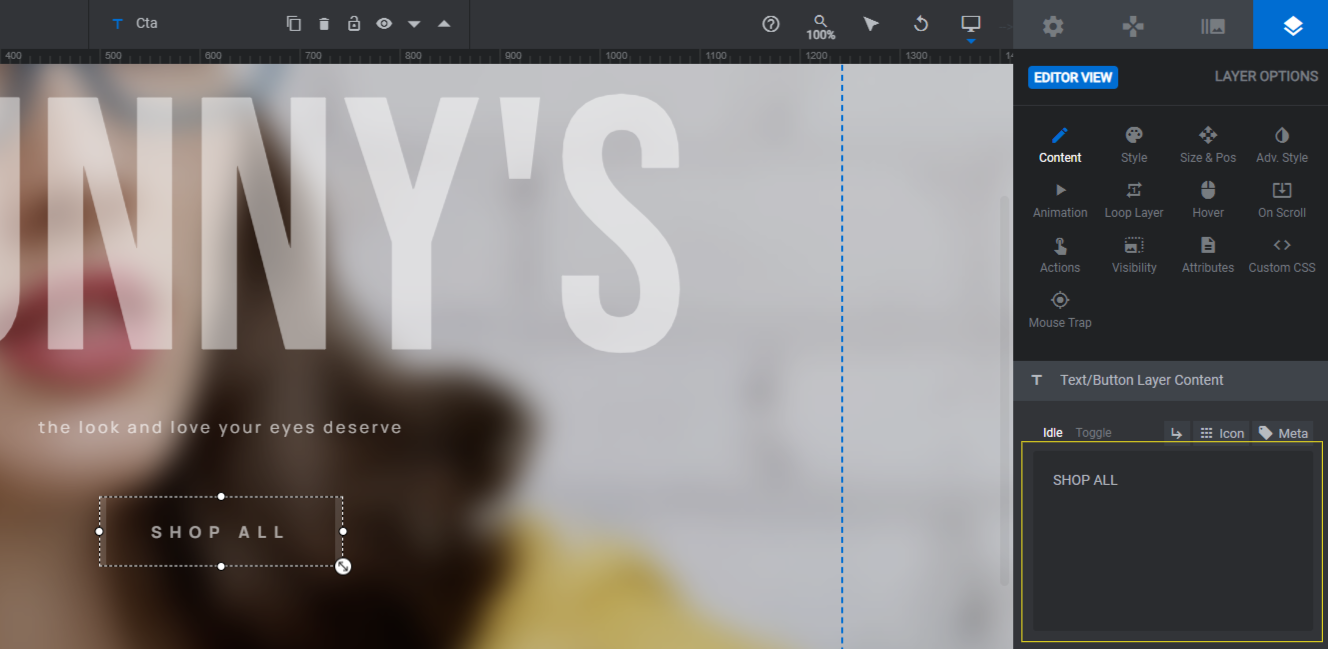
There are two text layers — Headline and Description — along with a Cta button layer we’re going to edit in this step.
To change the text in each, go to “Layer Options” and “Content” and replace the text in the box.
Next, go to the “Style” panel to switch up the font, colors, and styling of the text. From here, you can also change the background and outline colors of the button.
The Headline layer has some additional animation effects programmed into it so that it changes at the same time that the background image does.
Go to “Animation” to update this effect.
You’ll notice that this text layer has the same keyframes set up. However, the effect is generated differently.
Scroll down to the “Advanced” section. The first setting there controls the Opacity.
Both of the IN keyframes along with the normal keyframe are set to 50% (.05) opacity. The text only becomes fully opaque when someone hovers over it. This is the same time the image comes into full view.
Feel free to adjust these settings to your liking. Then apply the same changes to each slide.
Learn more:
Step 6: Finish setting up the button
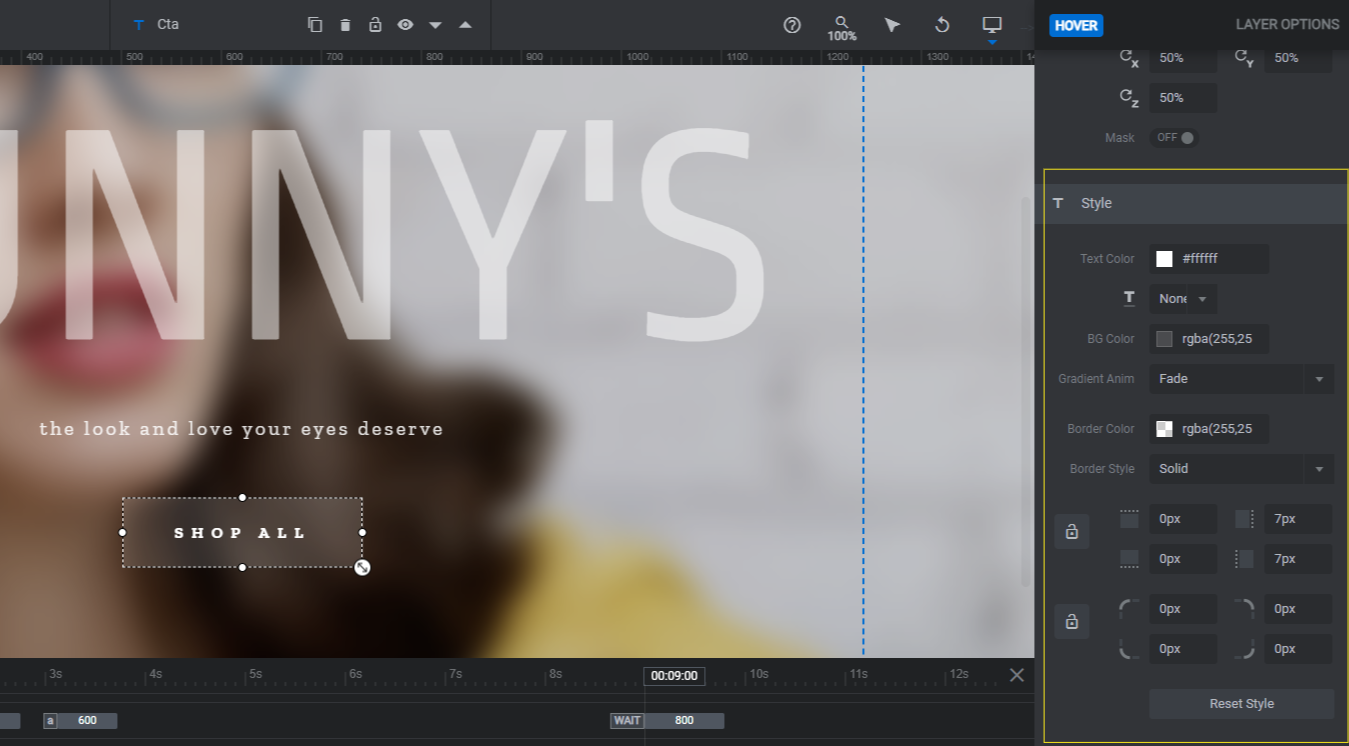
There are a couple extra things we need to do for the Cta button.
First, go to the “Hover” panel and scroll down to “Style”. You can manage the button’s hover-triggered appearance here.
Lastly, open the “Actions” pop-up panel. Because of how this slider is set up, you’re going to see a lot of preset actions in there already. Leave all of them but Scroll Below Slider alone.
Scroll Below Slider works well if you have a single hero image and you want visitors to scroll down and see the below-the-fold section next.
However, we’ve created a product slider that promotes different types of eyewear. So we want this link to go out to different landing pages.
To do the same thing, click the trash can icon next to the Scroll Below Slider action to delete it. Then click Add Action to “Cta”. It will automatically generate a new Simple Link for you. Input the details and configure the settings.
Save your changes by closing the pop-up.
Learn more:
Step 7: Update the global layers
The last thing to address is the Global Layers. You’ll find them under the “Slides” dropdown in the top toolbar.
All of the custom cursors and arrows you see when using the template or preview are here. You’ll also find additional elements like the header row, slide counter, Slider Revolution branding, and pop-out menu.
If you don’t want the text and menu elements to sit on top of your slider, delete the following:
- Copy-Row-0 (the header row)
- Menu
- Copy-Row-0 (the slider counter/branding row)
Hold down the Ctrl or command key, select the top-level group names, and then hit Backspace or delete. This will remove all of these elements at once, leaving just the cursors.
Note: You can modify the cursor and arrow layers as well. Some of them are shape layers which you can modify using the “Style” panel. Others are SVG/Icon layers. To edit them, double-click and choose a different arrowhead style.
When you’re finished updating the global layers, preview your slider. When you’re pleased with the end result, it’s ready to go on your website. You can either embed it using the shortcode found under “Module Options” or you can embed it with the Slider Revolution widget in your page builder.
Learn more:
Draw more attention to your imagery with unique focus effects
There are different things you can do with a focus effect. You can do as the Serenity Hero template does and create a dark and alluring atmosphere before revealing more of the image upon hover. You can do as we did in this tutorial and use a blurred effect to drum up curiosity about the product photo. Or you can put a unique spin on it.
With easy-to-use animation and layer filter effects, you can create a focus effect that works best for your design and brand.

