
eCommerce brands aren’t always just selling products. Some of them sell a lifestyle. If you’re building an online store for one of these kinds of brands, then imagery and the way you present it is going to be really important.
In this tutorial, we’re going to show you why the Surf Scroll-Based Story Template is the perfect layout to use with lifestyle imagery. We’ll walk you through everything — from the process of choosing brand components for the design to loading your completed home page to the shop.
Table of Contents:
- Step 1: Install the template package
- Step 2: Pick your fonts
- Step 3: Select two accent colors
- Step 4: Choose your lifestyle images and videos
- Step 5: Write your text
- Step 6: Edit Surf Logo module
- Step 7: Edit Surf 1 module
- Step 8: Edit Surf 2 module
- Step 9: Edit Surf 3 module
- Step 10: Edit Surf 4 module
- Step 11: Create your home page
How to use lifestyle imagery to enhance your ecommerce website
Lifestyle imagery is a great way to depict your products within the context that customers will use them. If you have an ecommerce brand that’s selling an experience and lifestyle just as much as products, then this template will be useful.
Below we’ll show you how to edit this template for other kinds of lifestyle brands, like this clothing company that serves creators.
Need help getting acquainted with Slider Revolution? Start with these references:
Step 1: Install the template package
In Slider Revolution, go to “New Module from Template”. Do a search for Surf Scroll Based Story Template.
Hover over the template that appears and click the plus-sign button that appears on the right.
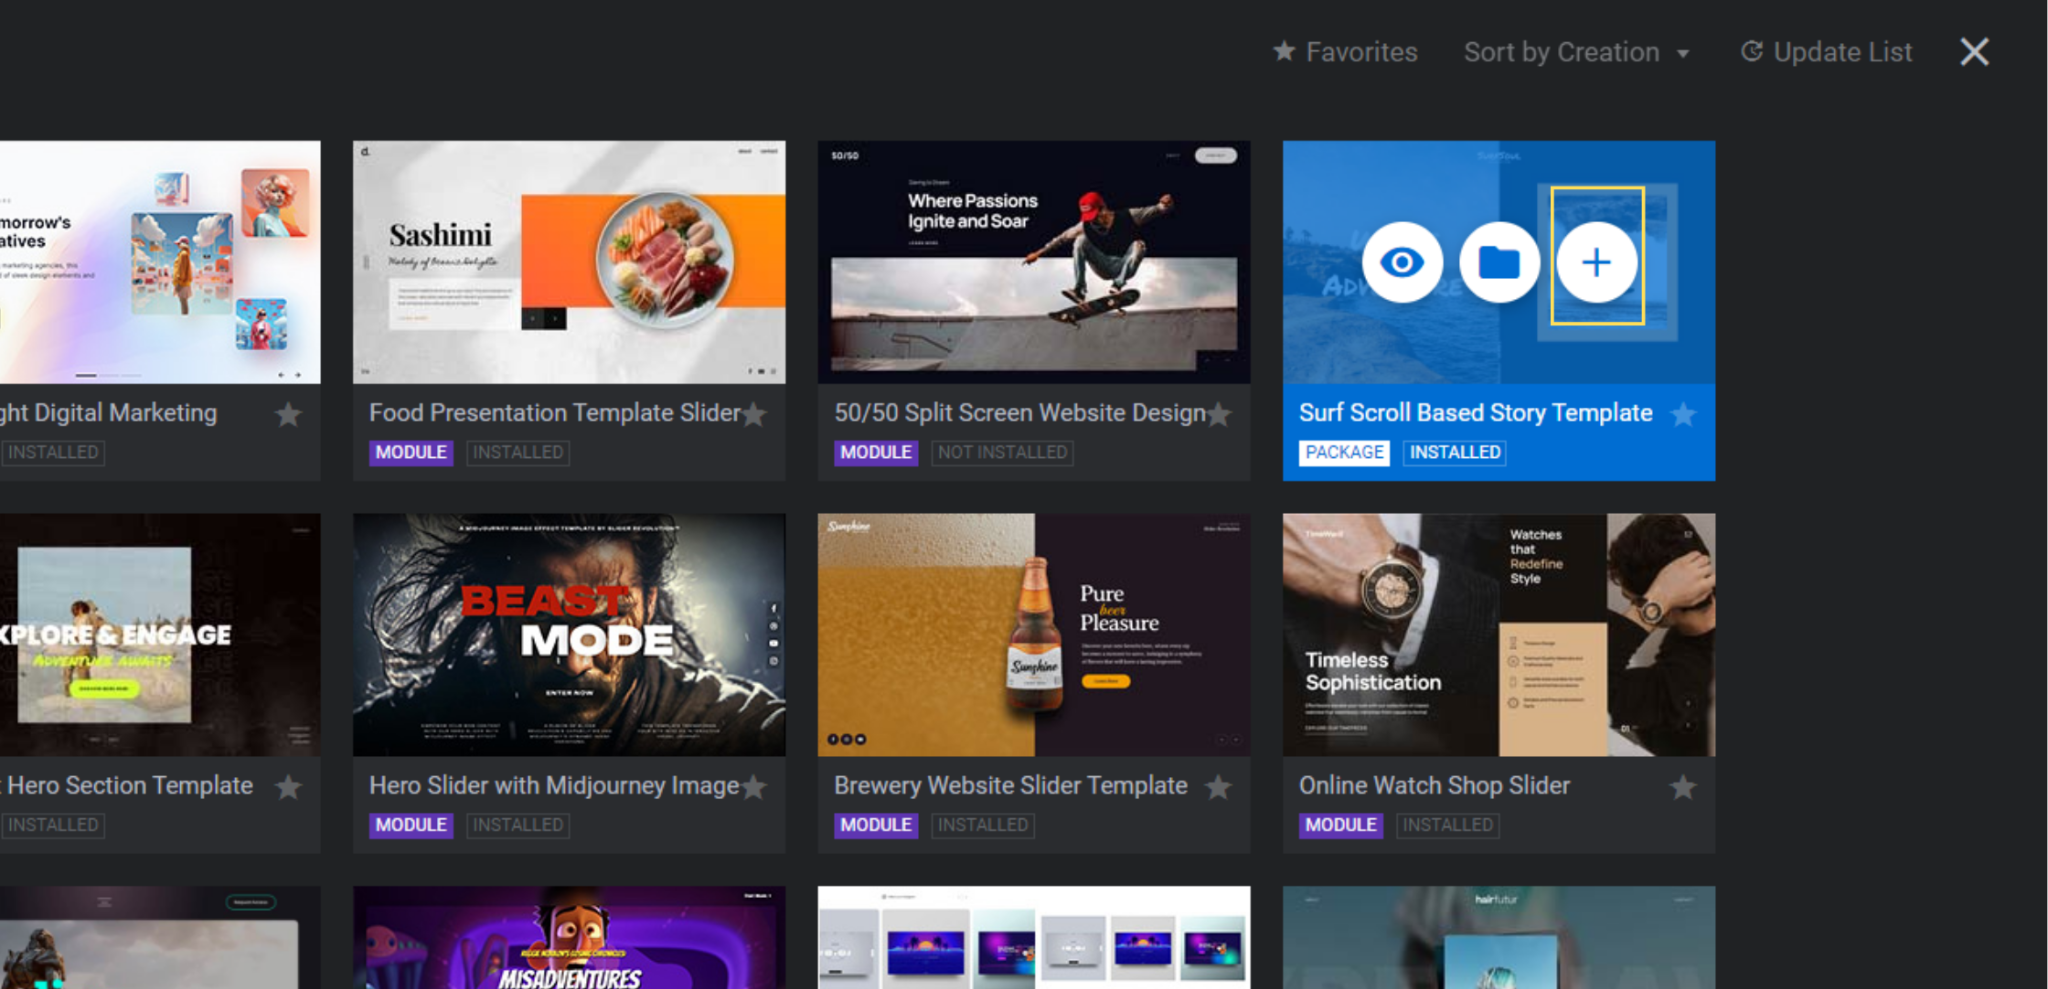
Click the “Install Template Package” button.
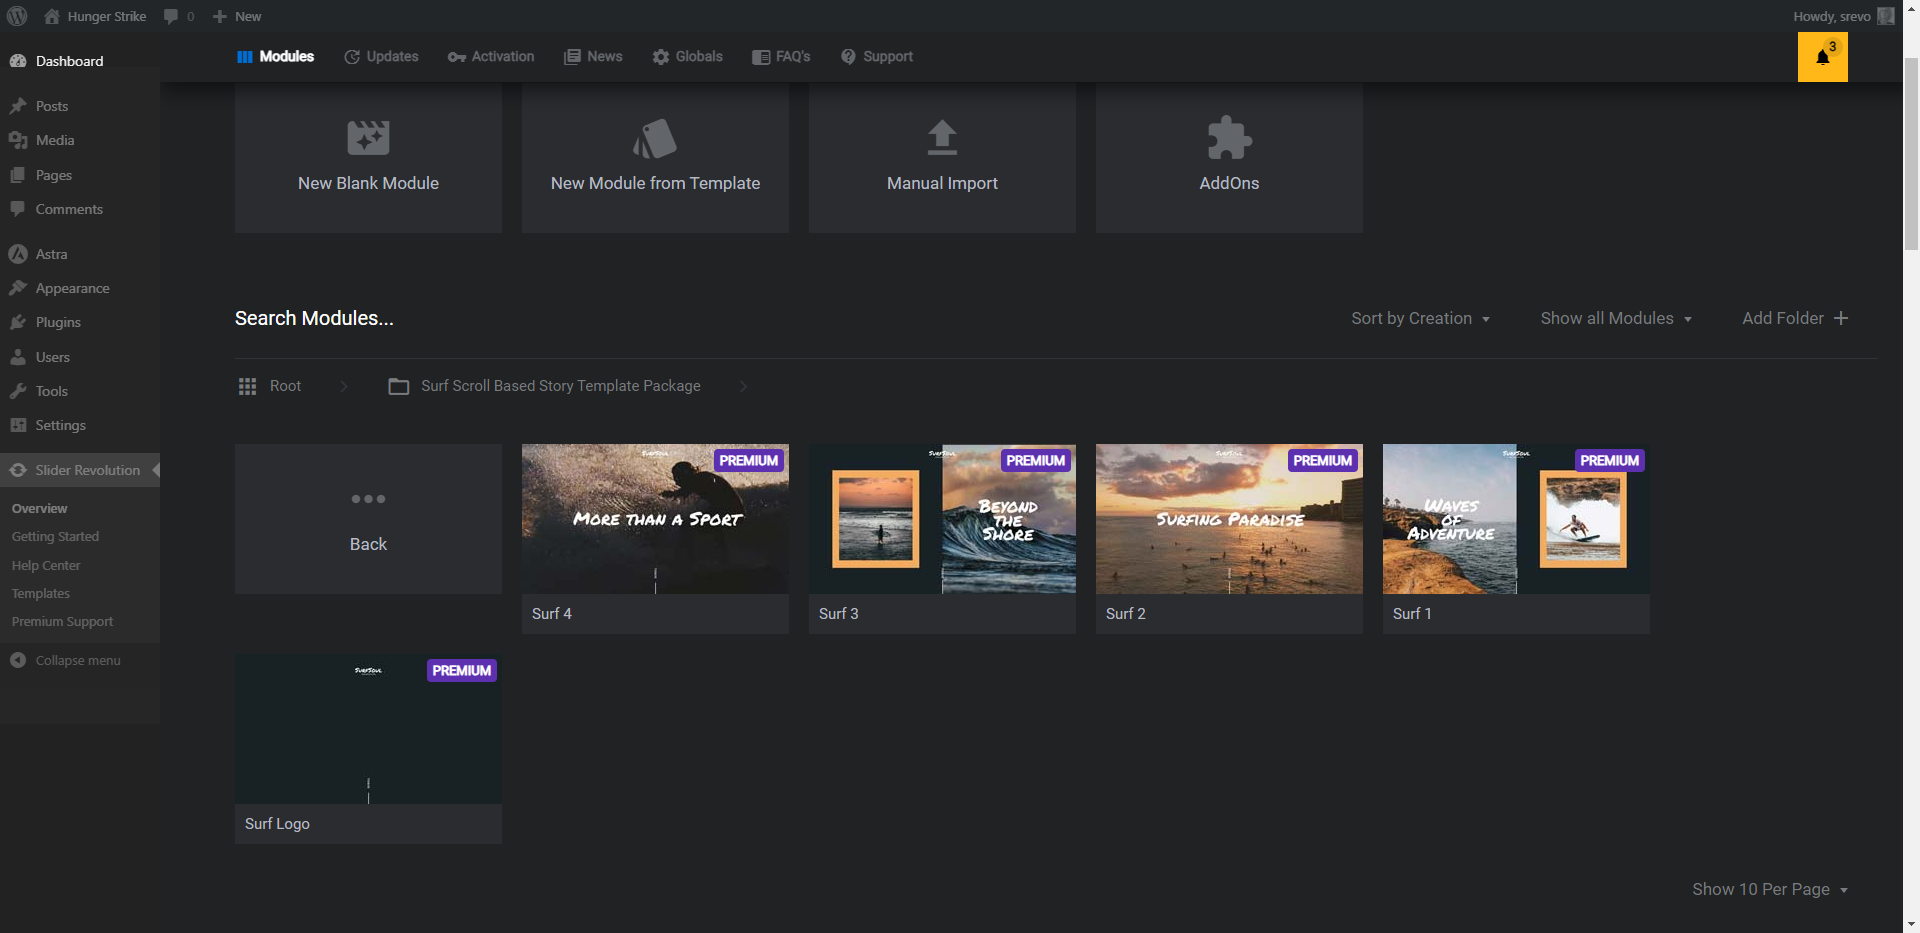
When the pre-made website is finished installing, Slider Revolution will take you to the template folder. There’ll you’ll find five modules to edit.
Click the Show 5 Per Page dropdown in the bottom-right corner and change it to 10. This will allow you to see all the modules at once:
- Surf Logo
- Surf 1
- Surf 2
- Surf 3
- Surf 4
Before we begin editing any of the template content, we’re going to piece together the brand components first. This will make it easier to keep consistent when changing styles and swapping out content.
Learn more:
Step 2: Pick your fonts
You’ll need at least two different fonts for your design:
- A headline font for the big text in the logo and the large header text on the page.
- A regular font for the button text (as well as the logo if there’s a second line in it).
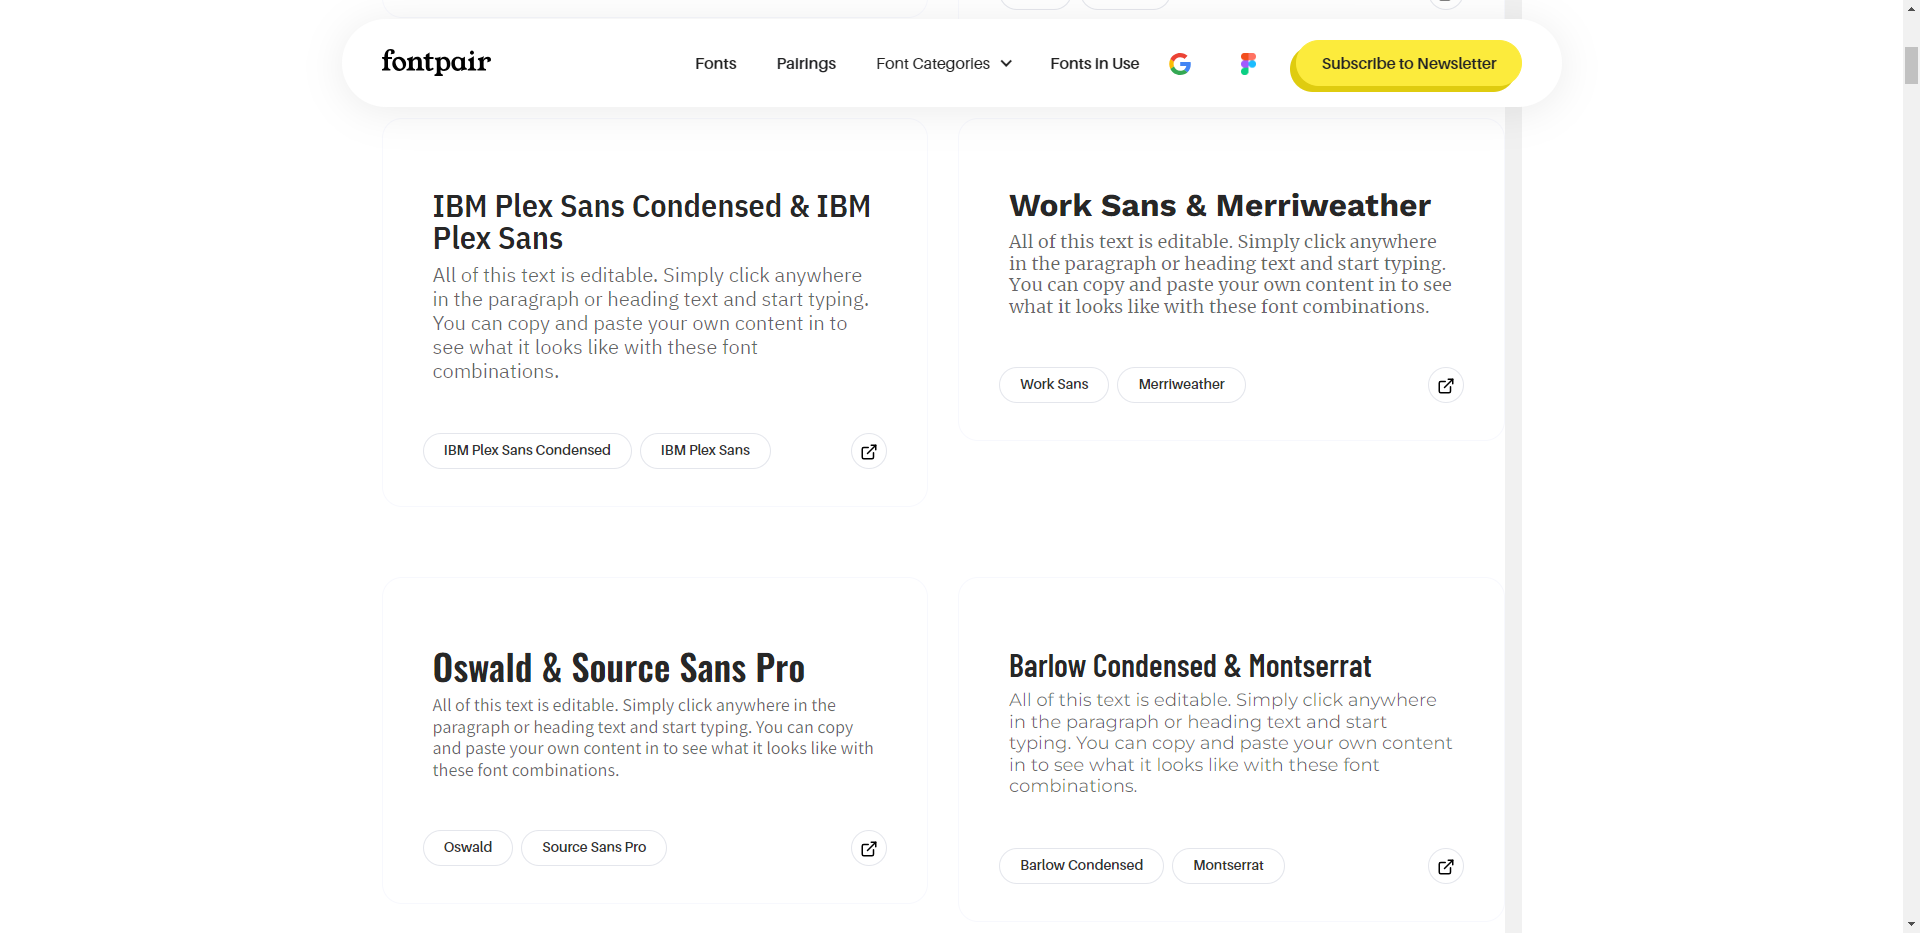
Slider Revolution comes equipped with Google Fonts. You can play around with font selections inside of Slider Revolution or use an external tool like Fontpair to come up with a custom font pairing for your brand.
Once you’ve picked your fonts, make note of them somewhere as you’ll need to apply them when designing your logo as well as editing the template modules in later steps.
Learn more:
Step 3: Select two accent colors
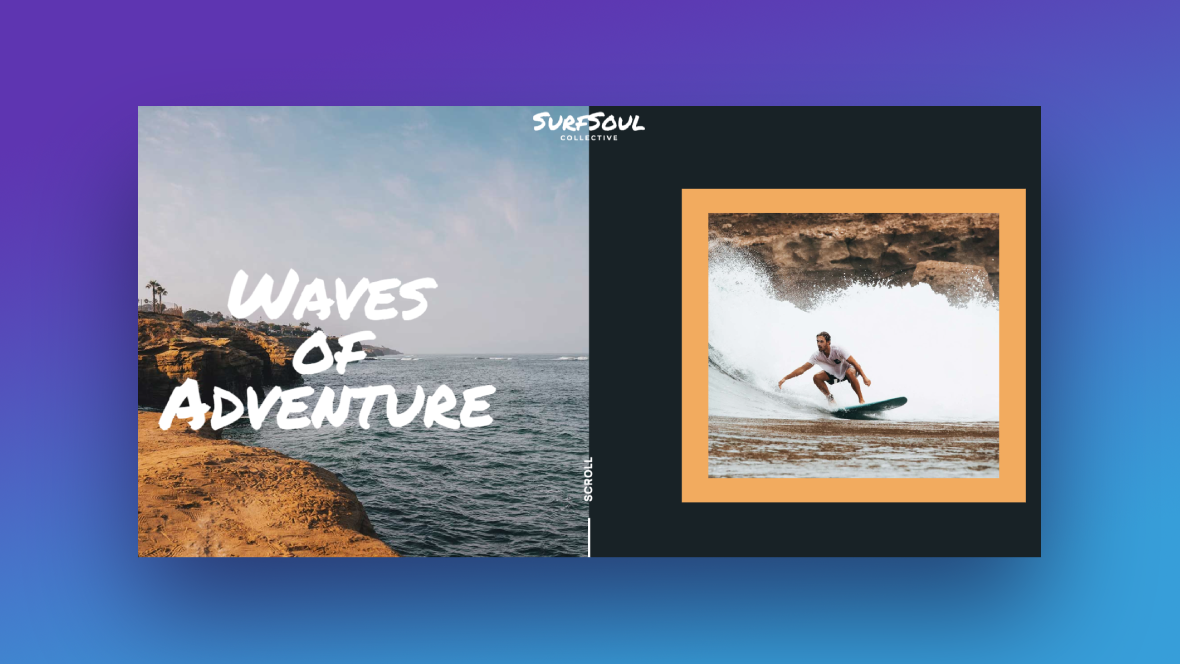
As users scroll through this website or home page, the layout will change along the way. In some cases, a colorful border will appear around your lifestyle imagery.
If you’d like to keep the alternating border color format, you can use the existing black and orange color rotation. Or you can select two accent colors of your own.
Coolors is a good resource for this.
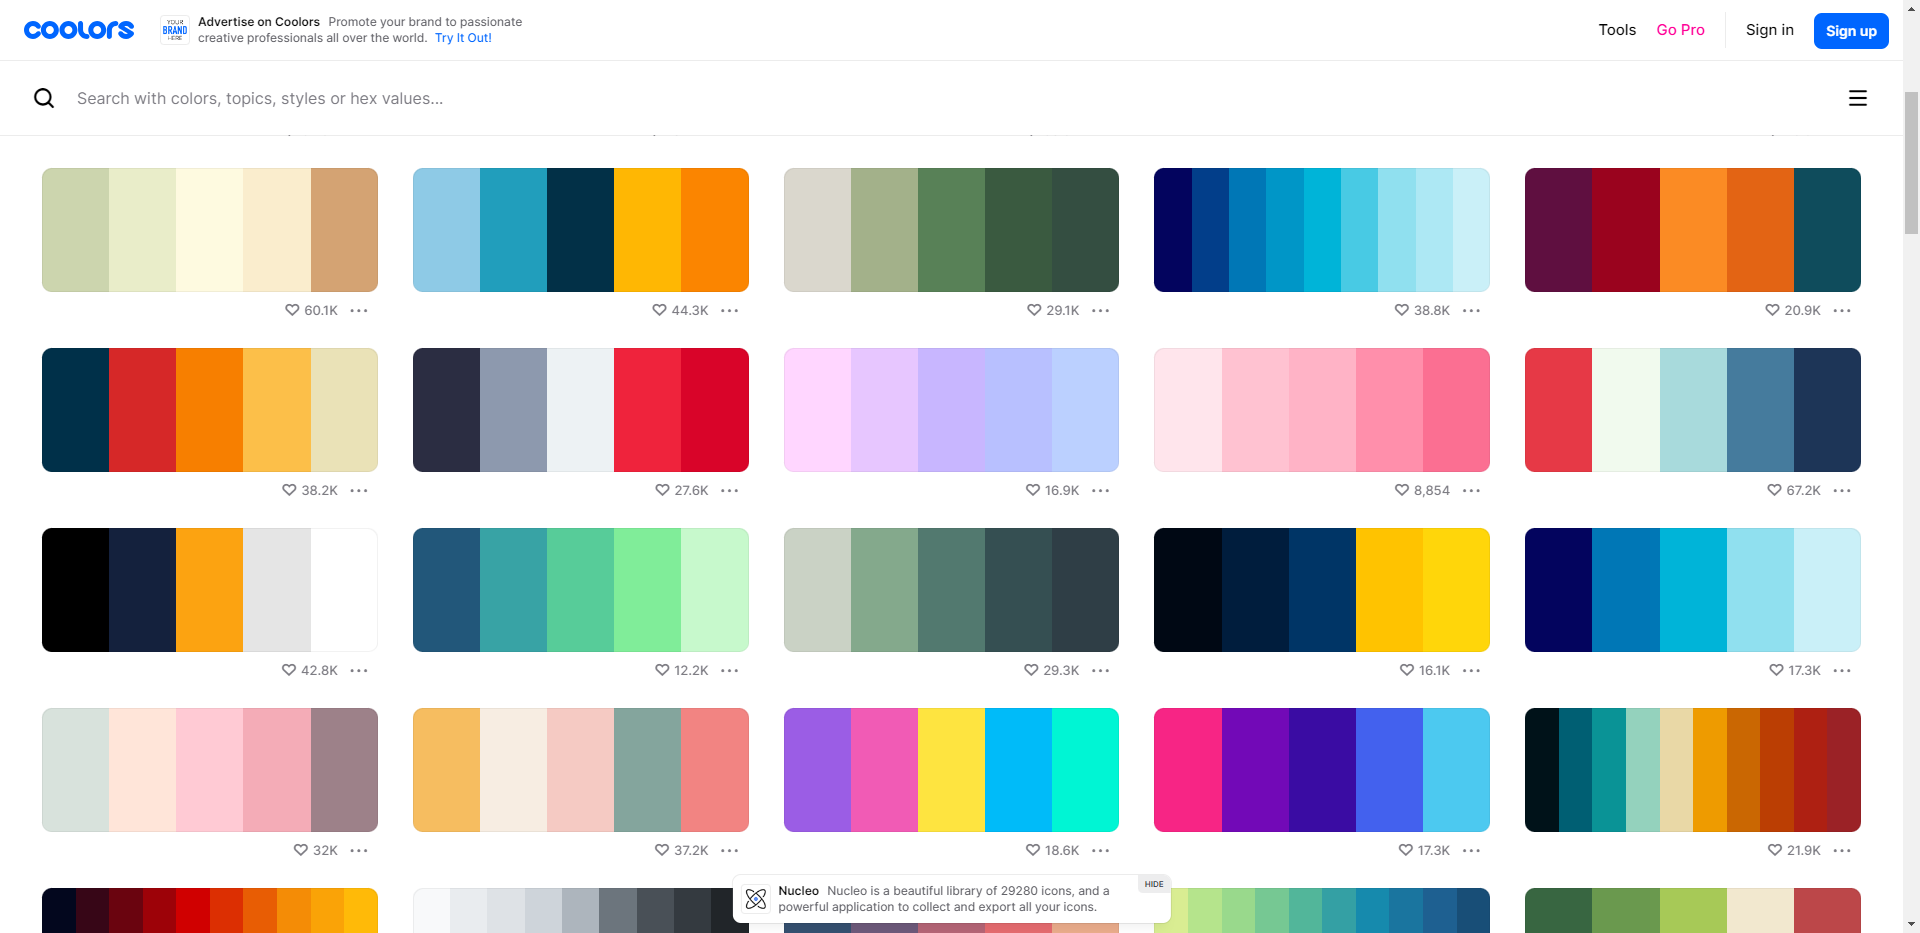
Peruse the multi-color palettes to find two colors you like the look of. You can also use the search function to enter a color you’d like to use and find compatible matches for it.
Another option is to go into Slider Revolution from any of the template’s modules. Select any of the text or shape layers. Then open the color selection module under the “Style” tab.
There are 16 default colors to choose from. Another option is to enter a custom HEX code in the Color field at the top.
Once you’ve found your accent colors, note down their HEX codes and hold onto them for later steps.
Learn more:
Step 4: Choose your lifestyle images and videos
The primary method of storytelling in this template is with visuals. You want to ensure that you find imagery that conveys the lifestyle you want customers to associate with your brand.
As you piece together your brand’s lifestyle imagery, here is what you’ll need:
Logo:
- Quantity: 1
- Size: 347px by 90px
- Color: White (or another color that shows up clearly against your imagery)
- Special settings: Transparent background
Photos:
- Quantity: 8 different images with a similar vibe or connecting thread
- Size: 1920px by 1080px
Videos:
- Quantity: 2 different videos with a similar vibe or style
When you’re done selecting or creating your imagery, return to the template. Make a plan for where you’re going to place each of the image and video files.
Then go into WordPress and upload all of your files to the Media Library.
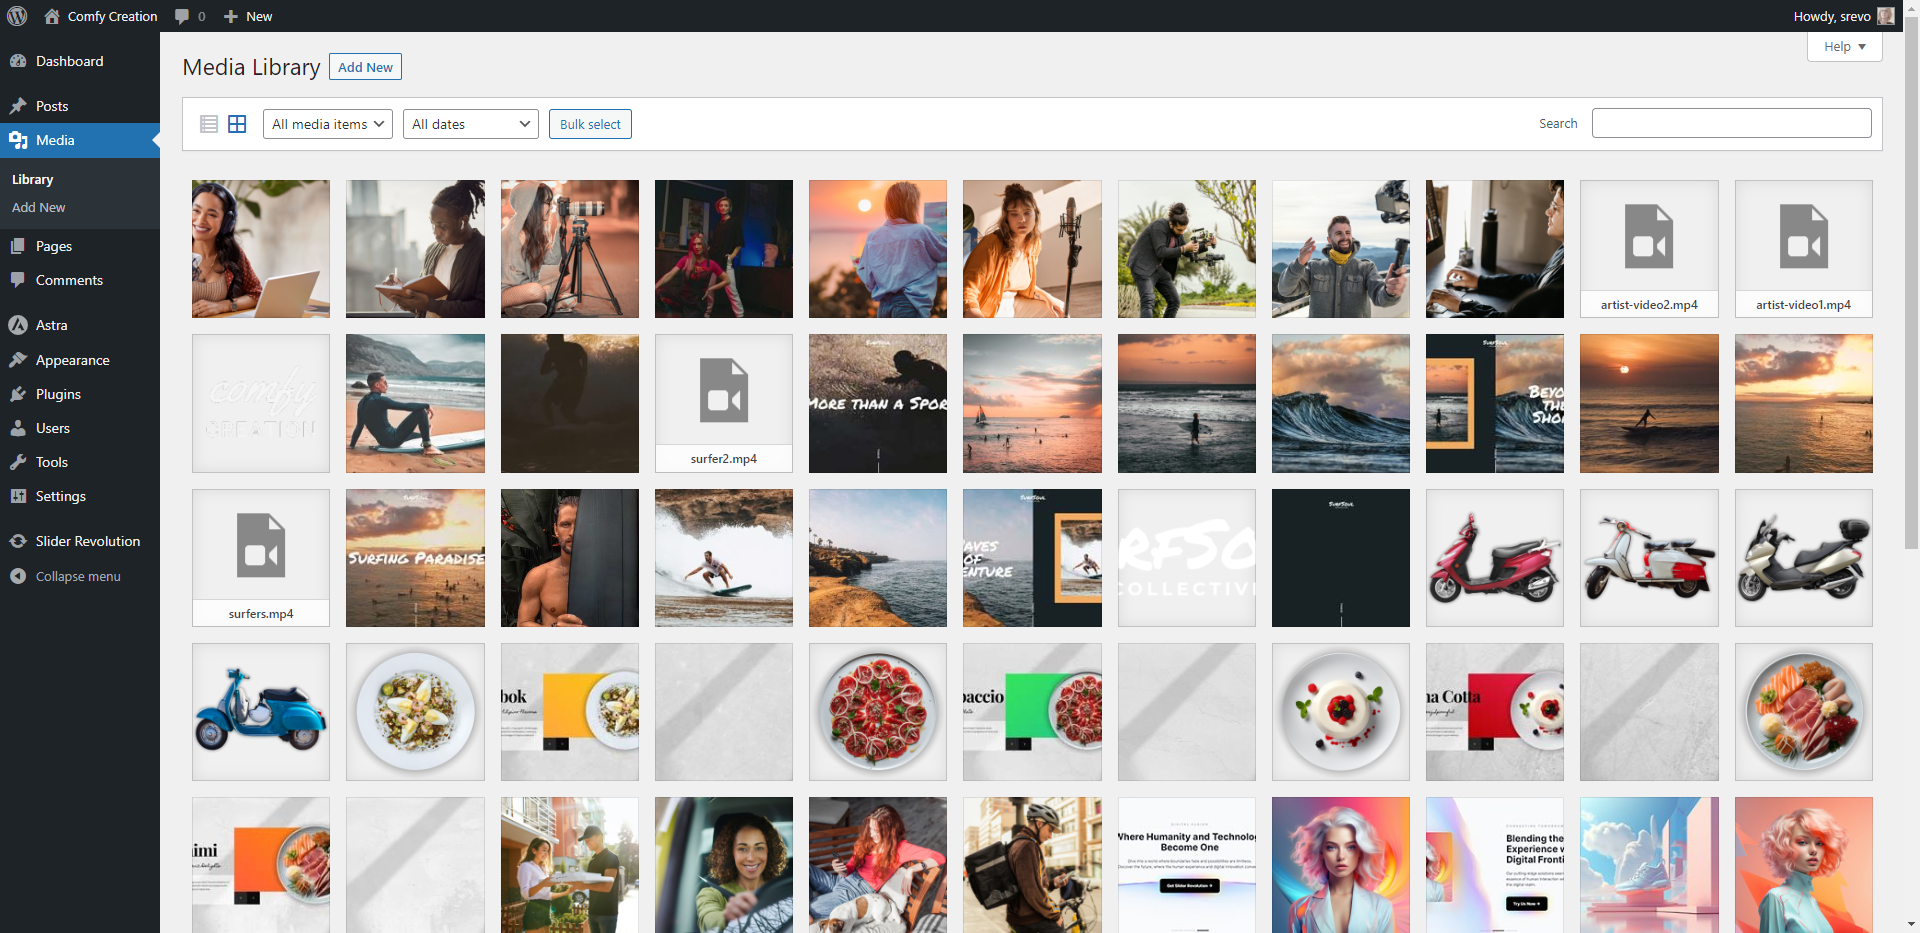
This will speed up your editing process.
Step 5: Write your text
It’s going to be easier if you have your story/messaging written out ahead of time.
Open up the template as well as your plan for the imagery. Then create content to replace the existing copy in the template.
Note: Try to use about the same amount of words as there is in the template so you won’t have to spend so much time customizing the size or responsiveness of your design later.
Step 6: Edit Surf Logo module
Now that you have everything you need, it’s time to start editing the template. Start by opening the Surf Logo module.
There are three elements to edit:
Start with the Logo. Go to “Layer Options” and “Content”. Select the logo file you uploaded to the Media Library to replace the existing one.
The other two layers are Scroll and Line. They’re at the bottom of the screen and signal to users to scroll down to see the rest of the page.
You’ll probably want to leave the word “Scroll” as it is. However, you should change the font under “Style” to match the regular body font you selected for your brand.

If you’re using lighter imagery, you may also need to update the colors of the Scroll and Line layers. You can do this under “Style”. Change the text color for Scroll and the background color for Line.
Save your changes and hit the “Back” button in the top-left corner to exit out of this module.
Learn more:
Step 7: Edit Surf 1 module
Next, let’s edit the Surf 1 module.
Customize your images
We’re going to start by replacing the images. Take a look down in the timeline editor at the bottom. You’ll find three images:
- Group-Right > Image is the image you see on the right side of the screen within the orange border.
- Group-Left > Image is the borderless image you see on the left side of the screen.
- Group-Left > Image In the Back is the image that replaces the image on the left as the user scrolls.
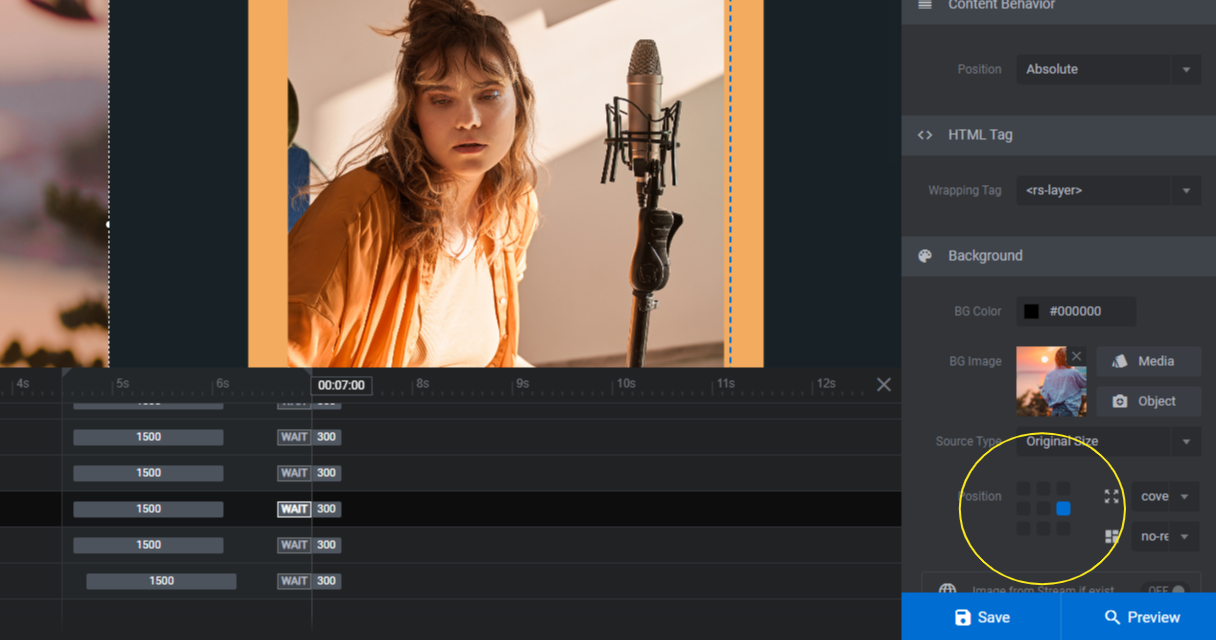
To replace each of these images, go to “Content” and click the Media button to choose the images you uploaded in the previous steps.
Note: If the subject of your lifestyle imagery isn’t in focus, use the Position blocks to move it around until it is.
Customize your text
First-Text is the headline that appears initially. If you go to “Content”, you’ll see that it looks like this:
“Waves<br /> of <br />Adventure”
The <br /> is what forces each of the words to the next line. You can create those hard breaks the same way or by hitting the Enter or return key wherever you want to force a line break.
Second-Text is the text that replaces the header as users scroll down the page. This line reads:
“Experience the Thrill of Surfing!”
It’s a bit longer, so you can make your second headline longer too.
To edit what these layers say, enter the replacement text into the box under “Content”. Then go to “Style” to customize the font, size, weight, and other styling.
Note: You’re not going to be able to see how the Second-Text layer looks in the canvas, so open the Preview to ensure that your font and style changes look okay after scrolling downwards.
Customize your button
The Button layer is also a text layer. To edit it, use the same settings as you did when customizing the text, font, and styling of the regular text layers.
There are two additional steps you may need to take as well.
If you changed the color of the text, then you’ll have to modify the hover state of the Button as well. You’ll find these settings under “Hover” and “Style”. Text Color changes the button text color and Border Color changes the color of the underline.
The other thing to change is the button’s action. Go to “Actions” and you’ll find a Simple Link created for you.
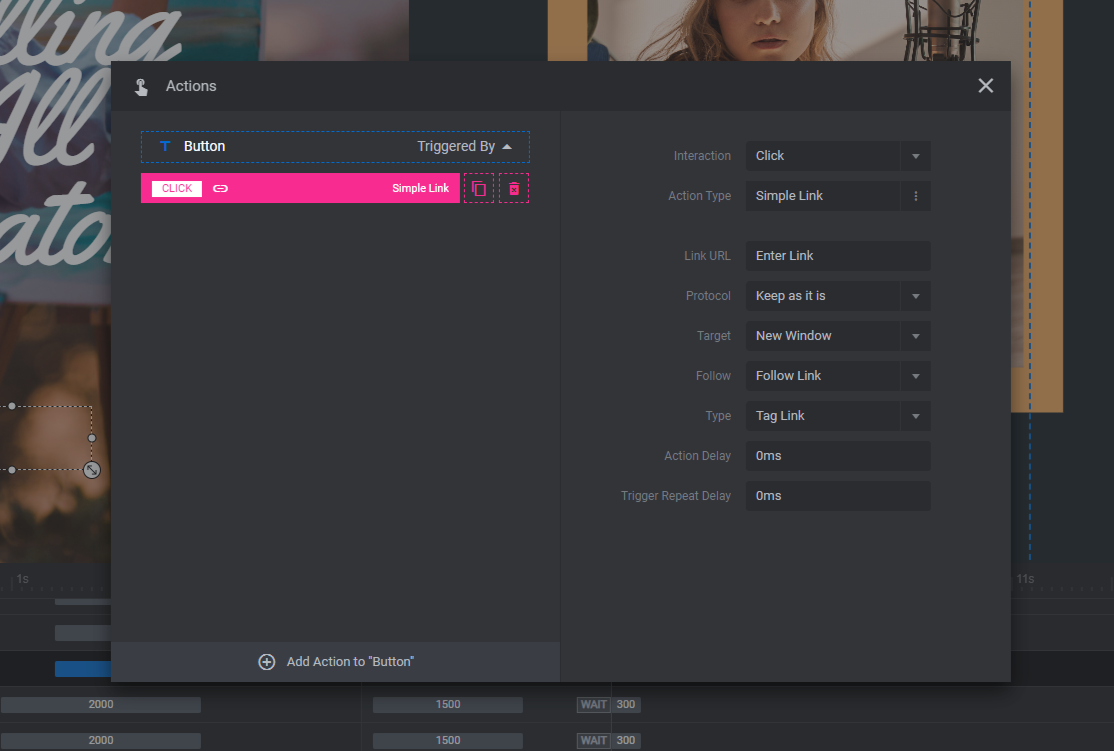
Click on it and then customize the details. To save your changes, close the pop-up.
Customize your accent colors
There are various spots in Slider Revolution you’ll have to edit to apply your custom accent colors.
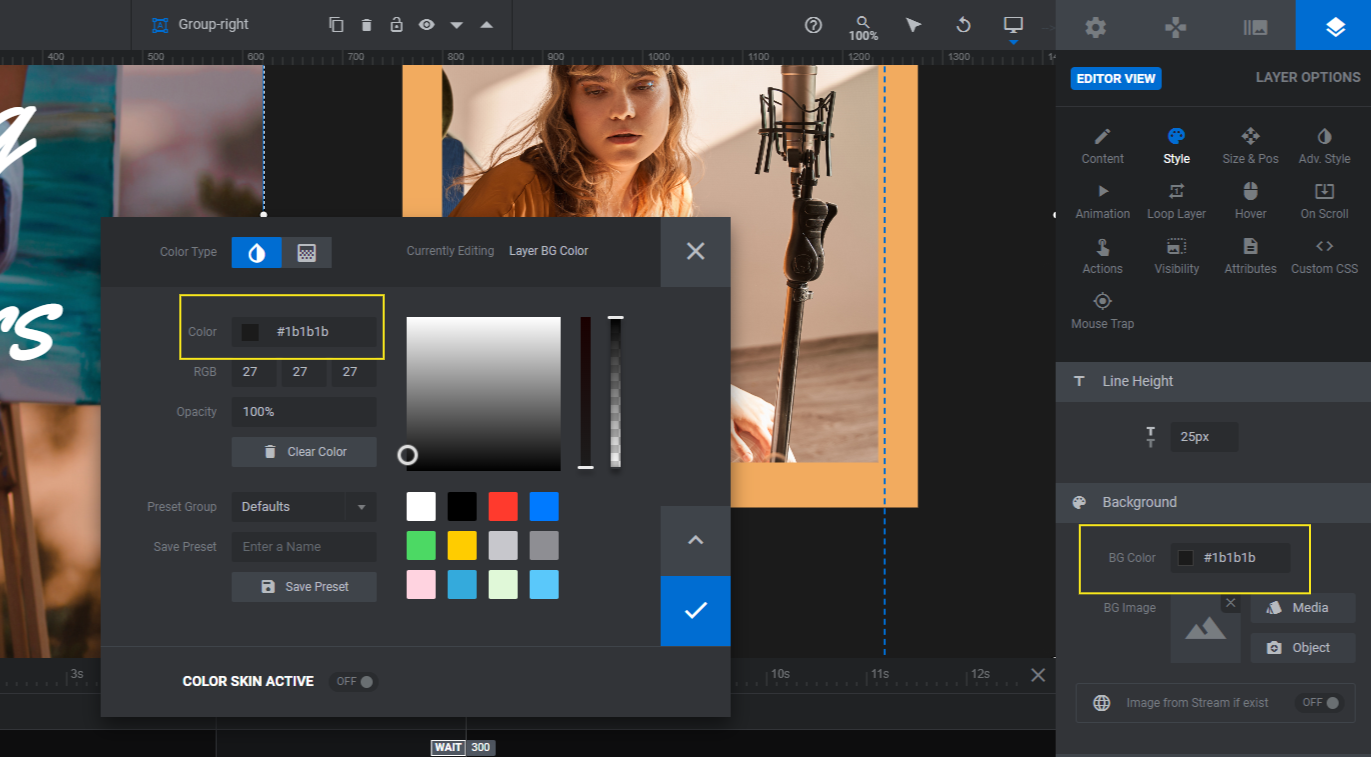
Click on Group-Right and go to “Style”. Replace the black hue under BG Color.
Pro tip: You’re going to have to apply these same colors in the next three modules. Rather than type out or paste the HEX codes every single time, save them to your custom color palette.
In the color selection module, enter your HEX code under Color. Then change the Preset Group setting to Custom. Enter a custom name for it next to Save Preset. Click the Save Preset button to save it to your color panel on the right.
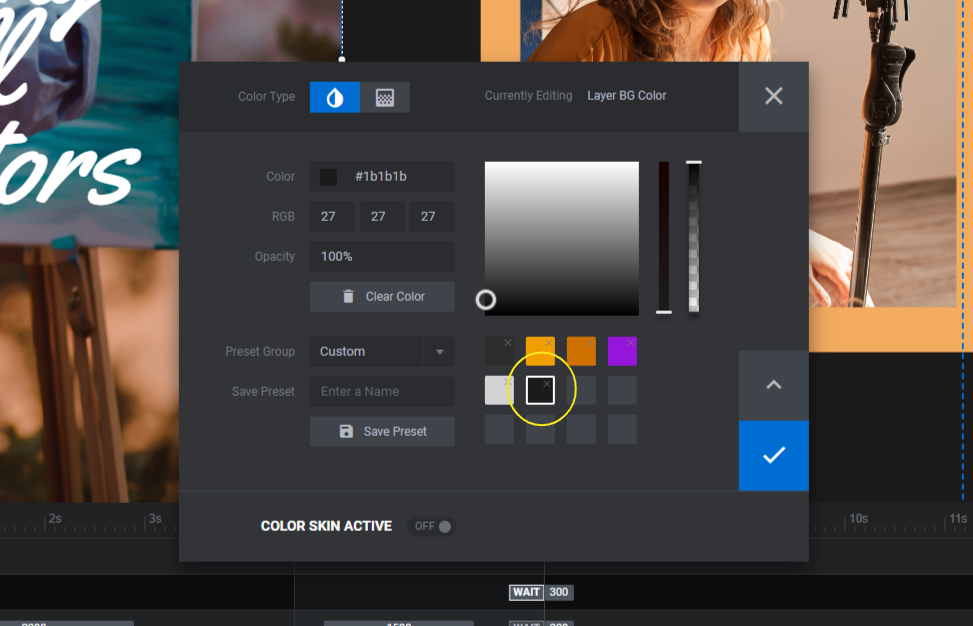
Going forward, you can retrieve this custom color with two clicks as opposed to having to copy and paste your HEX code into the top field every time.
Next, click on Group-Left and go to “Style”. Replace the black hue under BG Color with the same color as you did the right.
Now change the color of both of the Border layers to your other accent color.
Finally, move over to “Slide Options”. Under “Background”, replace the orange accent color with the one you just applied to the border.
Make the same change under “Module Options”. Go to “Layout” and scroll down to “Module Background”.
Preview your changes once more to make sure you updated all of the colors and content correctly. When you’re happy with your changes, save them and then back out of the module.
Learn more:
- Editing Text from Template Modules
- Adding and Configuring Shape Layers
- Editing Links in Template Modules
Step 8: Edit Surf 2 module
Editing the rest of these modules will more or less require the same actions you took in Step 7. Repeat the process described above to edit Surf 2 module.
There are a few deviations you’ll need to make.
The first pertains to the lifestyle imagery. Instead of uploading three images, you’ll be adding one of your videos to the Video-Bg layer and then adding a scroll-reveal image to the Image In the Back layer.
The second deviation pertains to the text layers. You’ll have one less text layer to edit as there’s no button in this section.
Lastly, in addition to changing the “Module Options” and “Slide Options” accent colors, you’ll need to do this for the Border and Main Group layers.
When you’re done making all your edits, save your changes. Then back out of the module.
Learn more:
Step 9: Edit Surf 3 module
Repeat the process from Step 7 to modify the Surf 3 module.
This module is laid out almost exactly the same as Surf 1. The only difference is that the scroll-reveal takes place on the opposite side this time.
Save your changes and exit out of the module when you’re done.
Step 10: Edit Surf 4 module
Repeat the process from Step 7 once more with the modifications fromStep 8. Surf 4 is one of the modules with the video/photo pairing. It also has a Button layer, so make sure to modify that along with the other text.
When you’re finished, preview your work. If you’re happy with how it turned out, save your changes and back out to the main screen.
Step 11: Create your home page
The last step is to piece together the modules to create your new ecommerce home page.
The first thing to do is create a Home page under Pages if you haven’t already done so. The next thing is to embed the sections in the following order:
- Surf Logo
- Surf 1
- Surf 2
- Surf 3
- Surf 4
There are a few ways to do this. You can copy the shortcode from each module in Slider Revolution. Then paste it into a shortcode block in your page builder.
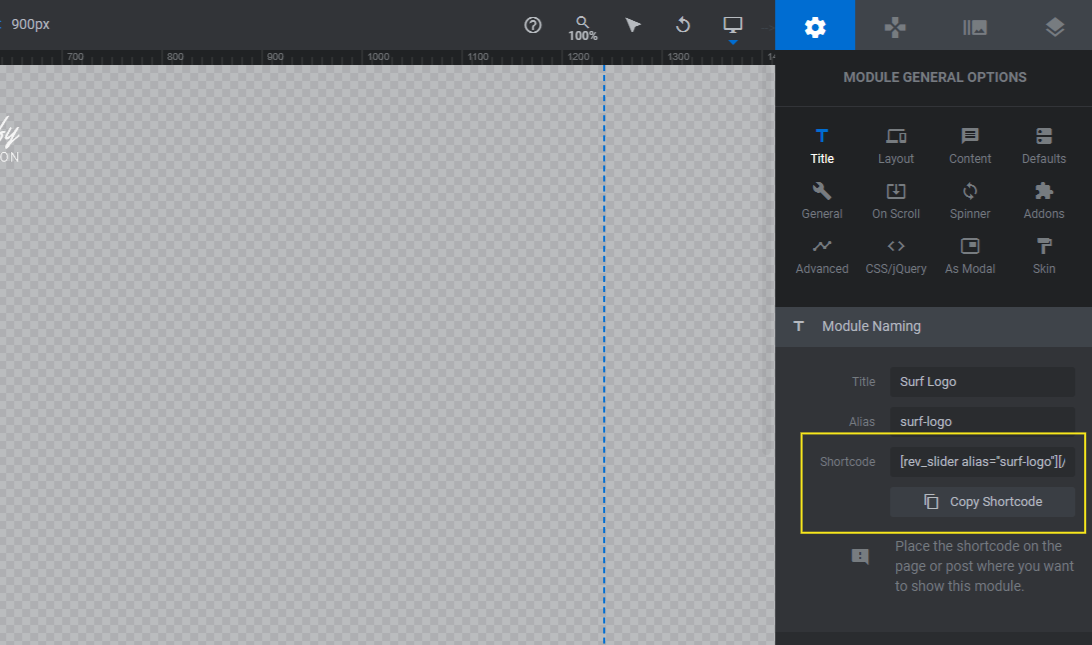
You can copy the shortcode from inside of Slider Revolution under “Module Options”.
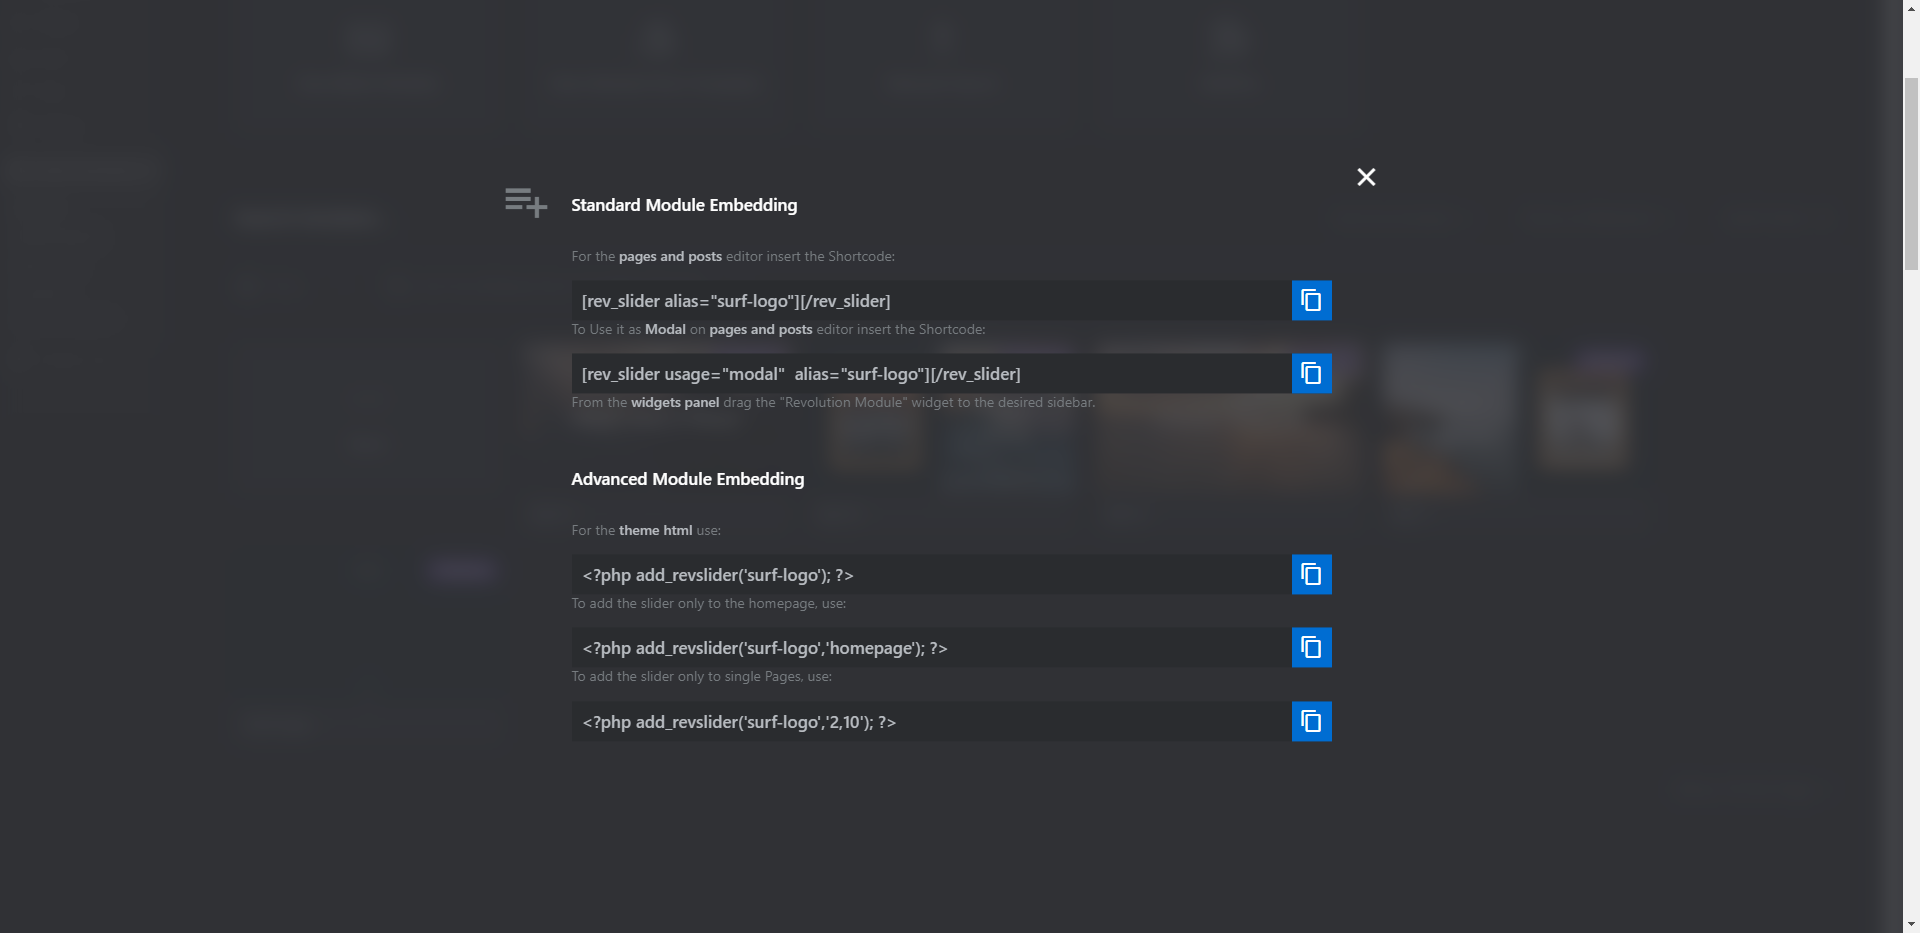
You can also get it from the outer module card. Click the down-arrow to reveal more options. Click Embed and then copy the first shortcode that appears for pages and posts.
The other option is to piece the modules together using the Slider Revolution widget in your page builder.
Click the Preview button in the top-right to see how it turned out. If you’re happy with everything, hit the Publish button to push your new home page live.
Learn more:
Sell your products and a lifestyle with a beautiful image-driven home page
Selling customers on a lifestyle and not just a bunch of products is an effective marketing technique in ecommerce. To pull it off, you need to frame your products within the context of the lifestyle that your customers crave. And then you need a super engaging format to use that lifestyle imagery in.
The Surf Scroll-Based Story Template will provide you with that format. All you need to do is bring the content.

