
Stores can’t just sell the same products day in and day out if they want customers to come back and buy more. That’s why the home page hero section should always have something exciting to announce — like blowout sales, featured products, and new seasonal releases.
In this tutorial, we’ll show you how to use the Highlight Hero Section template to advertise a new seasonal collection and attract customers to your store with it.
Table of Contents:
- Step 1: Delete the global layers
- Step 2: Delete all of the slides except for one
- Step 3: Upload your background video
- Step 4: Update the color of the video frame
- Step 5: Update the texture overlay
- Step 6: Customize the main headline and subheadline
- Step 7: Create the outline text layers
- Step 8: Edit the button
- Step 9: Do a responsive check
Attract customers to your store with an attention-grabbing hero section
You have just a few seconds to convince website visitors to stay where they are. That means giving them a reason to peruse your products and helping them find something to buy.
You can do this with an attractive hero section design and an equally attractive opportunity or offer.
In this tutorial, we’ll show you how to deconstruct this template and make it work for the unique offer you’ll use to attract shoppers new and old to take a look around.
Here are some quick-start guides to help you get acquainted with Slider Revolution if it’s your first time using the plugin:
Step 1: Delete the global layers
You may want to keep the Global Layers in this template depending on the type of site you’re building. For example, if you’re creating a microsite for your shop, then you can use these layers to create a custom header, footer, and slider navigation.
If you’re using this template to create a highlight hero section for the home page, then you won’t need to keep the global layers.
Go to the top toolbar and hover over “Slides”. Then select Global Layers.
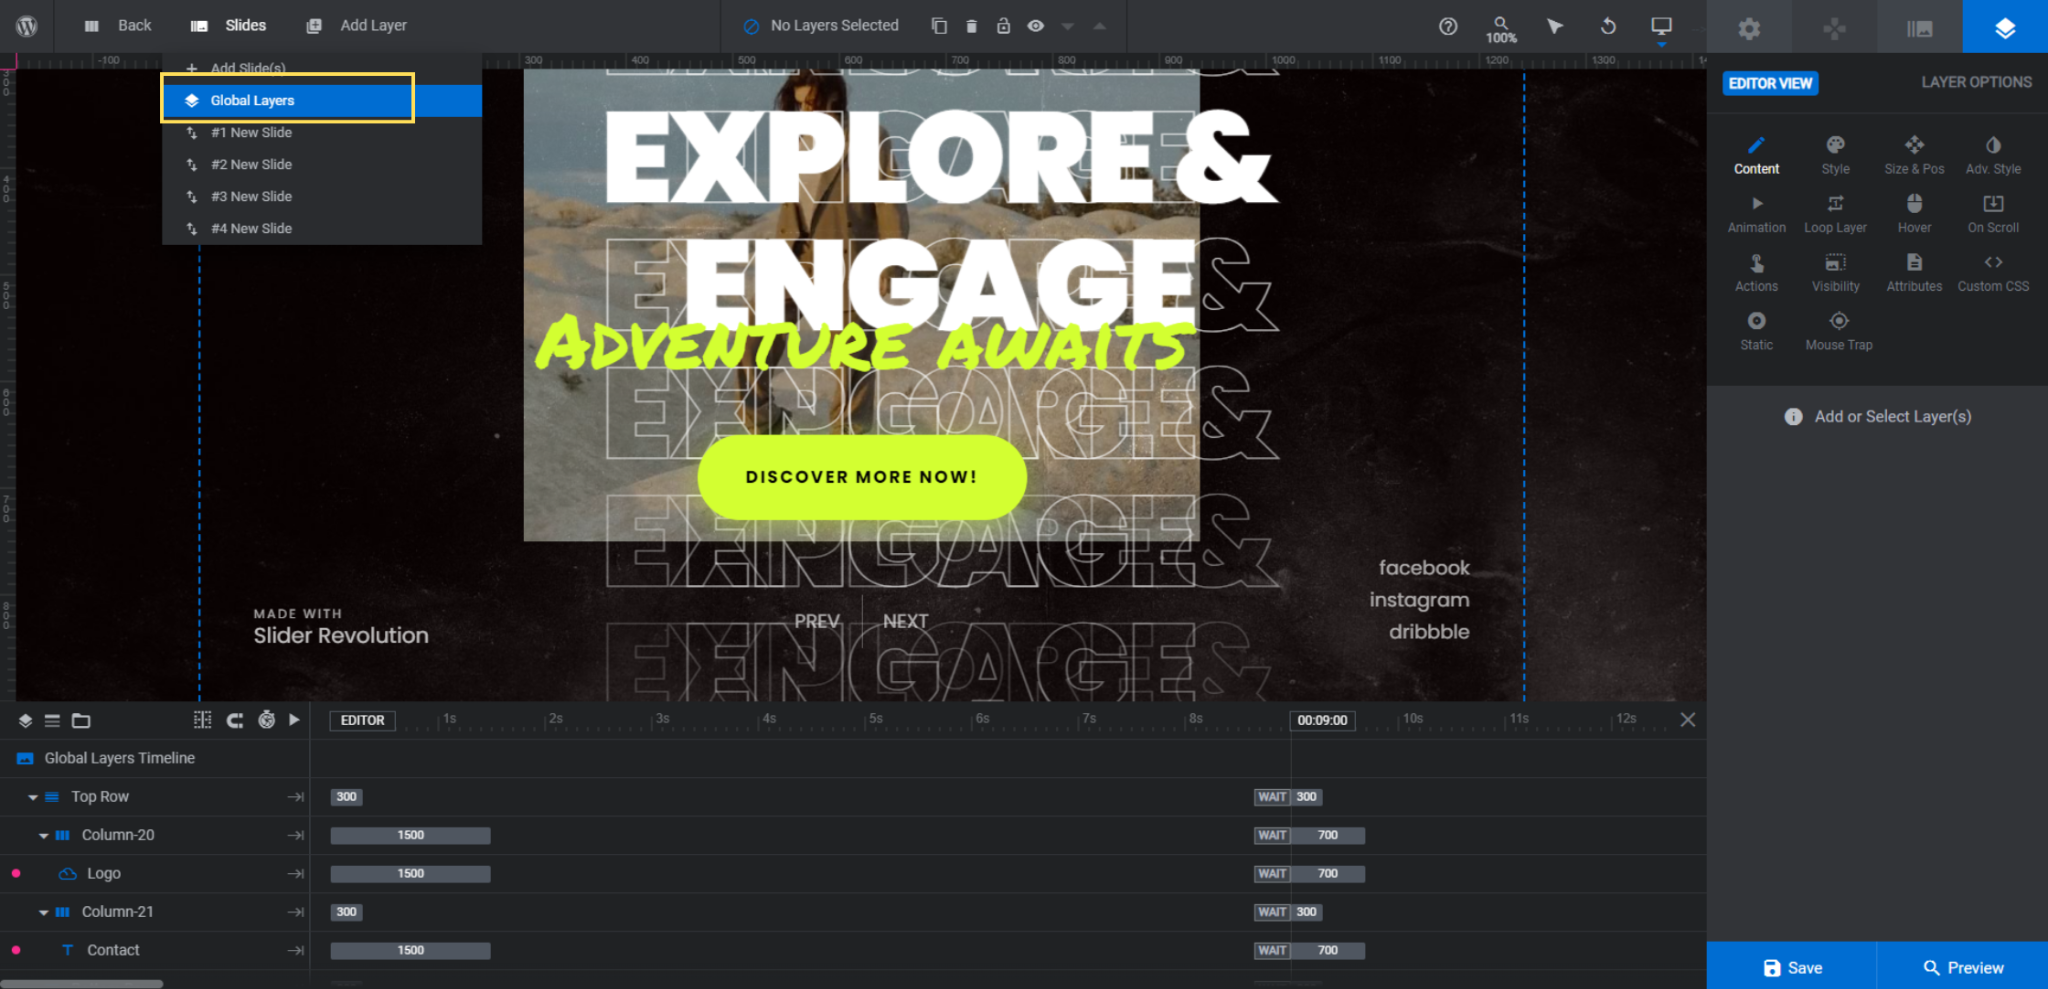
In the timeline at the bottom, you’ll find all your layers. If you want to edit them, select them one at a time and then use “Layer Options” to customize the content, style, and other settings.
To delete them, hold down the Ctrl or command key and select the following layers:
- Top Row
- Bottom Row
Hit Backspace or delete. This will remove all of the layers — the logo, Contact link, Slider Revolution tagline, navigation buttons, and social links.
When you’re done, go back to the “Slides” menu and open Slide #1.
Learn more:
Step 2: Delete all of the slides except for one
There are different ways to attract customers to your store and to motivate them to buy something.
If you’re using this hero section template to highlight new or featured products, for instance, then you will probably want to keep the slider format. Each slide will be dedicated to a different product.
If you’re using this template to highlight a promotional offer or new seasonal product line, all you need is one slide to effectively capture your shoppers’ attention. We’re going to go with this option to promote our new fall clothing line.
To delete slides from the template, go back to the “Slides” dropdown. Hover over the slides you want to delete and click the trash can icon that appears beside them.
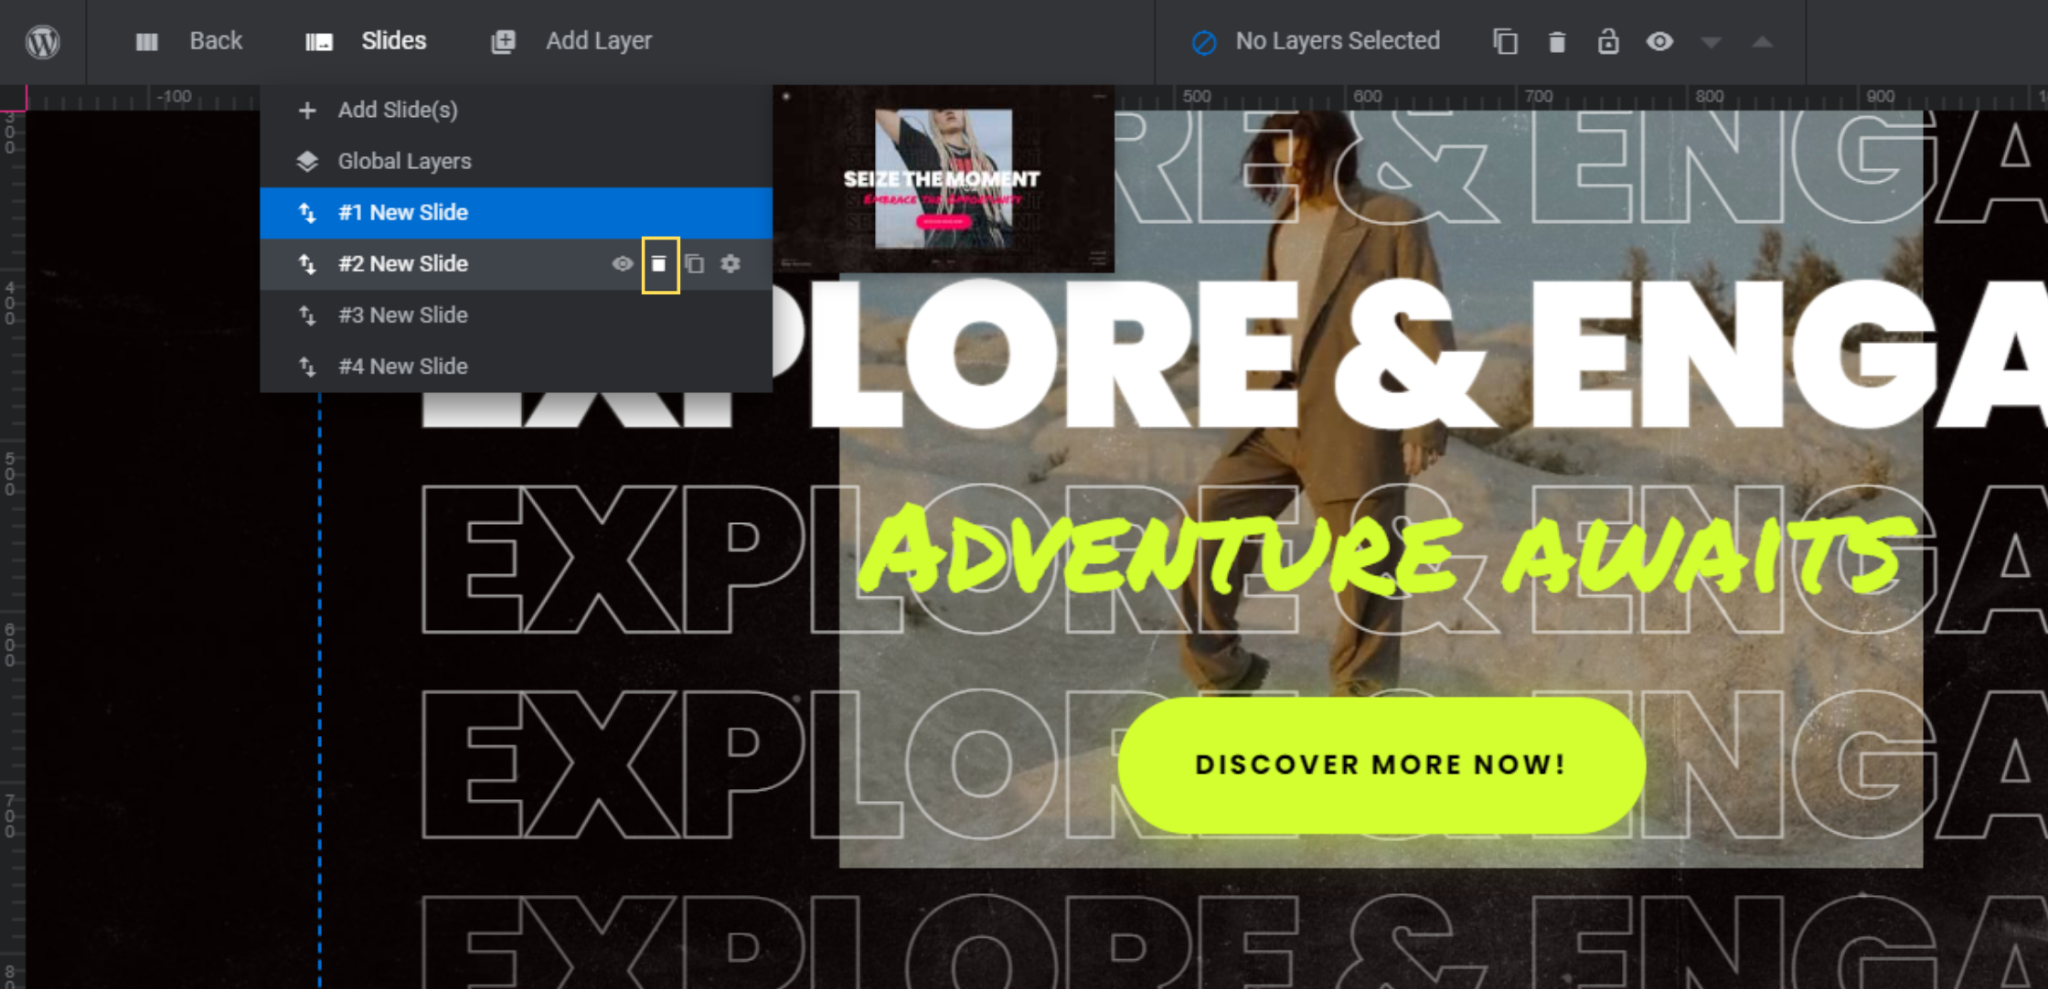
While there are some differences in the textured overlay and written content in the slides, they all use the same general format. So it doesn’t matter too much which of the slides you delete or keep.
Learn more:
Step 3: Upload your background video
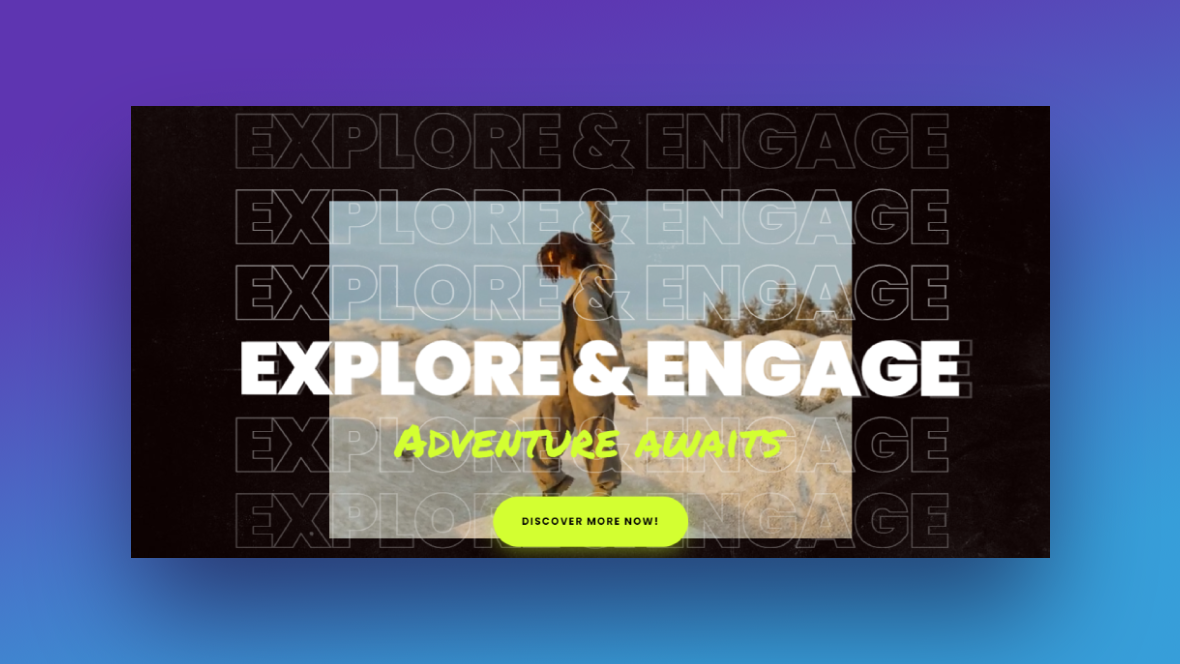
If you take a look at the preview of the template, you’ll catch a glimpse of the full video background as the slider transitions from slide to slide.
If you’re planning to keep the colorful video frame around the video, then be careful with the video you choose. Your subject matter needs to appear in the very center of the video — and not appear too high up or too low or else it’ll be cut off by the frame.
Note: If you have a great video and you don’t want to compromise on how much of it is visible, another option is to edit the size of the frame in the next step.
To upload your background video, go to “Slide Options” and “Background”. Click the Media Library button to upload your replacement video.
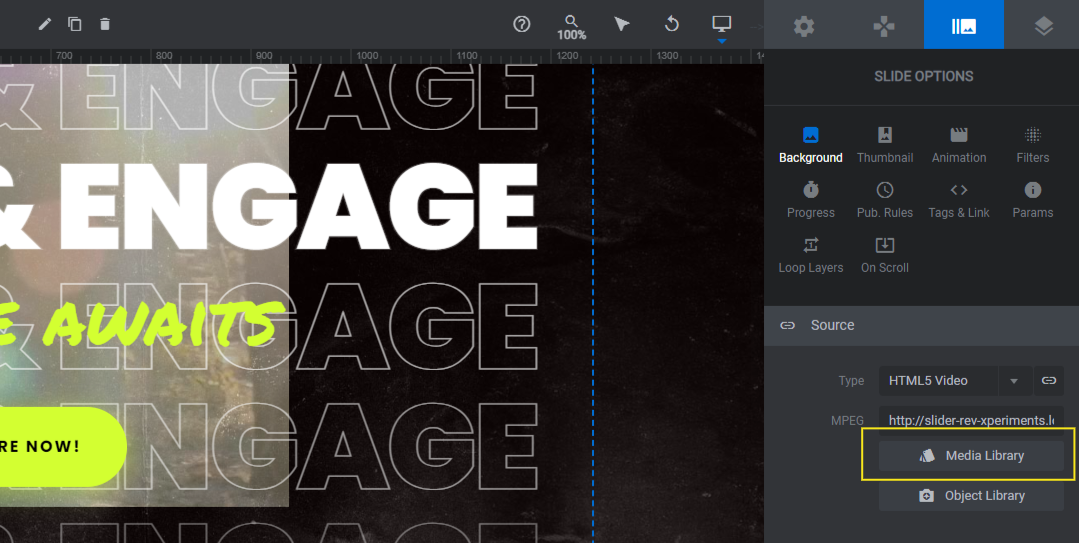
Open the Preview to see how your video looks within the context of the frame. If you’re happy with it, return to the editor and save your changes.
Learn more:
Step 4: Update the color of the video frame
The video frame is made up of four shape layers:
- Left Frame
- Right Frame
- Top Frame
- Bottom Frame
To edit the color of each layer, select each from the canvas or timeline editor. Then go to “Layer Options”. You can update the BG Color under “Content” or “Style”.
Unless you plan on changing the font to a darker color, stick with a darker video frame so that the text shows up clearly against it.
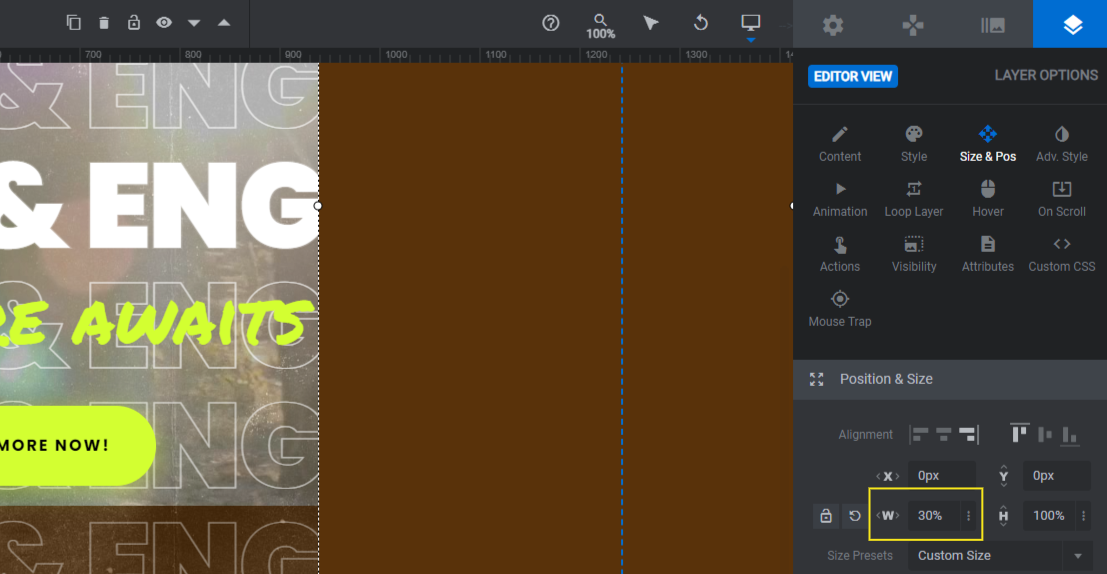
Note: If you want to shrink the size of the frame, go to “Size & Pos”. For Left Frame and Right Frame, shrink the W percentage. For Top Frame and Button Frame, edit the H value in pixels.
You won’t be able to see how the frame update affects the visibility of the video from the canvas. So check your work in the Preview once more.
Learn more:
Step 5: Update the texture overlay
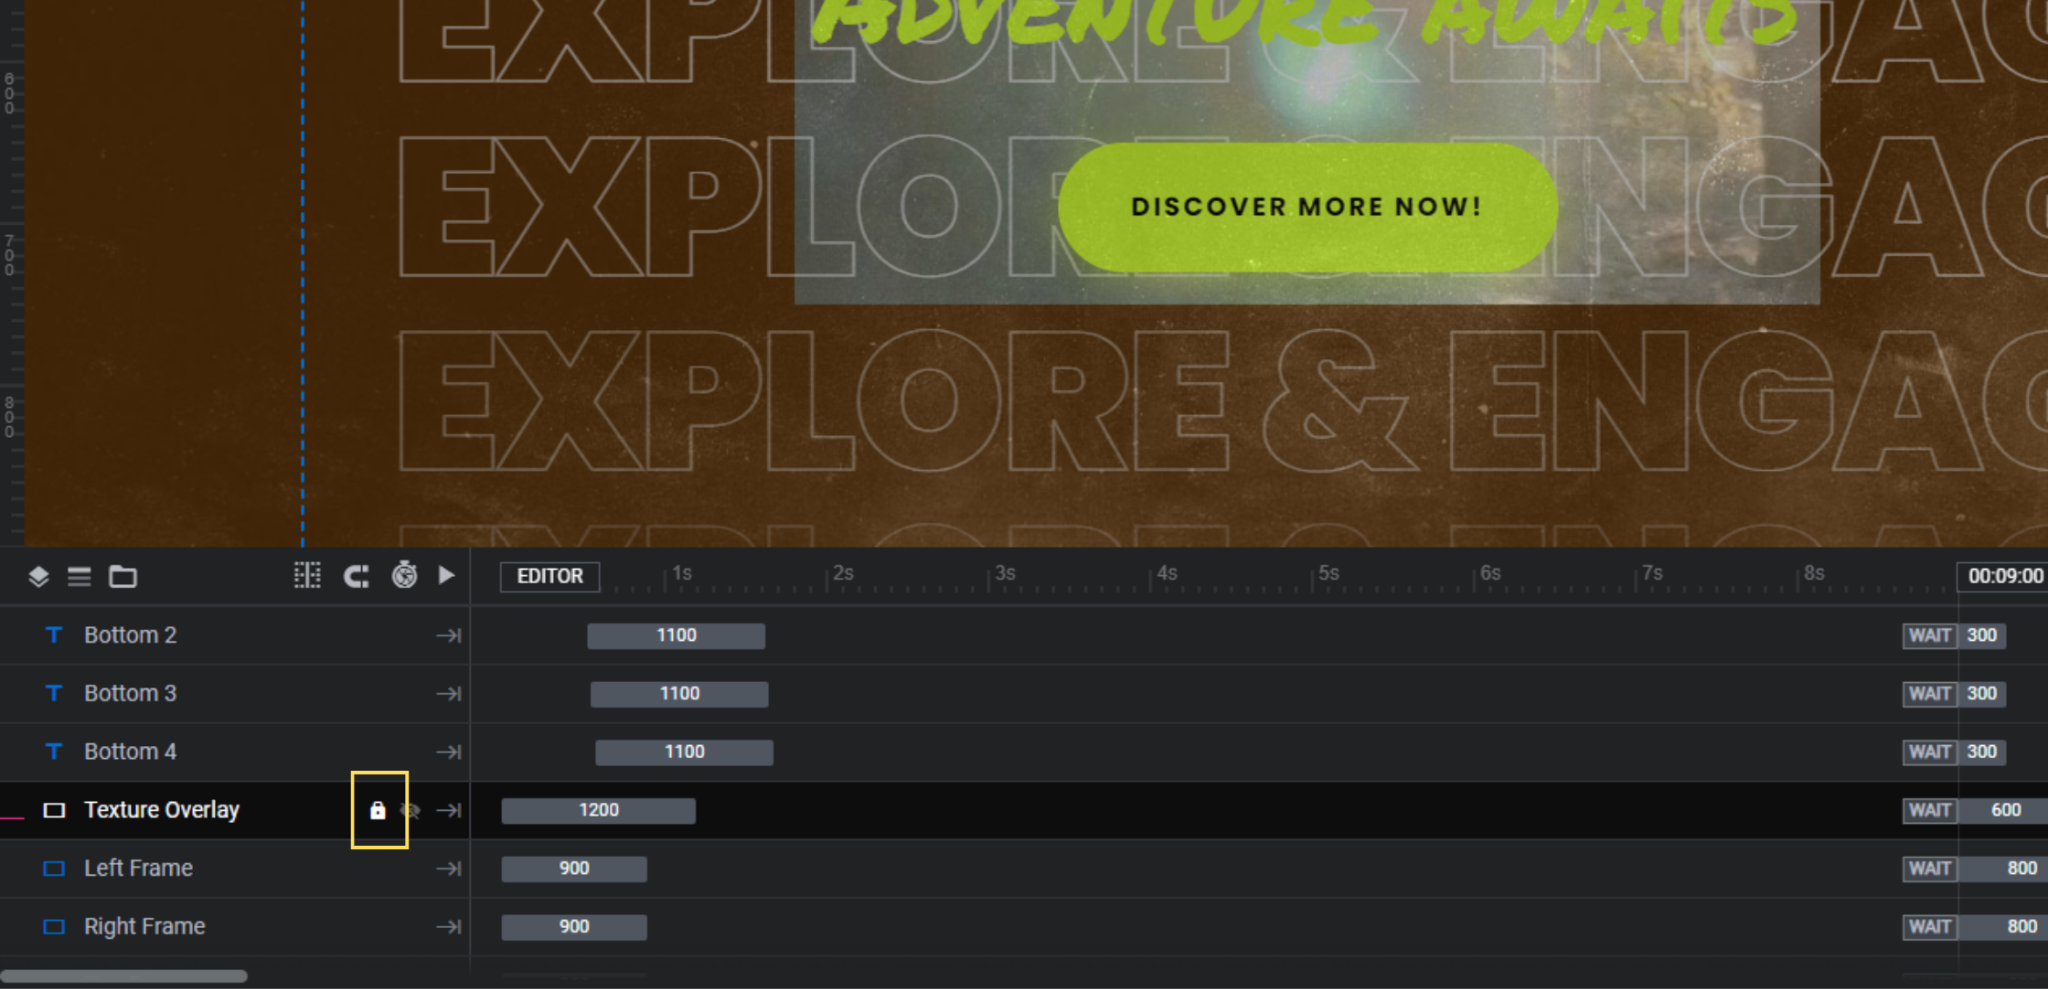
You’ll notice that the frame doesn’t appear as a solid color on the frontend of the site. That’s because there’s a layer called Texture Overlay that blends into the design (via the blend mode setting under “Adv Style”). This is what gives the frame a gritty look.
To edit this layer, you’ll first need to unlock it. Hover over it in the timeline editor at the bottom and click on the lock icon next to it.
You have a couple options in terms of what you do with the overlay.
If you’re sticking with a black-ish frame, you might want to use one of the overlays from the template. There are four of them.
Click on Texture Overlay. Then go to “Layer Options” and “Content” or “Style”. Click the Media button next to the texture image. Select one of the premade textures from the gallery.
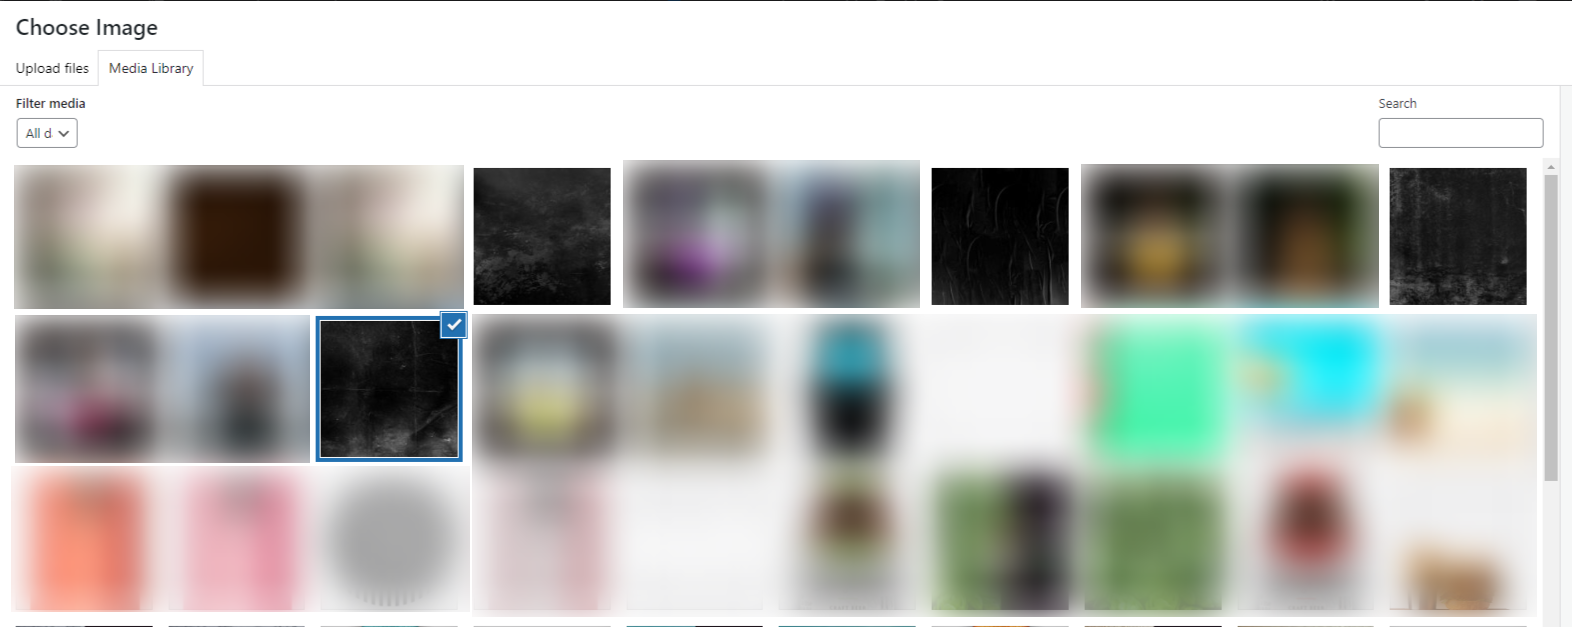
If your frame is a different color or the theme of your design isn’t as gritty or edgy, you can upload your own texture to the Media Library.
You can also customize its opacity under the color settings. Right now it’s set at 20%.
Step 6: Customize the main headline and subheadline
In this step, we’re going to focus on the text layers in solid font. These are:
- Middle Text — the headline that reads “Explore & Engage”
- Color Text — the subheadline that reads “Adventure awaits”
To edit these main text layers, start by going to “Content”. Here you can replace the existing text with your own.
Then you can go to “Style” to change the font, size, and color.
The only other thing you may want to customize is the motion effects. You’ll find this setting under “Mouse Trap”.
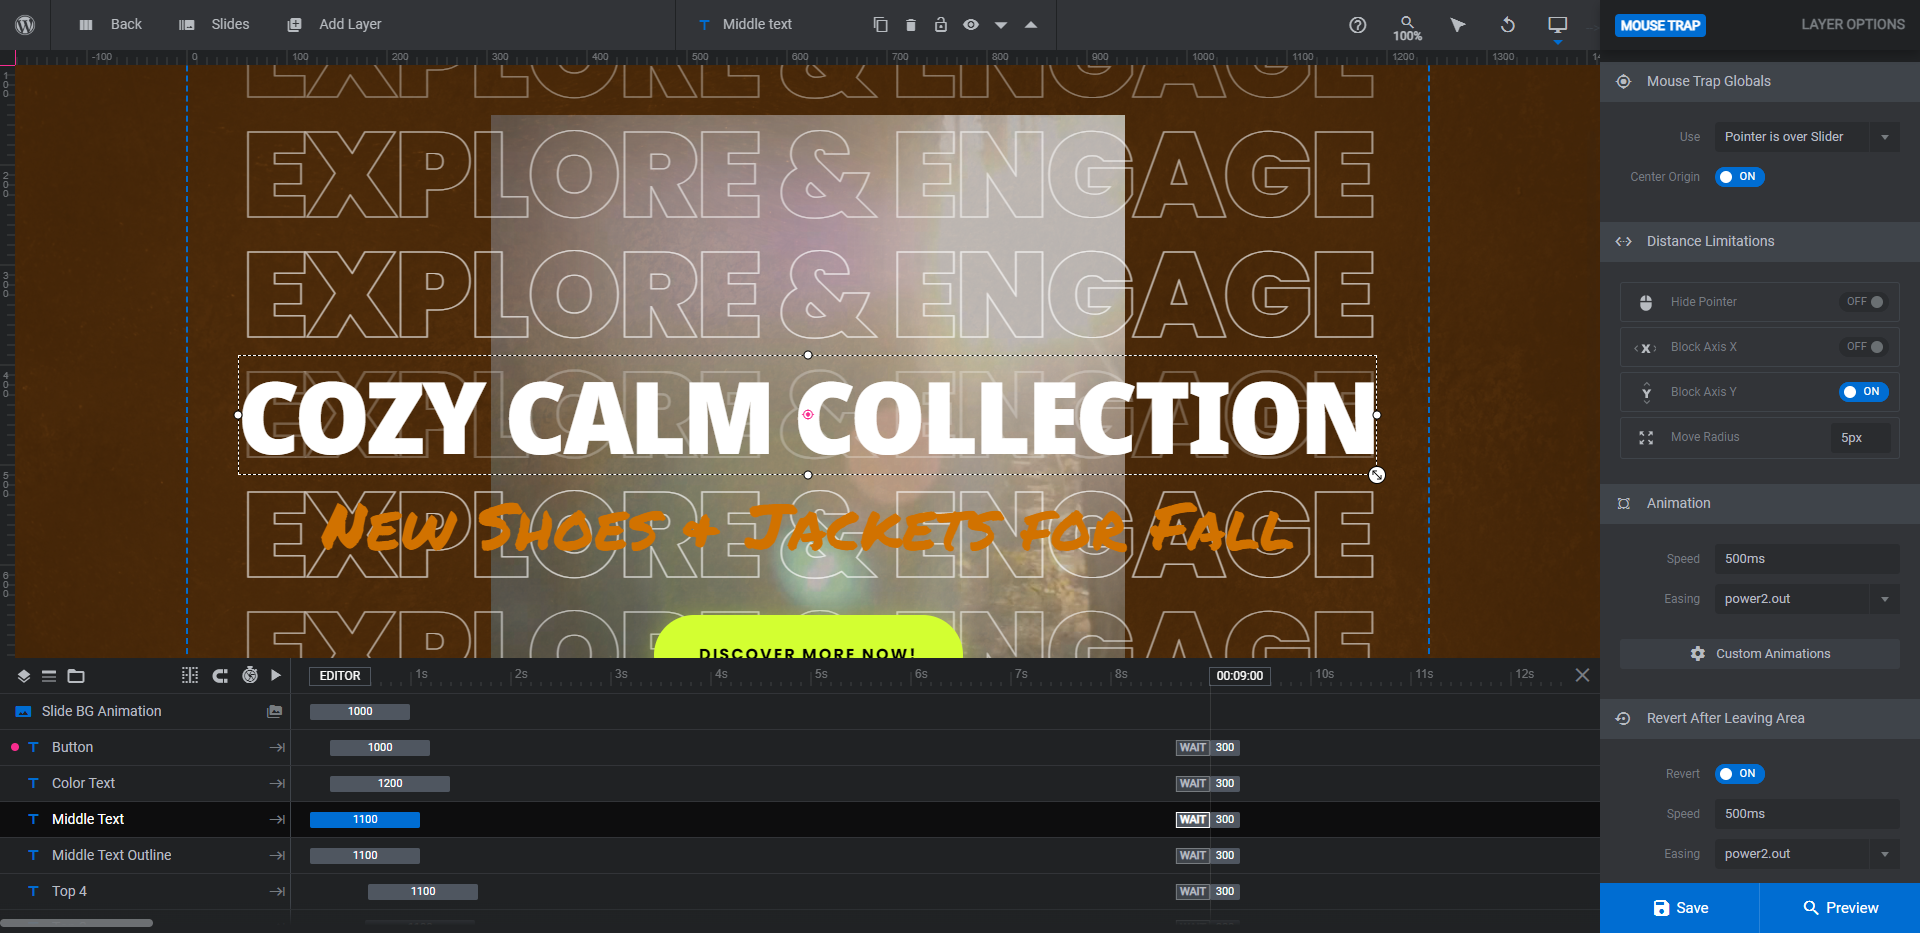
This setting gives these two layers (plus the Middle Text Outline layer which we’ll edit next) the swaying motion as your cursor moves over the hero section. You can disable or modify this setting from here if you want to create a more subtle motion for your site.
Learn more:
Step 7: Create the outline text layers
There are nine outline text layers in this template:
- Middle Text Outline sits behind the main Middle Text layer.
- Top 1-4 are the four layers above the headline.
- Bottom 1-4 are the four layers below it.
The outline text layers are identical to the Middle Text layer in terms of what they say as well as the basic styling of them. So start by applying the same content and font changes to these layers as you did the main headline.
Note: If you modified the Mouse Trap settings for Middle Text, do the same to Middle Text Outline as well.
If you need to modify the color of these layers, you’ll find the setting under “Adv Style” and “Text Stroke”.
Something else you may want to customize is the fading animation effect. You’ll find this setting under “Loop Layer”. Click on the “Effects” tab and you’ll see that a Filter animation has been applied to each of these text layers.
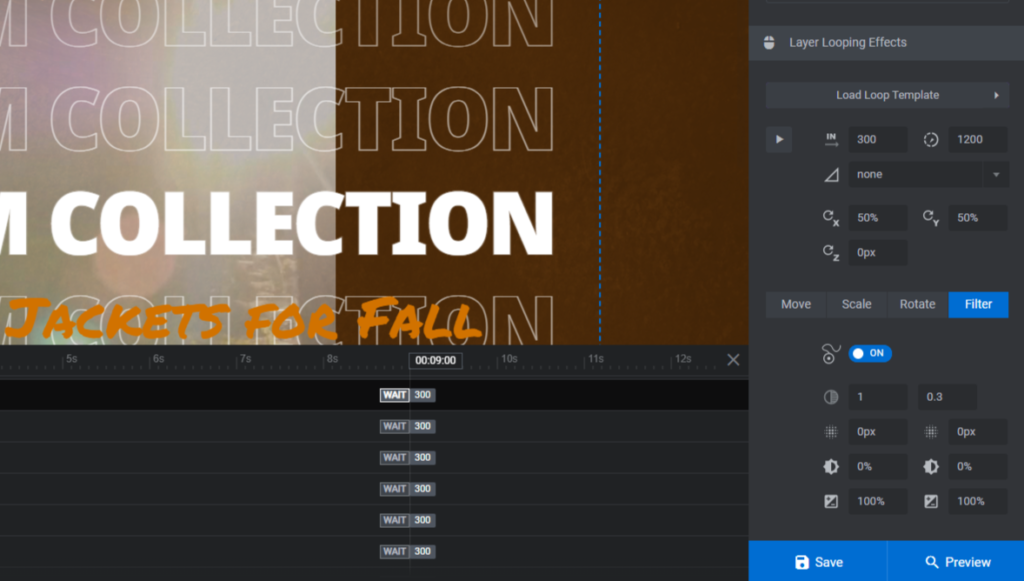
The first row of values dictates the starting and ending opacity levels of the layer. You can increase the ending opacity value if you’d like to minimize the effect, and vice versa.
When you’re done making your changes to each layer, click Save.
Learn more:
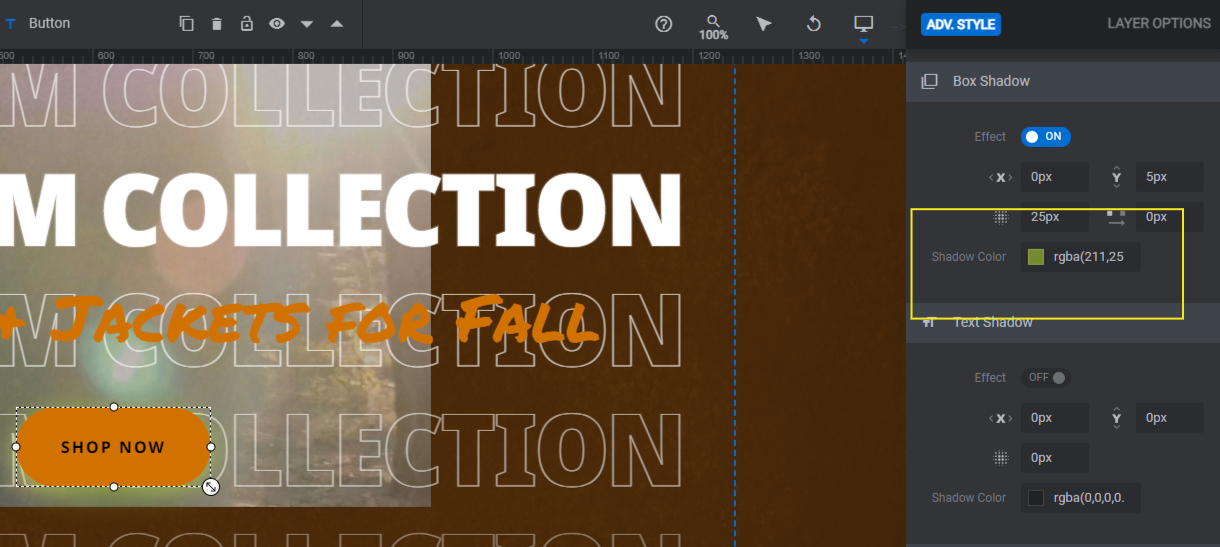
Step 8: Edit the button
To edit the Button, go to “Content” to edit the text. Then go to “Style” to update the font, button color, border, and spacing.
Next, go to “Adv Style” to adjust the Box Shadow effect.
The “Hover” effects also need to be modified. In addition to modifying the hover-triggered color change, you can adjust how much the button’s size shrinks or grows (if at all).
One last thing to do is to add an action to the button. Go to “Actions” and you’ll find that a Scroll Below Slider action has already been created.
If you would rather point shoppers to the page where your new product line is, delete the existing action by clicking the trash can icon to the right of it. Then add a Simple Link and fill in your URL.

To save your changes, close the pop-up.
Learn more:
Step 9: Do a responsive check
The last step is a responsive check. Even if all you made were changes to the wording or font, it’s a good idea to make sure the design still looks good on smaller screens.
To do this from within the editor, go to the top toolbar and click open the responsive variants. Select any of the small devices to see how your design looks.
If changes are needed, make the edits from the device’s specific view. This will apply the changes only for that device.
Before you wrap up, open the Preview one more time. You can toggle between the different responsive views from this screen as well.
If you’re happy with how it all looks, return to the editor and grab the embed shortcode from the “Module Options” screen. Use this shortcode to add your new hero section to your store’s home page. Or you can use the Slider Revolution widget in your page builder to embed it.
Learn more:
Get customers excited about shopping in your store
In order to attract customers to your store, you should make them an attractive offer. Big sale! New products! Fall is here! To get as many of them as possible to notice this offer, then the section needs to have an equally attractive design.
With the Highlight Hero Section template, you’ll have everything you need to create a beautifully framed video with some light animation to capture every shopper’s attention.

