

Once you’ve accumulated a dozen or so great examples of your creative work, it’s time to find a home for them. While platforms like Dribbble and Instagram are perfectly fine to use for sharing your work, you should have a portfolio site of your own you can direct people to.
In this tutorial, we’ll show you how to use the Visual Design One-Page Portfolio template to create a one-page portfolio site. And it won’t take you more than a couple hours to do it.
Table of Contents:
- Step 1: Choose your images
- Step 2: Choose your colors
- Step 3: Choose your fonts
- Step 4: Customize the header
- Step 5: Customize the hero slider
- Step 6: Customize the portfolio gallery
- Step 7: Delete the detailed view
- Step 8: Customize your bio section
- Step 9: Customize the footer
- Step 10: Embed the modules into your home page
How to create a stunning one-page portfolio site
You don’t need to be a professional web designer to create a portfolio site to show off your artistic endeavors. In this tutorial, we’ll show you how to take this template:
And transform it into the following photography portfolio website:
If you’re new to Slider Revolution, check out these quick-start guides before you begin:
Step 1: Choose your images
Because this is a portfolio site, it’s going to have a lot of images on it. You want to keep it to a reasonable amount since you need the one-page site to load quickly.
The best thing to do is work with the image placeholders in the template. You can always add or subtract images later.
For now, these are the image sizes to create for your site:
For the hero section:
- 3 images sized to 1680px by 720px
For the portfolio gallery:
- 3 images sized to 1024px by 1024px
- 1 image sized to 1232px by 928px
- 1 image sized to 848px by 1424px
- 1 image sized to 928px by 1232px
Note: If you don’t have portfolio images that match those exact specifications, you can always modify the size of the columns and image placeholders in the template to fit your files.
For the bio section:
- Your headshot should be 400px by 301px
With WordPress open, click on the Media folder on the sidebar. Click the Add New button at the top and then upload all of your portfolio files.

When you’re done, go to Slider Revolution and install the Visual Design One-Page Portfolio template.
Once the template is installed, you’ll be taken to the package where the six modules (i.e. page sections) live. You’ll have to open them one at a time to edit each.
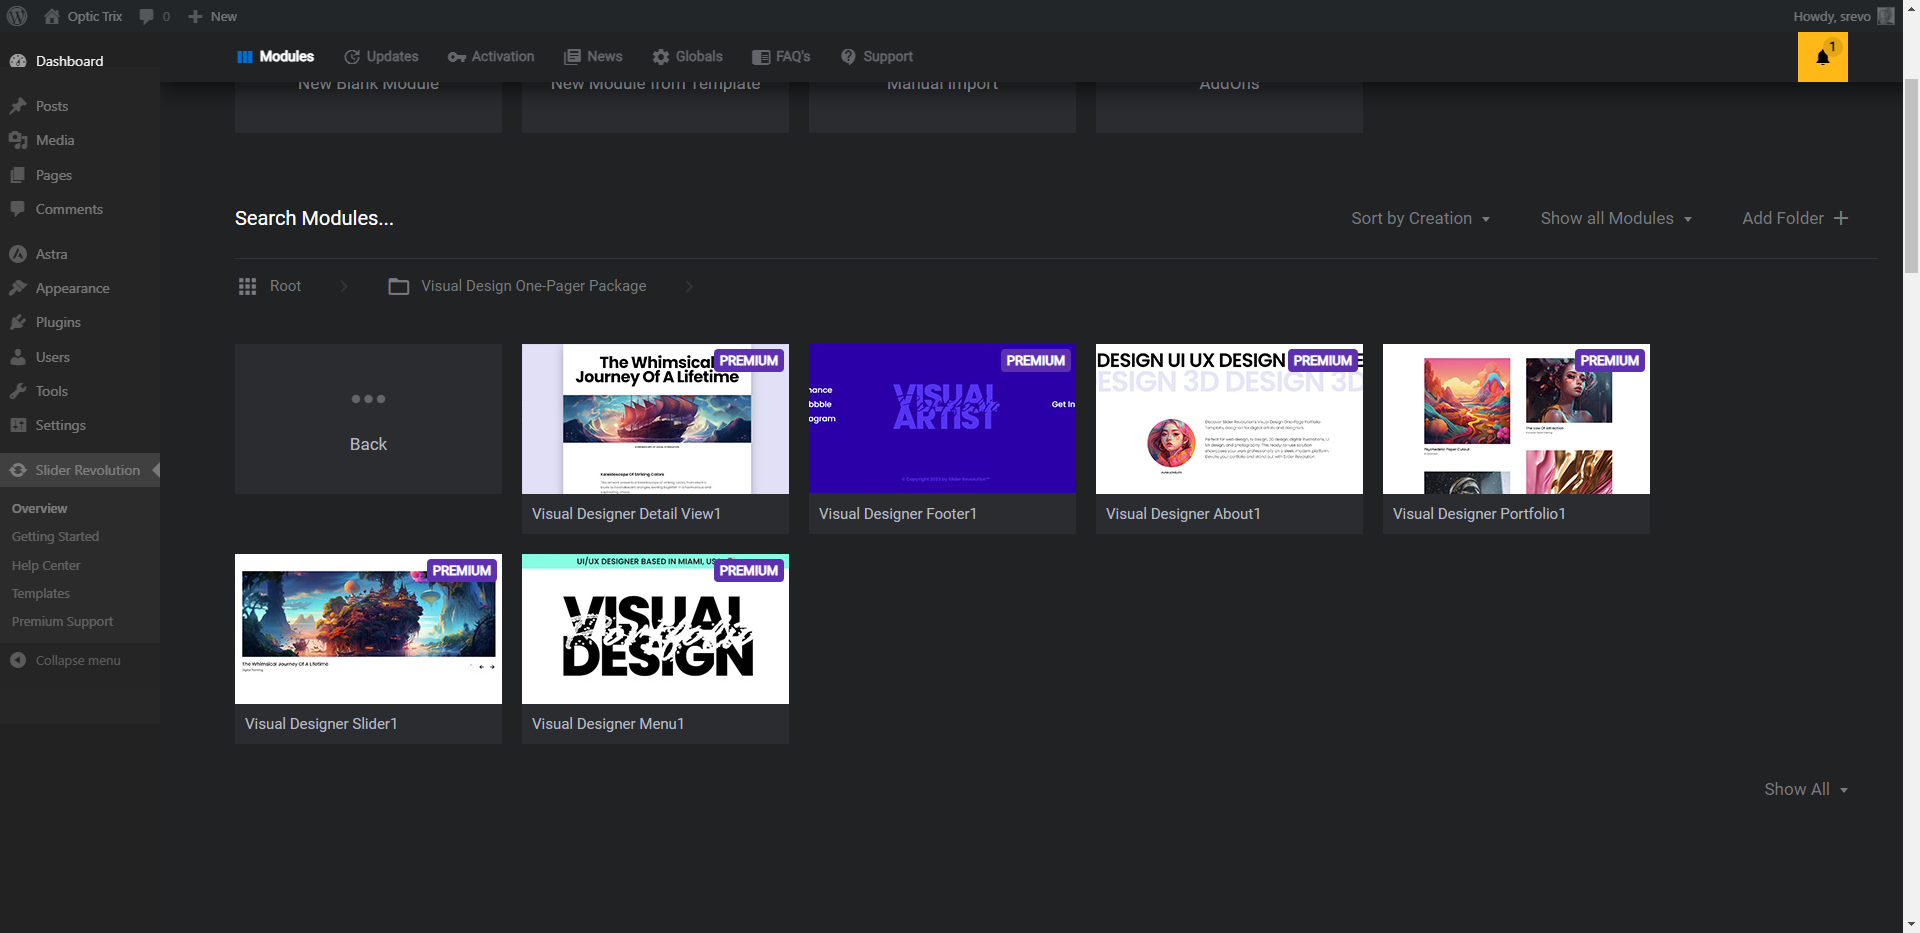
We’ll begin customizing the template in Step 4, so keep this open while we finish up the rest of the setup.
Step 2: Choose your colors
This template is pretty basic in terms of coloring. It has a white background for most of the sections.
You don’t have to stick with this color motif if it doesn’t match your branding or the style of your artwork. Take some time now to choose your colors.
Here are the colors to figure out:
- Website background
- Fonts
- Notification bar (the thin bar at the top of the site)
- Logo accent color
- Hover color for logo and buttons
- Footer background color
- Footer accent and hover colors
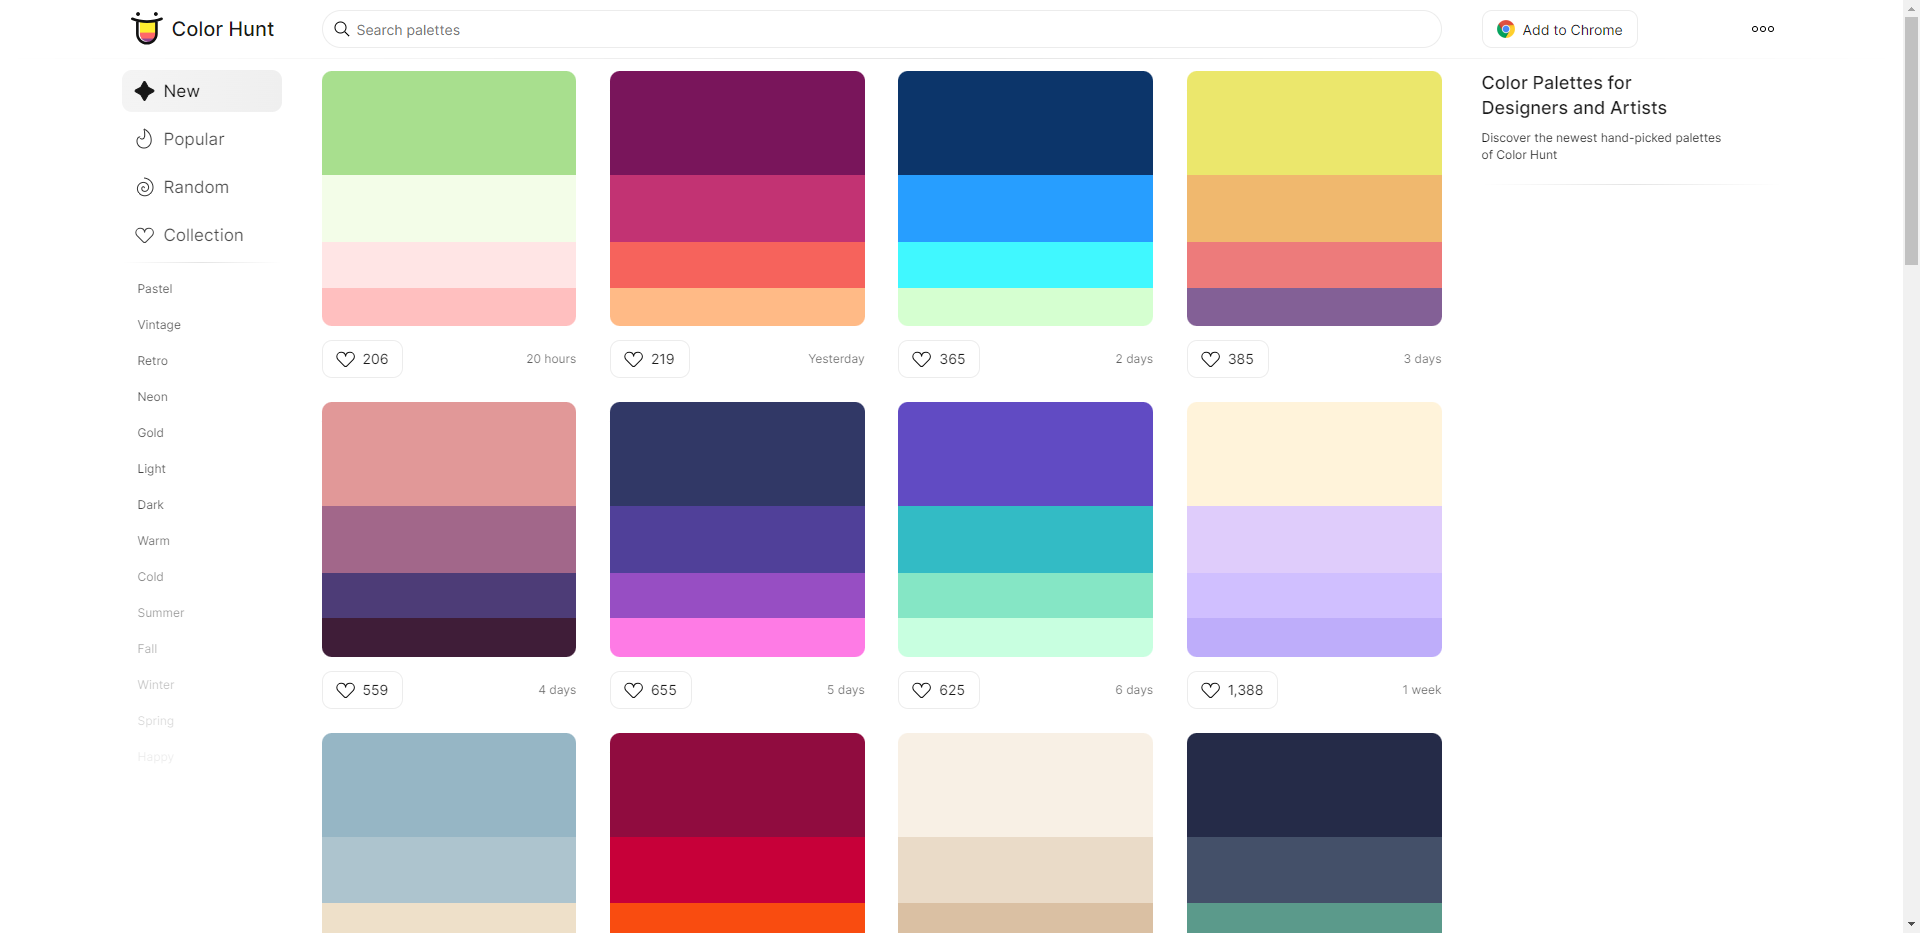
If you need help finding compatible color palettes, use a tool like Color Hunt for inspiring palettes or to generate a new one.
Write all your color HEX codes down somewhere so you remember where each goes when you begin editing the template.
Step 3: Choose your fonts
The last piece of the setup is to choose your fonts.
If you like the current style of the fonts in the template, you can leave them as they are. Otherwise, choose three or four new fonts for the following parts of the site:
- A display font for the main part of the logo
- A handwritten or stylized font for the inner part of the logo (this is optional)
- A header font for the headlines on the page
- A body font for the plain text on the page
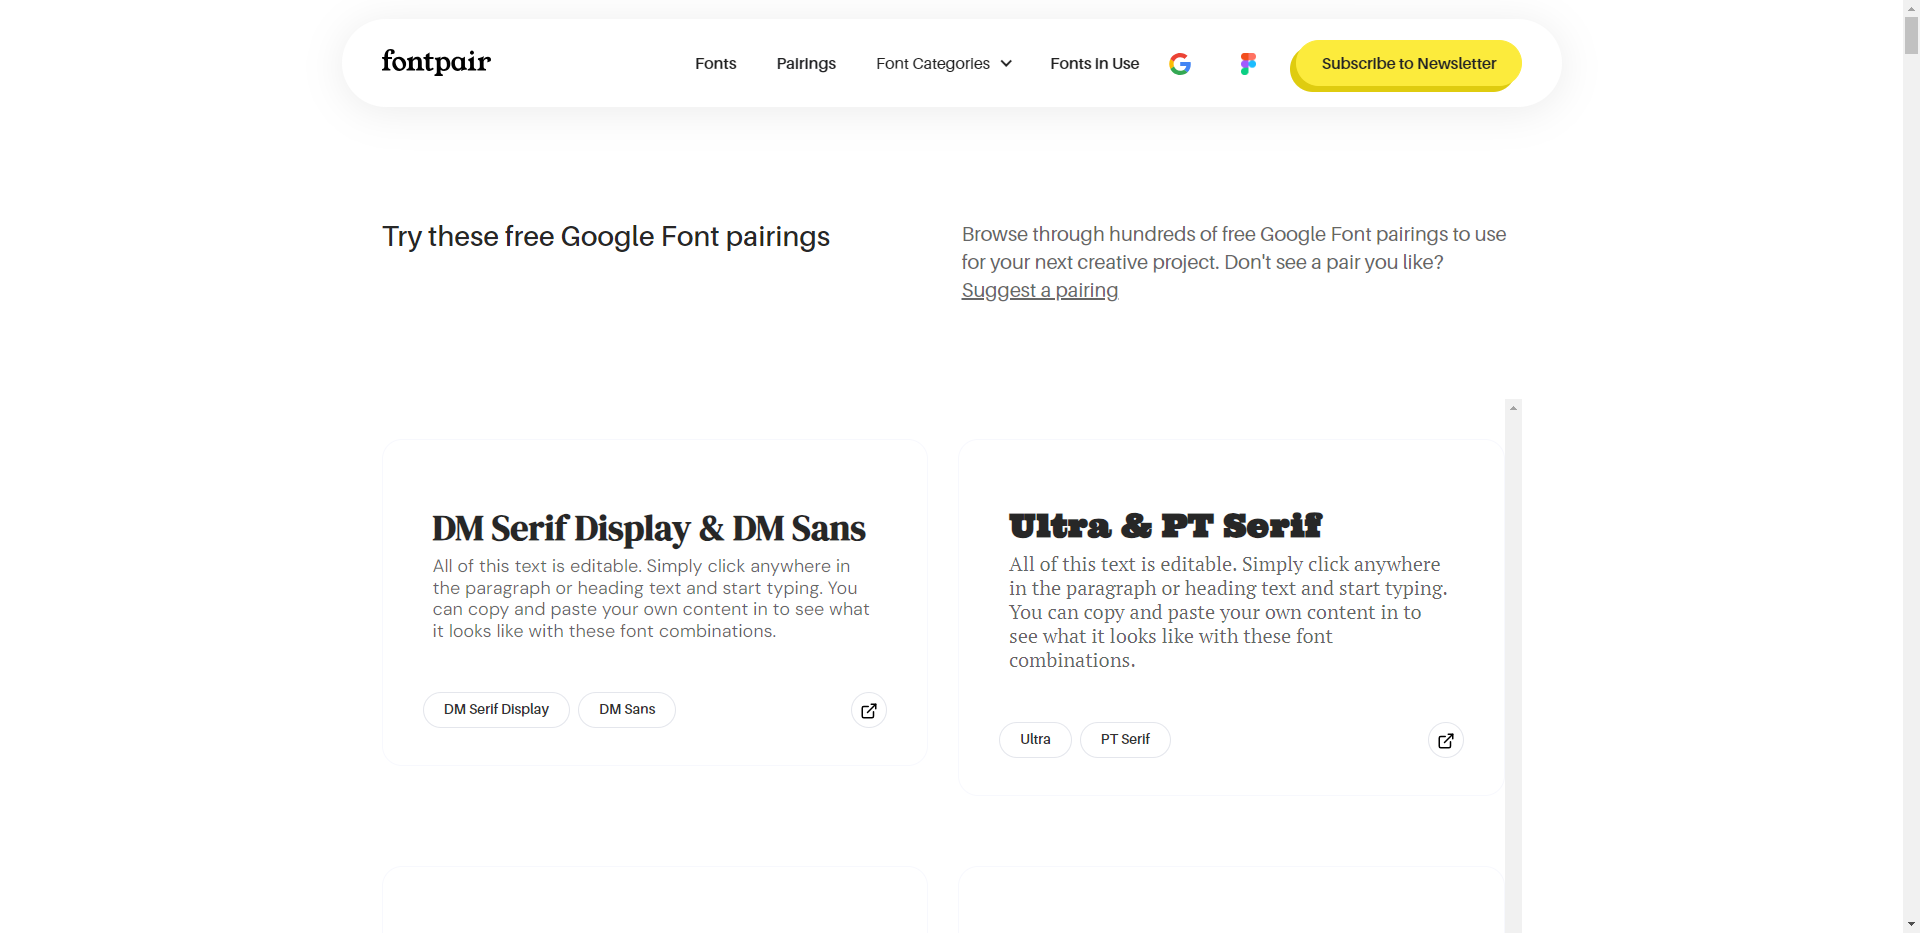
Slider Revolution comes with a complete pack of Google Fonts, so you have tons to choose from. If you need help coming up with font pairings, use Fontpair to choose a compatible set for your header and body fonts.
Again, write down your font choices somewhere so you can easily retrieve them while you work on your site.
Step 4: Customize the header
Now let’s jump inside of Slider Revolution. We’ll be editing the Menu module in this step.
If you’ve decided to change the background color of the template, go to “Module Options” and “Layout”. Scroll down to Module Background and click on the color block next to BG Color.
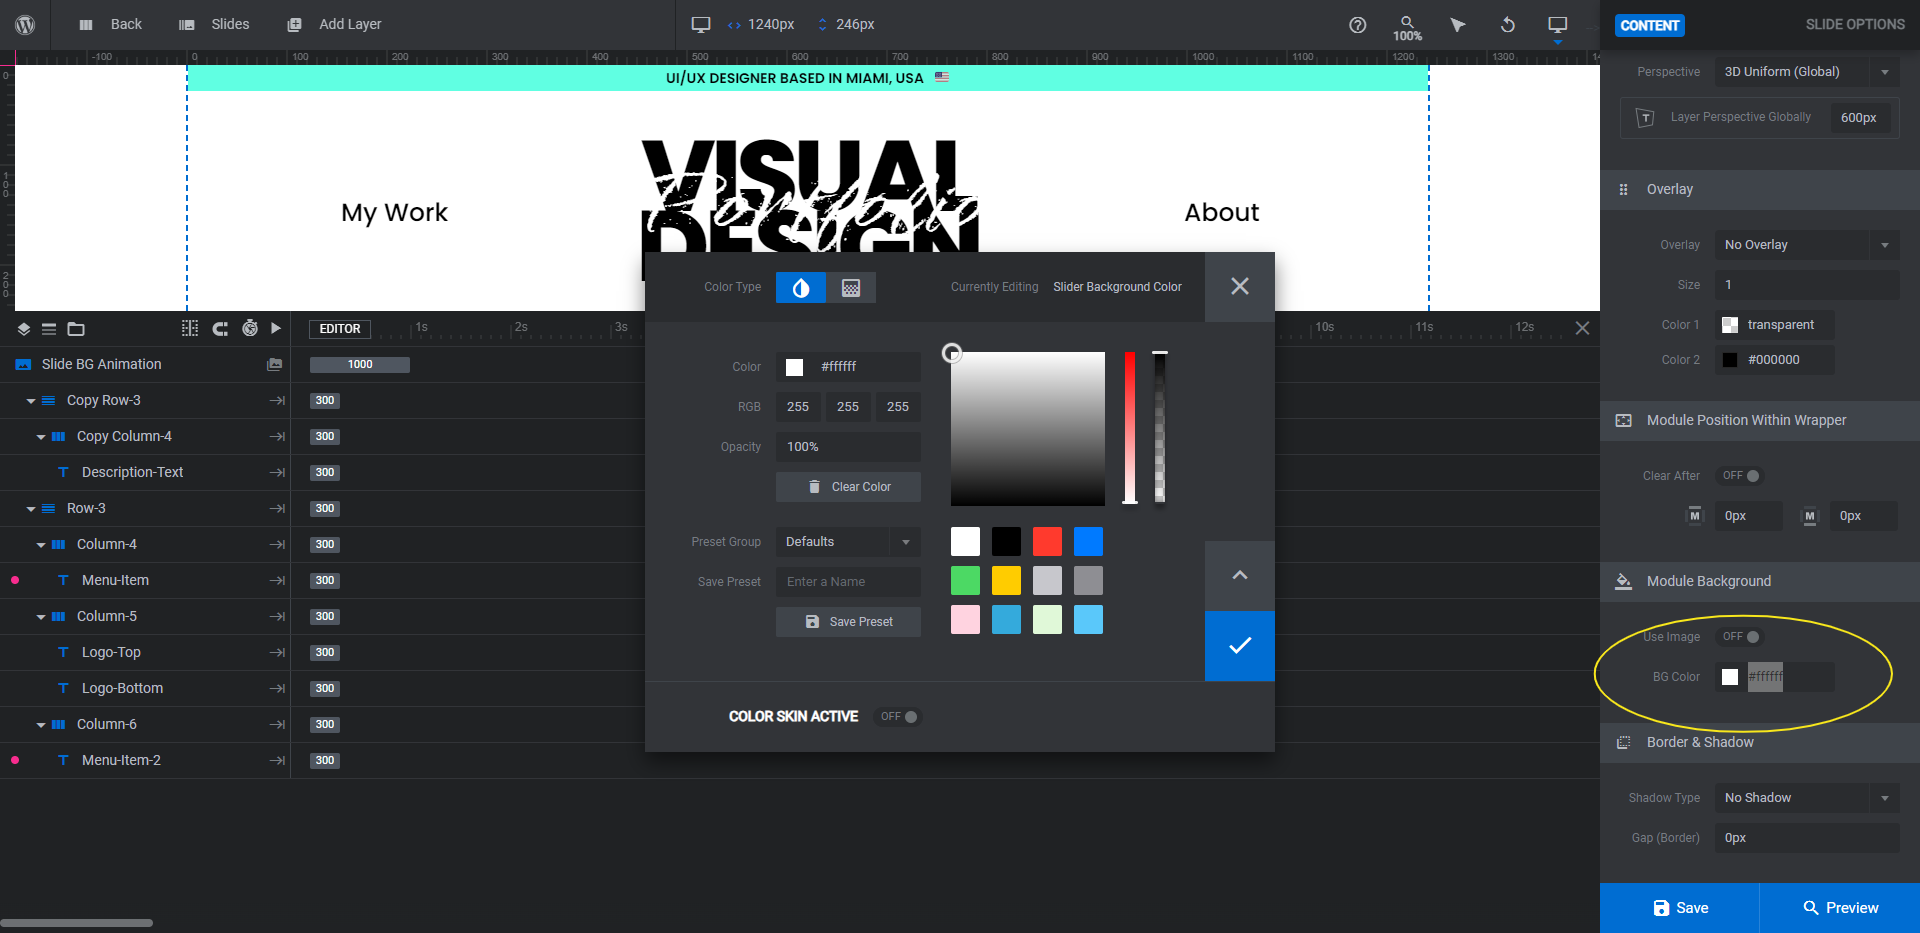
You can choose from one of the presets in the bottom-right corner or you can enter a custom HEX code into the Color field in the top-left.
Next, let’s edit the notification banner at the top. The text currently tells people what you do and where you reside. You can share a different personal message here, if you’d prefer.
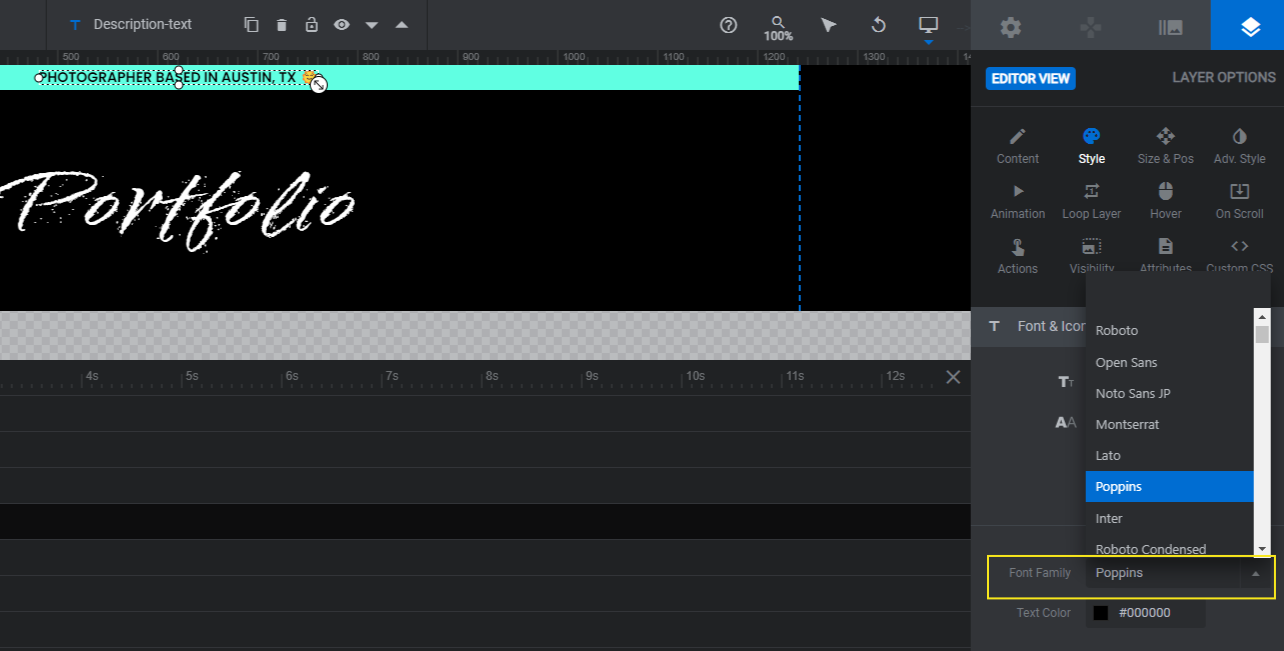
To edit what the text says, select the layer called Description-Text in the canvas or timeline editor at the bottom. Go to “Layer Options” and “Content” to change what the text says.
Pro tip: If you want to include an emoji in your notification bar, copy-and-paste the one you want to use from Emojipedia directly into the text editor in Slider Revolution.
To update the font, go to the “Style” panel. Click the dropdown next to Font Family and select the body font you selected in the previous step.
You can use other settings here to customize the color, weight, spacing, and size of the font.
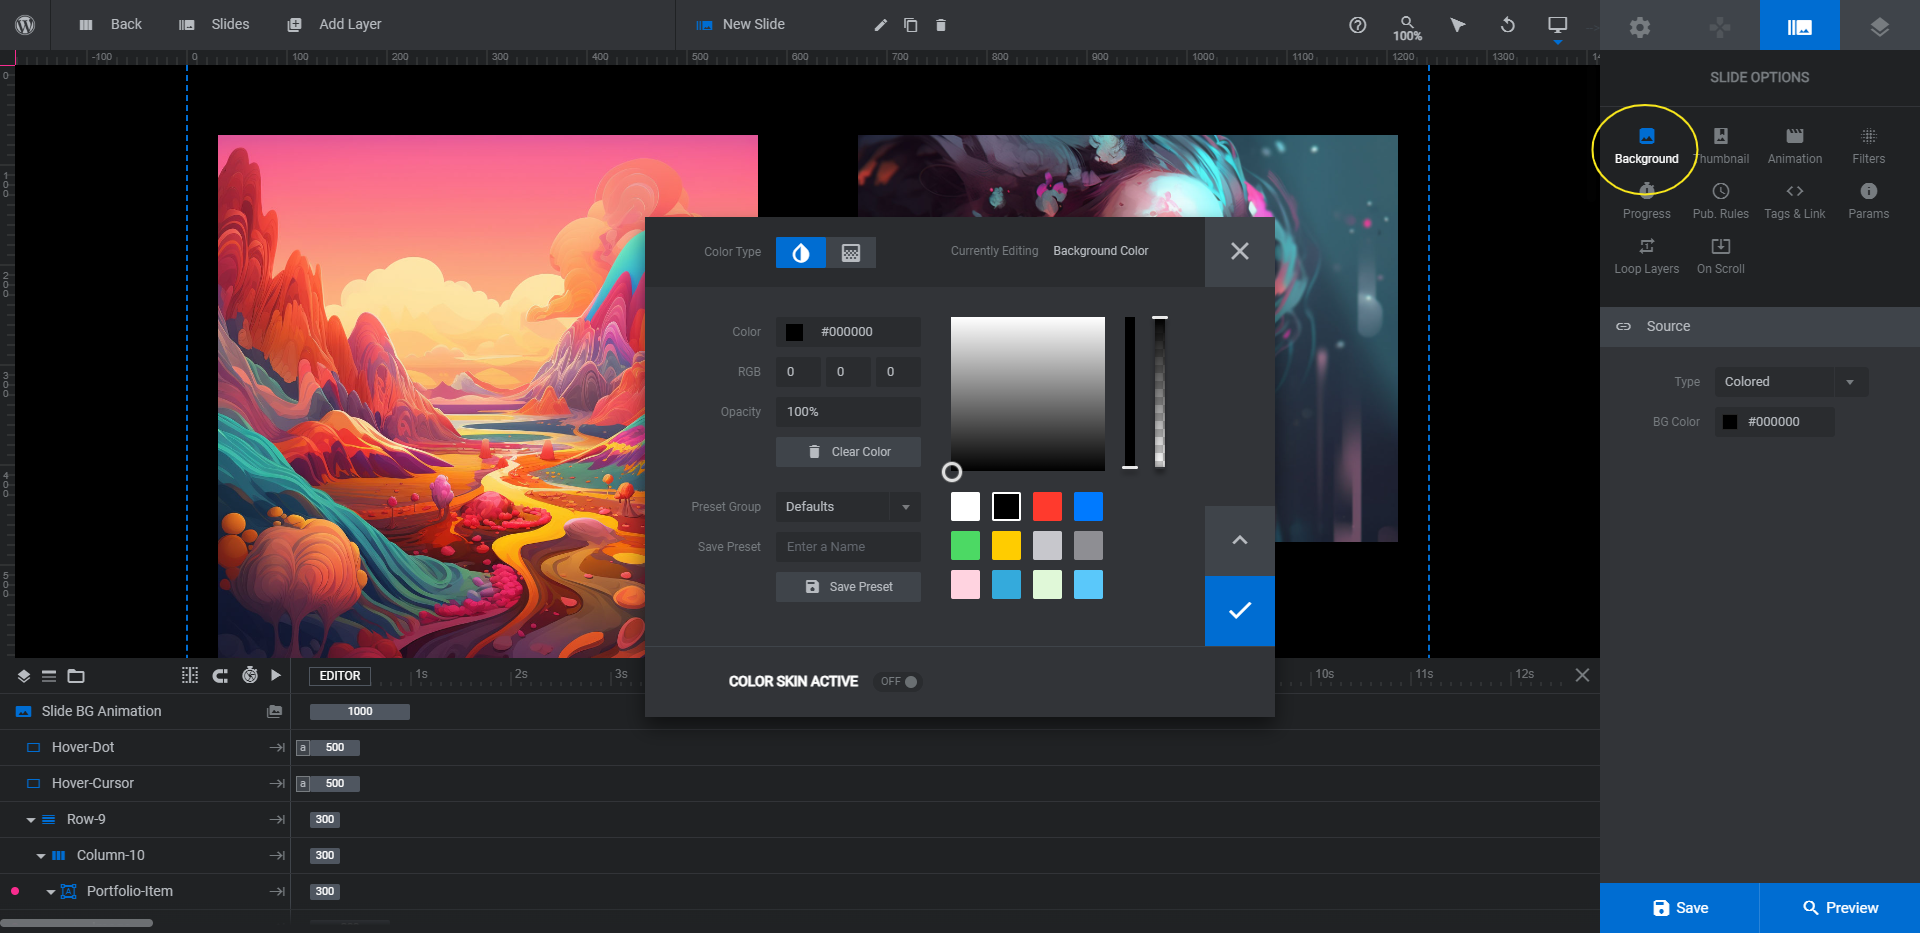
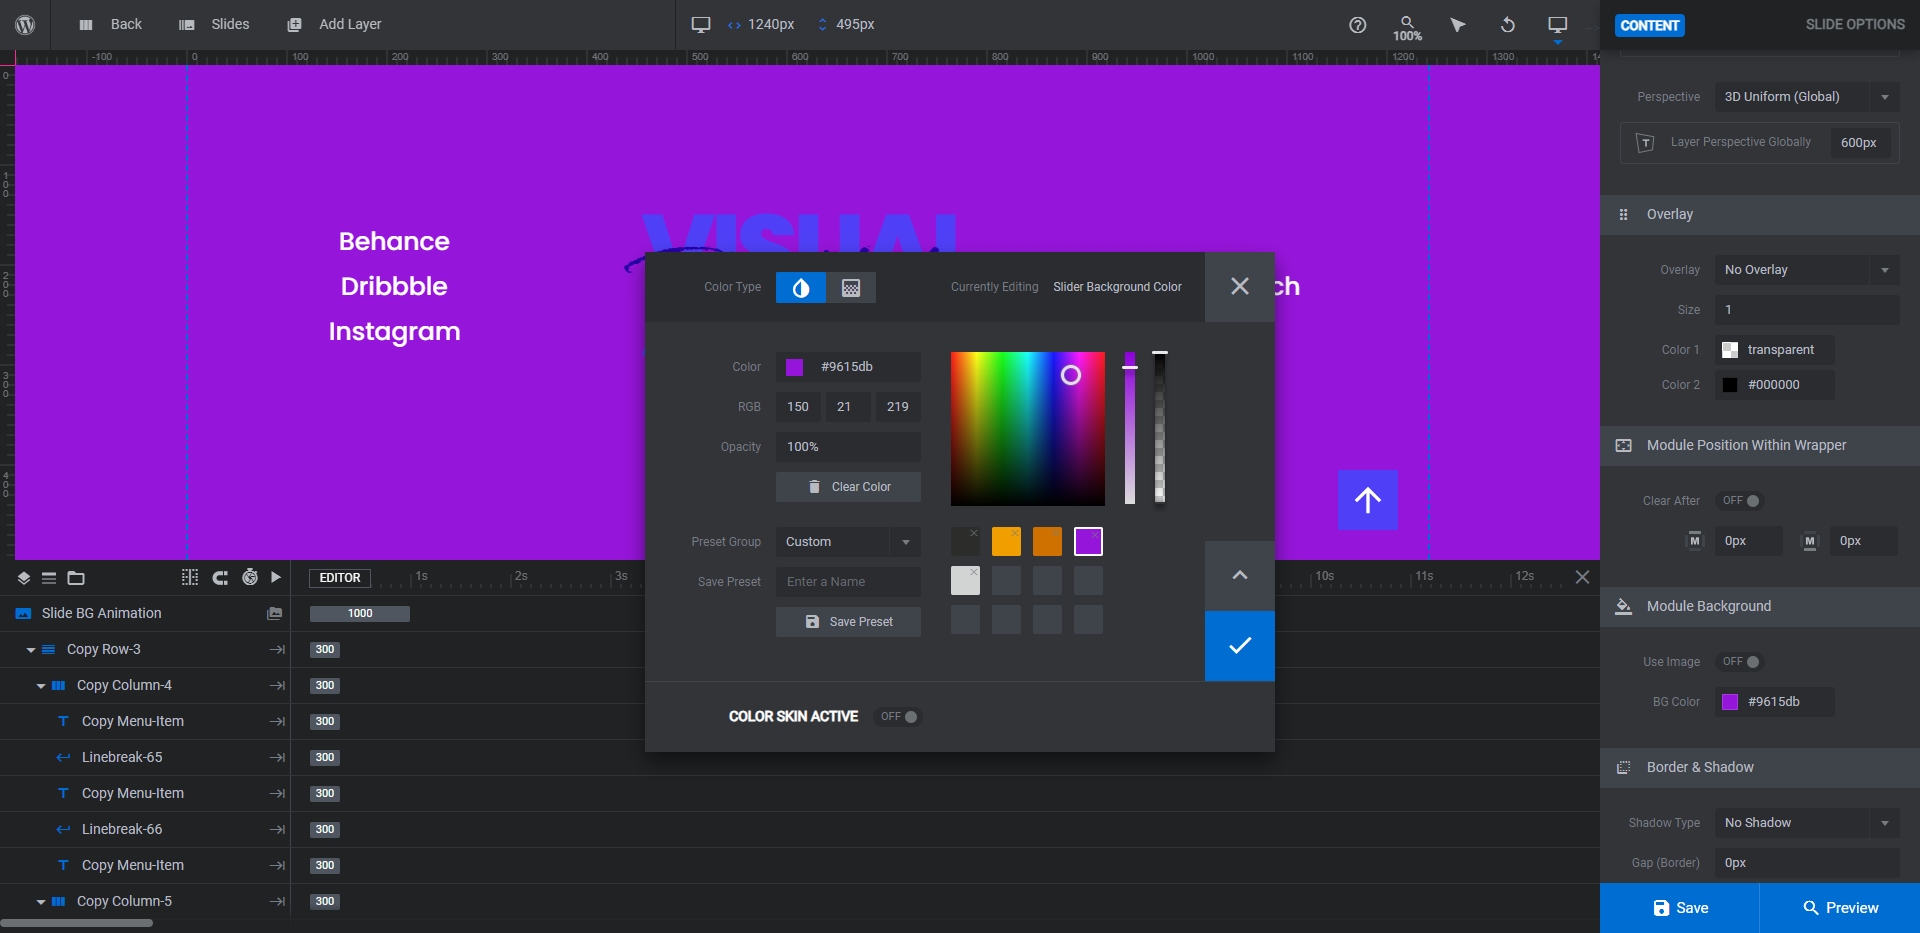
To change the background color of the notification bar, select the layer called Copy-Row-3 and go to “Style”. Click on BG Color to open the color selection module.
Before you save your color change, go down to Preset Group and switch the dropdown option to Custom. This will open a custom palette of colors on the right once you start creating them.
Since this color will become a highlight color used throughout your site, it would be beneficial to save this as a preset. To do this, give it a memorable name and then click Save Preset. Save your changes and exit out of the color selection module.
You’ll use the same “Content” and “Style” tools to edit the rest of the components in the header.
Menu-Item is the “My Work” anchor link which scrolls visitors down to your portfolio gallery. Menu-Item-2 is the “About” anchor link which scrolls visitors to your bio section. Update the following for these layers:
- Text under “Content” (if you want to change what these labels say)
- Font, color, and styling under “Style”
In addition, you’ll need to edit the underline that appears when someone hovers over these links. You’ll find this setting under “Hover”, “Style”, and Border Color.

Note: If this color is going to be one you use elsewhere on the page, save it as a preset.
The last component to edit is the logo. It’s made up of two text layers. Logo-Bottom is the name of your company (or your own name). Logo-Top is the italicized/handwritten “portfolio” scrolled across it.
Use “Content” to edit what these layers say. Use “Style” to update the font, colors, and style. And you’ll also need to customize the hover colors of the Logo-Top layer.
Save your changes and exit out of the module when you’re done.
Learn more:
- Changing Template Background Colors and Images
- Editing Text from Template Modules
- The Tools of the Color Selection Module
Step 5: Customize the hero slider
We’ll be editing the Slider module in this step. There are three slides to edit along with Global Layers.
To start, if you changed the module background color in the header, do the same for the hero section.
Next, go to the “Slides” menu in the top toolbar and open the Global Layers. These layers are visible on the slider no matter which slide the visitor is looking at.
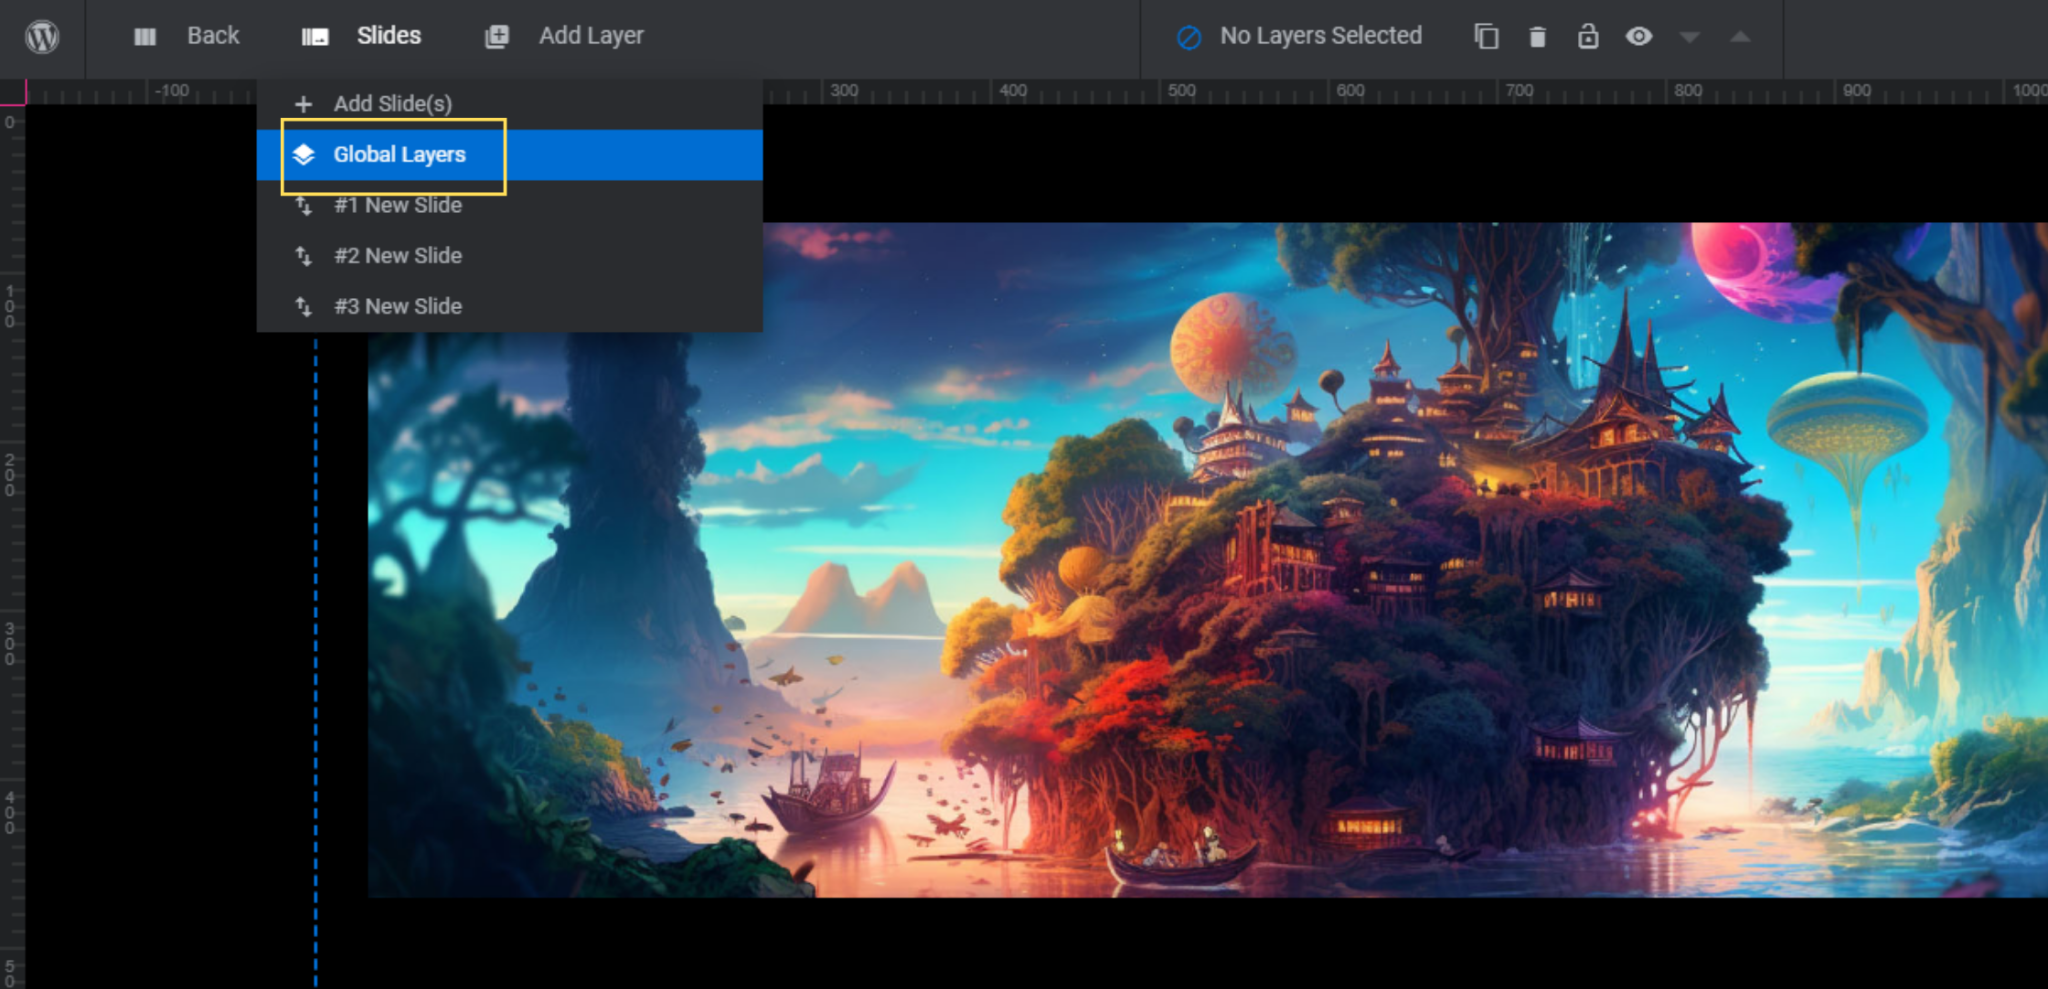
If you take a look at the template, you’ll notice that the cursor changes when it hovers over the images. This signals to visitors that the content is clickable. However, for our redesigned template, we’re not going to include the pop-up case study, so we won’t need this interactive cursor.
To delete it from your portfolio site as well, locate the layers called Hover-Dot and Hover-Cursor in the timeline editor.
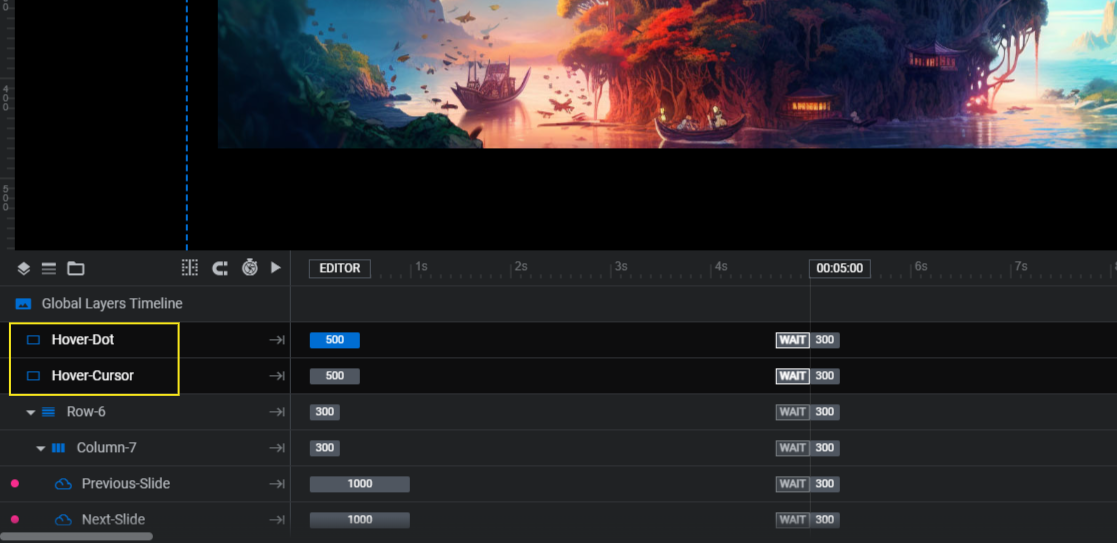
Hit the Backspace or delete key to remove the layers.
The two remaining layers are Previous-Slide and Next-Slide. These are the arrows that visitors use to manually slide from one image to the next.
If you changed the background color of the module and the arrows are no longer visible, you can edit the color of them under “Style” and SVG Color.
When you’re done making these updates, return to Slide #1.
To edit the portfolio image, click on the layer called Image-Shape. Then go to “Content” to select the photo you uploaded to the Media Library in Step 1.
Repeat this step for all three slides.
Note: If the subject of your image isn’t perfectly centered, use the blocks next to Position to move it around.
Then, update the Title and Category in each slide. Use “Content” to modify the text and “Style” to change the font, color, and styling.
Save your changes and back out of the module when you’re done editing.
Learn more:
Step 6: Customize the portfolio gallery
We’ll be editing the Portfolio module in this step.
Start by updating the module background. This time around, go to “Slide Options” and “Background” to make the change.
Next, if you deleted the custom cursor from the Global Layers, do the same thing here. Locate the Hover-Dot and Hover-Cursor layers and then delete them.
You’ll edit the remainder of the module the way you did the previous one:.
Take the images you created in Step 1 and replace the images of the same size in the gallery. If you need help matching up the images, here are the sizes of the ones in the template:
- Psychedelic is 1024×1024.
- Greek god is 1024×1024.
- Astronaut is 1024×1024.
- Pink gold foil is 848×1424.
- Abstract color flow is 928×1232.
- Pixie is 1232×928.
Once the images are in place, edit the Title and Category for each under “Content”. Then change the “Style” for each.
Save your changes when you’re done and back out of the module.
Learn more:
Step 7: Delete the detailed view module
The Detail View module is here if you want to add a lightbox pop-up feature to your portfolio site. So when someone clicks on your portfolio images in the hero section or portfolio gallery, a pop-up page explaining the work, the client, etc. will appear.
If you don’t have a story to tell about each portfolio item, it’s okay to delete this module. If you need it later on, you can always re-install just this module and connect it to the images on the page.
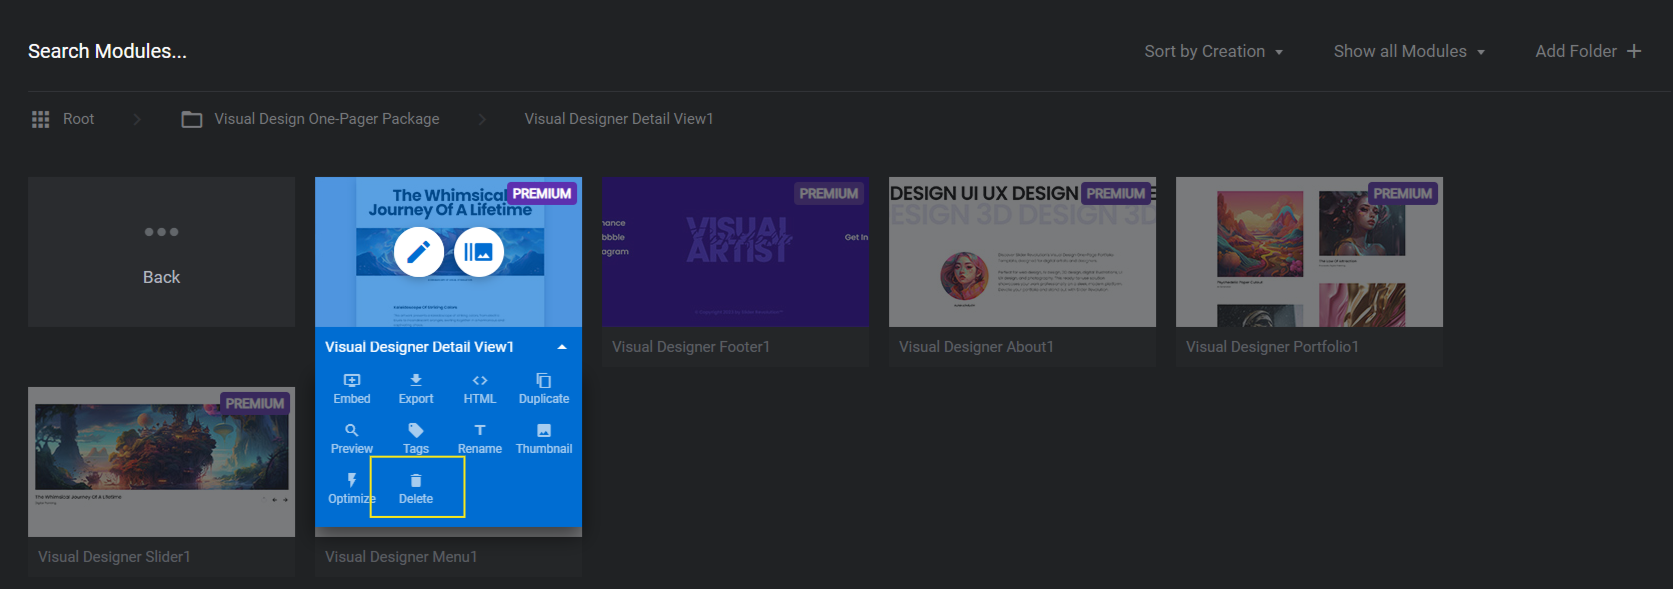
To delete the module, hover over it in the list of modules and click on the down-arrow that appears. Select the Delete option to remove it.
You’ll also need to go back to your hero section and portfolio gallery to remove the links to the lightboxes.
In the hero section module, select the layer called Portfolio-Item in each of the slides. Go to “Actions” and click the trash can icon that appears to the right of Open Slider Modal.
In the portfolio gallery module, the actions are connected to all the Portfolio-Item layers as well.
Learn more:
Step 8: Customize your bio section
We’ll be editing the About module in this step.
Start by editing the module background color under “Module Options”.
The headshot is called Image-Shape. Click on it and go to “Style” to add your uploaded headshot from the media library.
Next, update the two supporting text layers. Caption is your name. Copy-Menu-Item is the bio to the right of the headshot. Edit the text, font, and styles of both of these layers.
There are two other layers that need editing in this module. They’re the rotating lines at the top of the section.
When creating the text for this section, write it out in the same way that the template has it.
For instance, Line 1 looks like this:
UI UX DESIGN UI UX DESIGN UI UX DESIGN UI UX DESIGN UI UX DESIGN UI UX DESIGN UI UX DESIGN
Add your unique professional descriptors to Lines 1 and 3. Then use “Style” to update the font (it should be the same one as the logo) and colors.
Save your changes and back out of the module when you’re finished.
Step 9: Customize the footer
We’ll be editing the Footer module in this step.
Unlike the other modules, this one is going to have a different background color so that it stands out from the rest. When updating this BG Color, use the preset you saved when setting up your header.
Let’s edit the logo next.
Copy-Logo-Bottom and Copy-Logo-Top should match what the logo says at the top of the page. The font should match as well. However, you can change the colors (the regular colors plus the hover colors) so that they stand out against your accent color.
Turn your attention next to Copy-Description-Text. This is the copyright line at the bottom of the page. Leave everything as is except the “Slider Revolution” part. Replace this with either the name of your company or your own name.
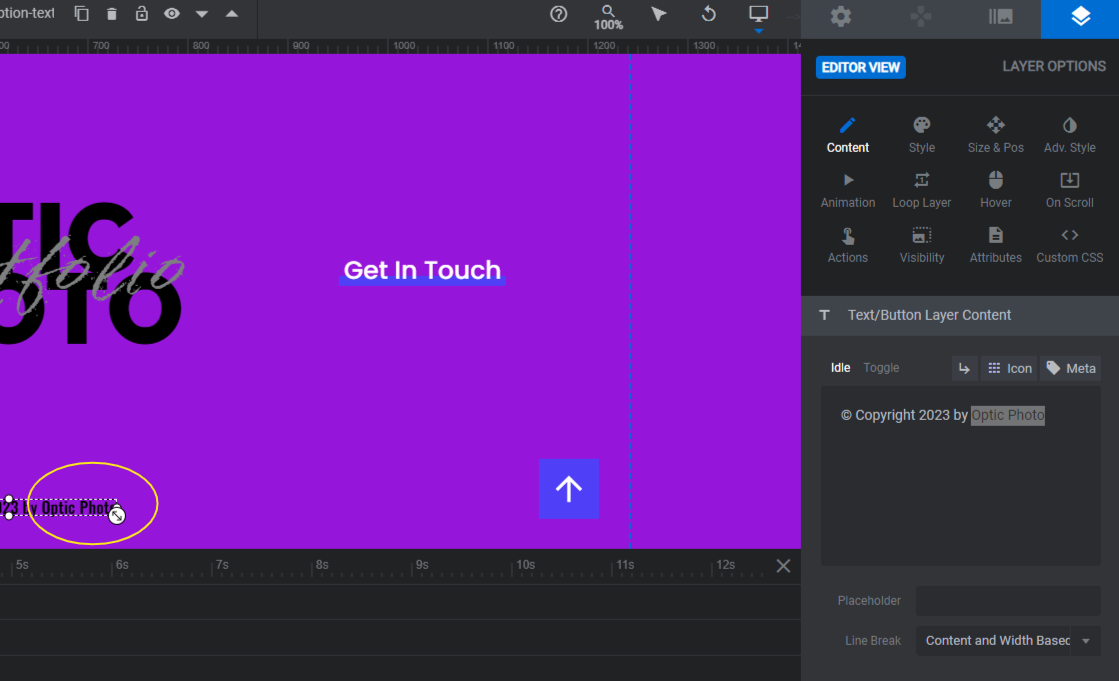
You’ll also need to update the font to match the rest of the site under “Style”.
The Scroll-Up-Btn in the bottom-right corner doesn’t require much editing aside from color. Modify the arrow and box color under “Style”.
There are three Copy-Menu-Item links to the left of the logo and one Copy-Menu-Item-2 to the right. While these links look similar to the ones in the header, they require an extra step.
Here’s what you need to do:
- Edit the text under “Content”.
- Update the font and color under “Style”.
- Customize the hover colors under “Hover”.
The last thing to do is add an active link to each of these items. To do this, open the “Actions” pop-up. Select Simple Link from the list on the right. Add the relevant link details for the social media site. Then close the pop-up to save the action.

For the contact link, you can either include a link to your scheduling tool or you can add your email address to the Link URL field. It will need to be written like this:
emailto:[email protected]
The “emailto:” part is what triggers the user’s email service provider to open up a new email.
When you’re done, save your changes and exit out of the module.
Step 10: Embed the modules into your home page
The last thing to do is to piece together your one-page portfolio website.
First, create a Home page under Pages if you haven’t done so already.
In your page builder, look for a block called Slider Revolution. Locate the template package you just designed your website from. Select the Menu module and add it to the page.
Repeat this process by adding a new block for each of the remaining sections in this order:
- Slider
- Portfolio
- About
- Footer
Open the preview to see how the page turned out. When you’re happy with the results, hit the “Publish” button. Your one-page portfolio site is now live.
The easiest way to build your own one-page portfolio site
You don’t need to go hiring someone else to create your one-page portfolio site. Nor do you need to pay a ton of money to create something loaded with advanced effects. With this beautiful portfolio template, it’ll take you just a couple of hours to design an amazing looking website all on your own.

