

Side-by-side product comparisons are a great way for shoppers to see how similar or top products stack up against one another. But product comparison tables aren’t the only way to present this information.
If the look and style of your products factor into the decision-making process, consider creating a product comparison slider instead. In this tutorial, we’ll show you how to modify the Online Watch Shop Slider template to do just that.
Table of Contents:
- Step 1: Delete or add slides as needed
- Step 2: Upload images to each slide
- Step 3: Customize the main product text and CTA
- Step 4: Customize the tagline text
- Step 5: Customize the comparison points and icons
- Step 6: Update the comparison section background
- Step 7: Style your text
- Step 8: Delete unwanted global layers
- Step 9: Update the arrows navigation
How to create an attractive product comparison slider
When you have great-looking product visuals and a short list of clear selling points for each of your products, a product comparison slider is a good way to present all of it.
Below we’ll show you how to transform this luxury product slider into one for home appliances or goods.
Here are some quick-start references to help you get started with Slider Revolution if this if your first time using the plugin:
Step 1: Delete or add slides as needed
There are four product slides in this slider. It’s a good idea to use between three and five so your shoppers aren’t having to compare too many products at once.
For our slider, we’re comparing three products, so we need to delete one of the slides. To do the same, go to “Slides” in the top toolbar and click the trash can icon that appears next to any of the slides.
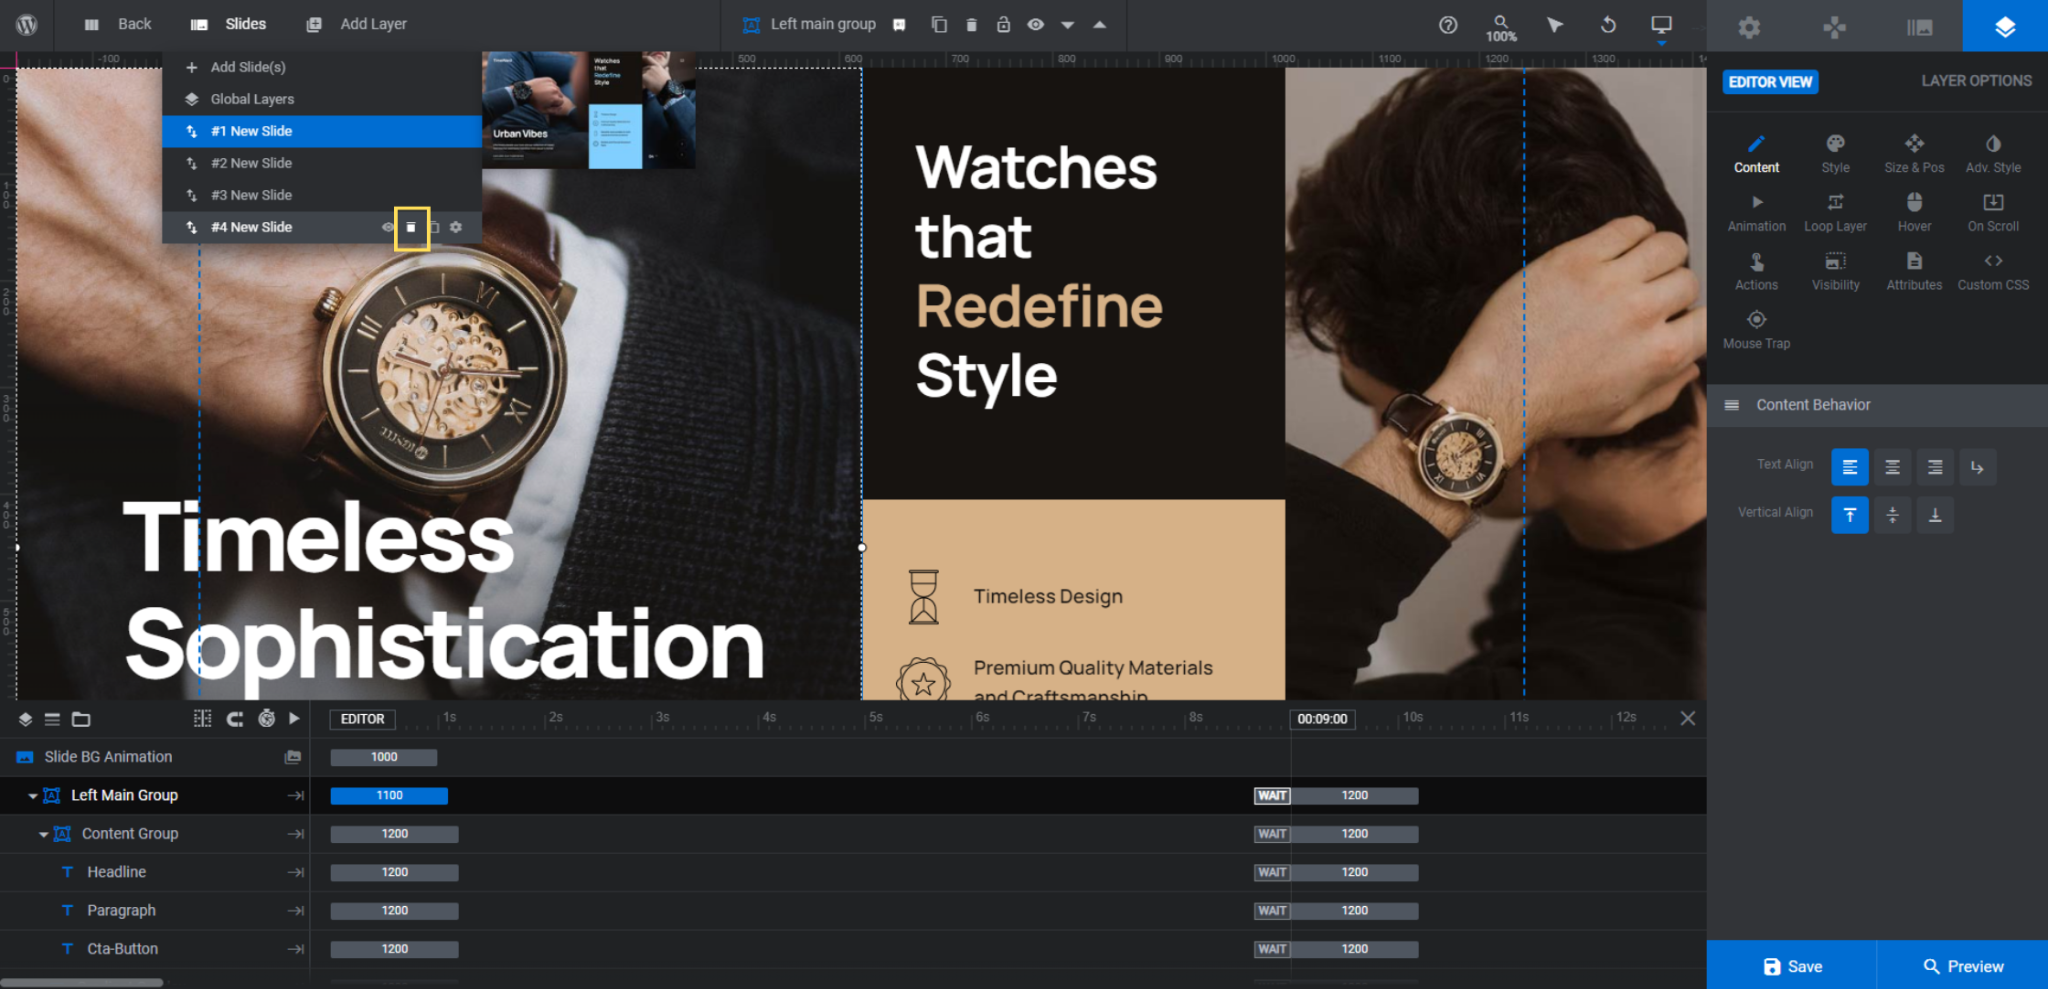
If you want to add an extra slide instead, use the icon to the right of the trash can to create a duplicate of the existing slide.
Learn more:
Step 2: Upload images to each slide
To edit the bigger image on the left, select the layer called Left Main Group in the timeline editor. This image should be 960px by 1080px.
You’ll set the image as the background of the section under “Style”.
To edit the image on the right, click the Right-Image layer. This image should be 480px by 1080px. You can upload this image under “Content” or “Style”.
Repeat this process for all of your slides. Then save your changes.
Learn more:
Step 3: Customize the main product text and CTA
Let’s chip away at the text in this slider section by section. We’re going to start just by editing what the text says. We’ll deal with the fonts, colors, and other styling in a later step.
Under Left Main Group, you’ll find the following text layers:
- Headline which will become the name of our product
- Paragraph which will be a description of the product
- Cta-Button which will send shoppers to the product page
To edit the text, select each layer from the canvas or timeline. Then go to “Content” to edit it in the text box.
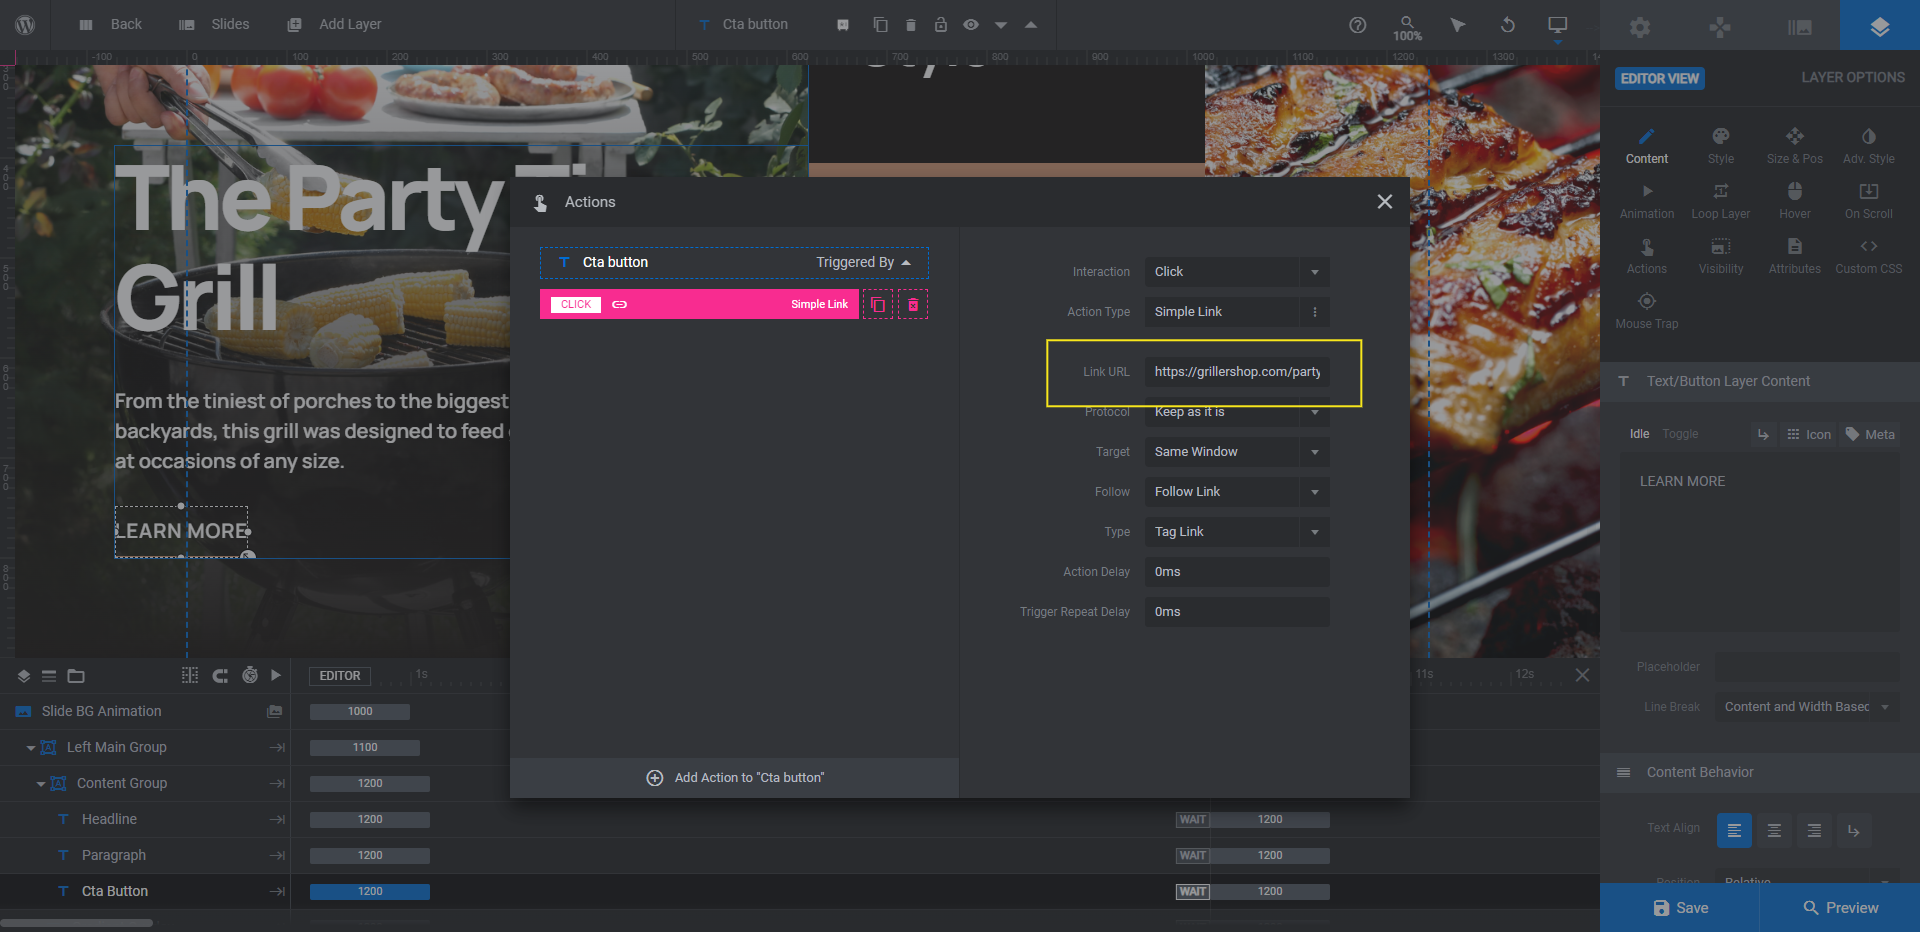
Before you move onto the next step, update the Cta-Button links. In our slider, these links will go to the corresponding product pages.
Select the button layer. Then go to “Actions”. Under Link Actions, choose Simple Link. Then add the hyperlink in the Link URL field.
Repeat this process on each slide. Save your changes in between each.
Learn more:
Step 4: Customize the tagline text
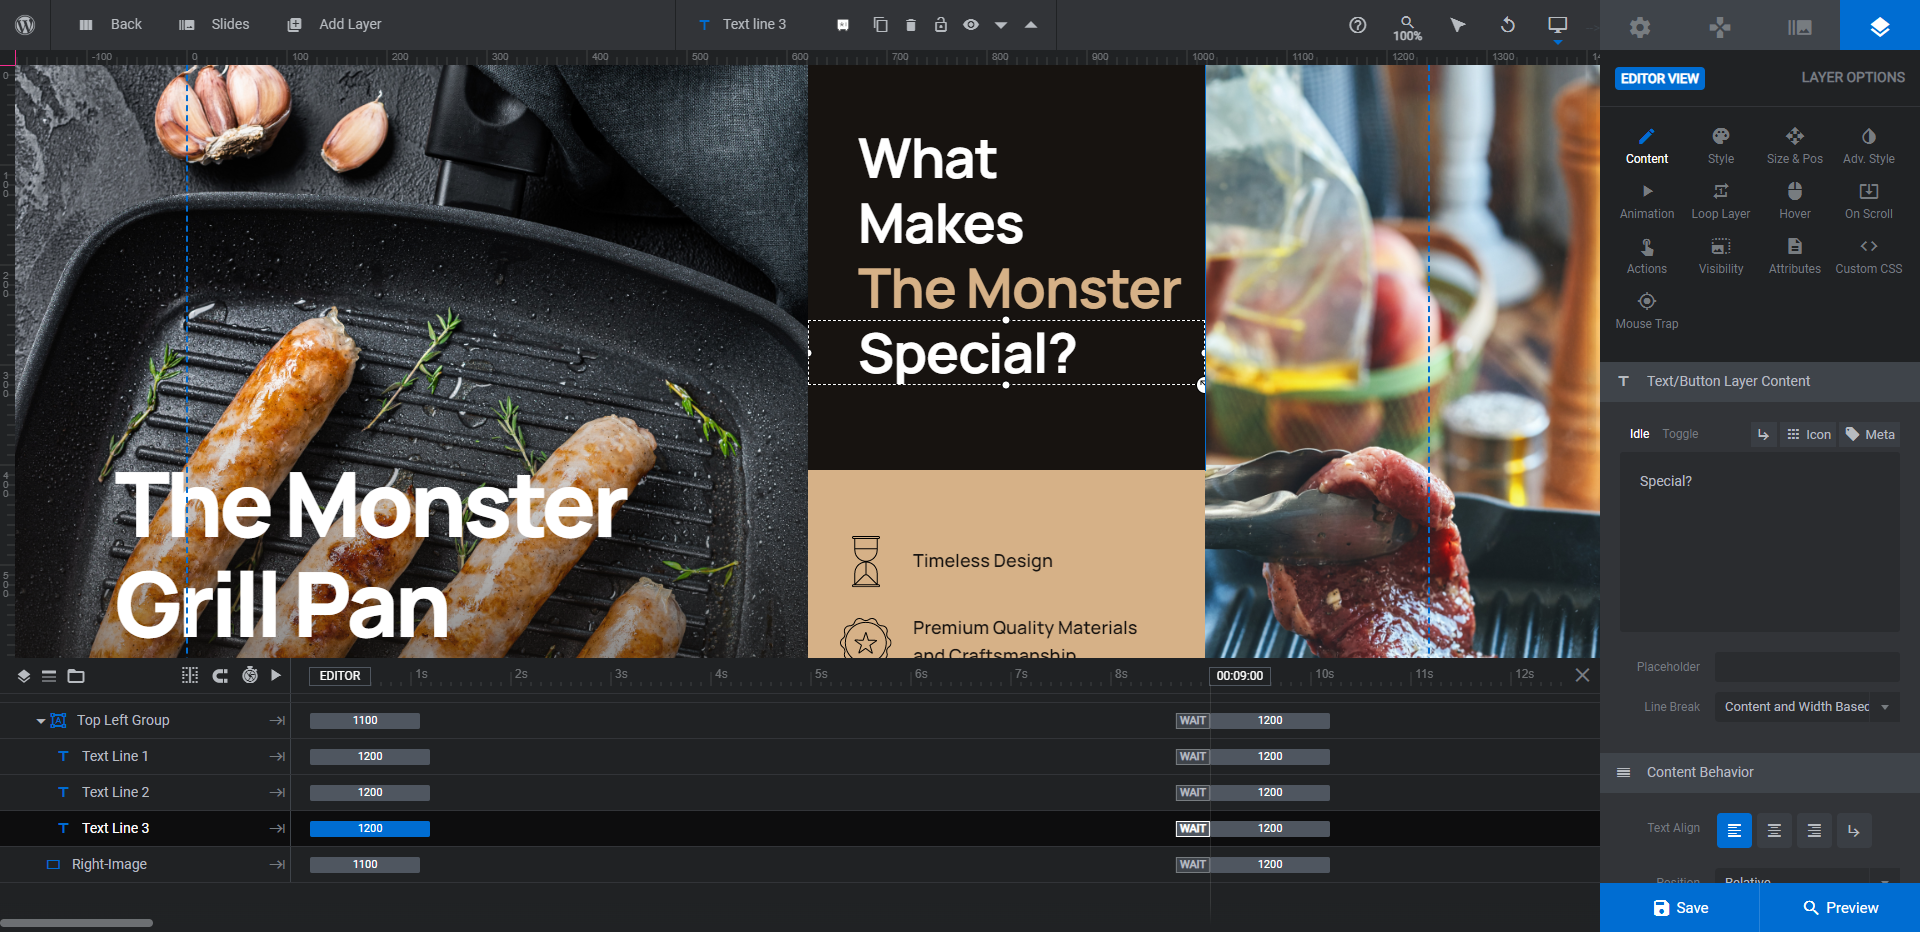
The next section we’re going to edit is the Top Left Group. It consists of:
- Text Line 1
- Text Line 2
- Text Line 3
Although the text layers are split into three, they’re part of the same tagline or headline. The reason they’re broken up this way is so that we can apply our custom slide color for emphasis to one or two words in the middle (to Text Line 2).
Go ahead and edit what the three text layers say now.
Note: To force text to the next line (as in the case of Text Line 1), add <br /> to add the breakpoint or hit the Enter or return key.
Learn more:
Step 5: Customize the comparison points and icons
You’ll find the last pieces of text to edit under Bottom Left Group. Each text layer is named Feature#. They’re paired with an Icon# layer.
Start by editing the text in each. To make this a true product comparison, compare the features in the same order from slide to slide.
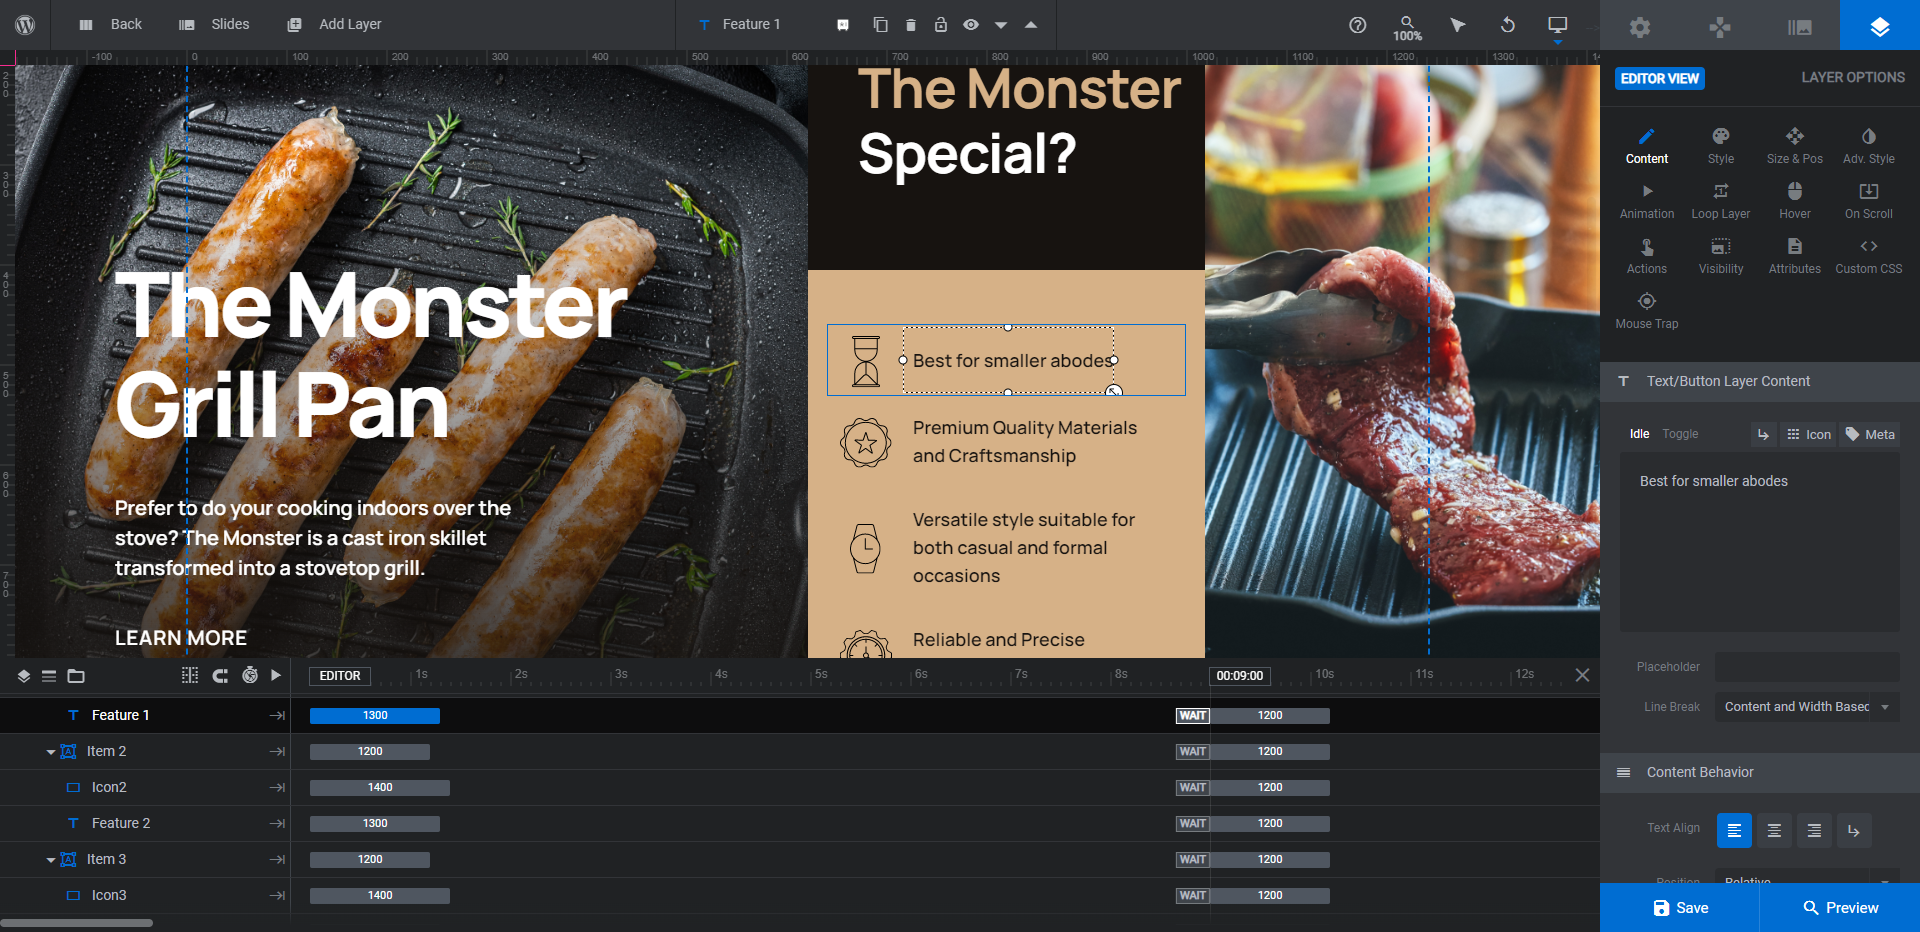
To update the corresponding icon, select the shape layer and go to “Content” or “Style”. Upload your icon graphic as the Background.
Note: When creating your icons, save them as 50px by 50px and export the files with a transparent background.
Since you’re comparing the same features on each slide, you can use the same icons as well.
Learn more:
Step 6: Update the comparison section background
To modify the color background for the product comparison points, select the layer called Bottom Left Group in the canvas or timeline.
Go to “Style” and click the color block next to BG Color. Select a color from the presets at the bottom or add a custom HEX code into the Color field.
Pro tip: Before you save your changes, go down to Preset Group and select Custom. Give your color a custom name in the Save Preset field. Then click Save Preset. This will save the slide’s color for easy retrieval when you apply it to your text and button in the next step.
Repeat this process for the other slides.
Learn more:
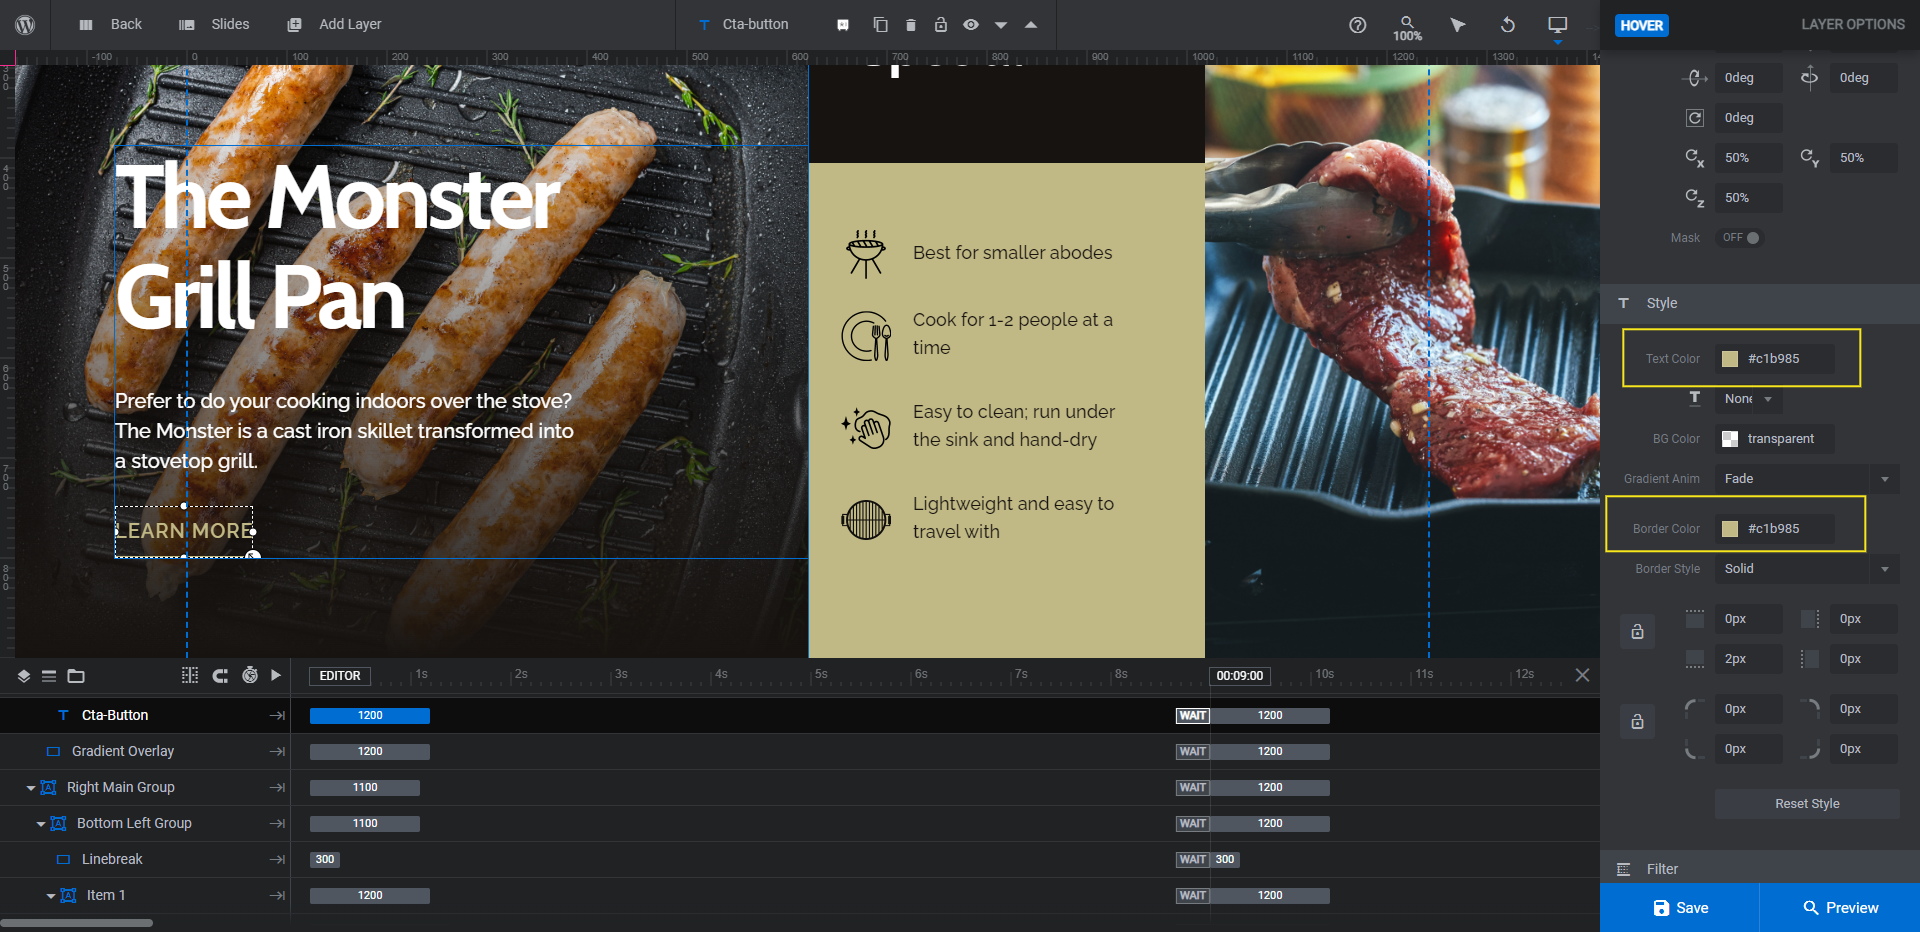
Step 7: Style your text
Now that you’ve inputted all the text, you can go through and apply all the styles.
Go to the “Style” tab. From here, you can modify:
- Font
- Text color
- Border/line color
- Weight
- Spacing
In addition, you’ll want to go to the “Hover” tab to adjust the button’s text and border/line color.
Finish up the other slides and save your changes.
Learn more:
Step 8: Delete unwanted global layers
To access the global layers, go to “Slides” in the top toolbar and select Global Layers. You’ll find the following layers in there:
- Circle Small is the small white circle in the center of the custom cursor.
- Circle is the large outer circle of the custom cursor.
- Current Slide is the number of the current slide.
- Total-Slides is the total number of slides in the counter.
- Logo is the logo in the top-left corner.
- Contact is the mail icon in the top-right corner.
- BG-Overlay is a small overlay box in the top-left corner
- Prev is the left-facing navigation arrow.
- Next is the right-facing navigation arrow.
We are going to delete everything but BG-Overlay, Prev, and Next.
To delete the remaining layers, hold down the Ctrl or command key, then select them one by one in the timeline editor at the bottom.
Note: You’ll want to remove the entire block containing the slide counter. So rather than individually select Current Slide and Total-Slides, select the group called Slide-Counter.
Hit Backspace or delete and this will remove all the layers at once.
Learn more:
Step 9: Update the arrows navigation
Depending on the product images you’re using, you may need to customize the appearance of the arrows navigation. To do this, select the Prev and Next layers one at a time.
You can change:
- The style of arrowhead under “Content” using the Icon tool
- The color of the arrowhead under “Style”
- The background and border color of the circle under “Style”
- The size and spacing of the circle under “Style”
- The hover-triggered color and effects under “Hover”
Preview your changes on the frontend to make sure the arrows show up well and work as you want them to.
When you’re happy with what you’ve done, save your changes. Then either use the embed shortcode or the Slider Revolution page builder widget to add your comparison slider to your shop.
Give your shoppers a quick and easy way to compare products
Whether you’re selling luxury products like watches, something technical like a smartphone, or home goods, it’s a good idea to include a product comparison tool on your site. This will give shoppers the ability to quickly compare related or top products side by side.
If you want to compare a small set of features on your product pages or you’d like to add a product comparison slider to the home page, give the Online Watch Shop Slider template. It has everything you need to beautifully compare your products.

