
It’s fairly common these days to see Instagram feeds on the home pages of company and entrepreneur websites. Unlike platforms like Twitter where posts are primarily text-based, Instagram offers an endless string of visually attractive posts. As a bonus, brands can sell via Instagram, which makes it the ideal social media platform to integrate with a site.
The problem with so many sites integrating with Instagram is that visitors can develop banner blindness from seeing it everywhere. But that won’t be the case if you find a unique way to display your Instagram content.
In this post, we’re going to introduce you to the WordPress Image Carousel With Instagram Feed template, the four carousel styles included within it, and walk you through how to customize it.
Table of Contents:
- Step 1: Install one of the Instagram carousel templates
- Step 2: Connect your Instagram account
- Step 3: Customize the module background color
- Step 4: Adjust the Instagram carousel overlay
- Step 5: Customize overlay content for the carousel
- Step 6: Update the content that appears above the carousel
- Step 7: Display the Instagram feed on your home page
How to display your Instagram feed so that it’s impossible to miss
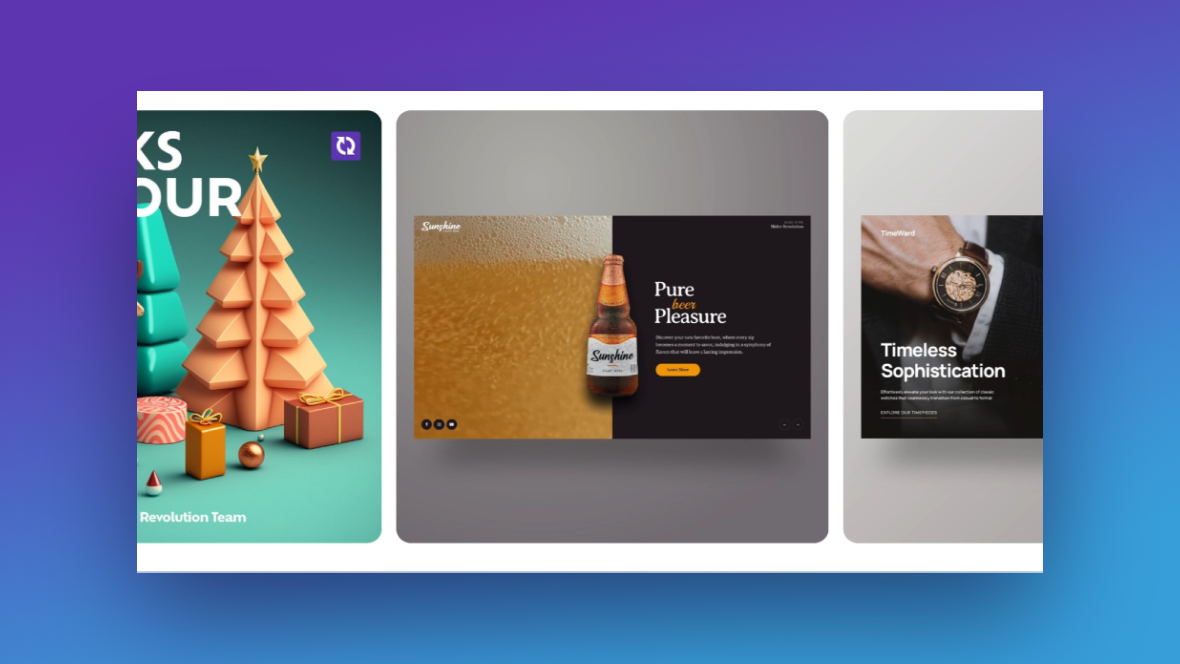
WordPress Instagram plugins don’t always give you a ton of control over how your social media content is displayed. That’s not the case with this Slider Revolution template:
What you see above is just one of four Instagram gallery carousel templates included in the package. The tutorial below will demonstrate how to customize the first template in the bunch:
That said, you can still follow along if you choose one of the other carousels in the package.
If this is your first time using the Slider Revolution editor, read through these guides now:
Step 1: Install one of the Instagram carousel templates
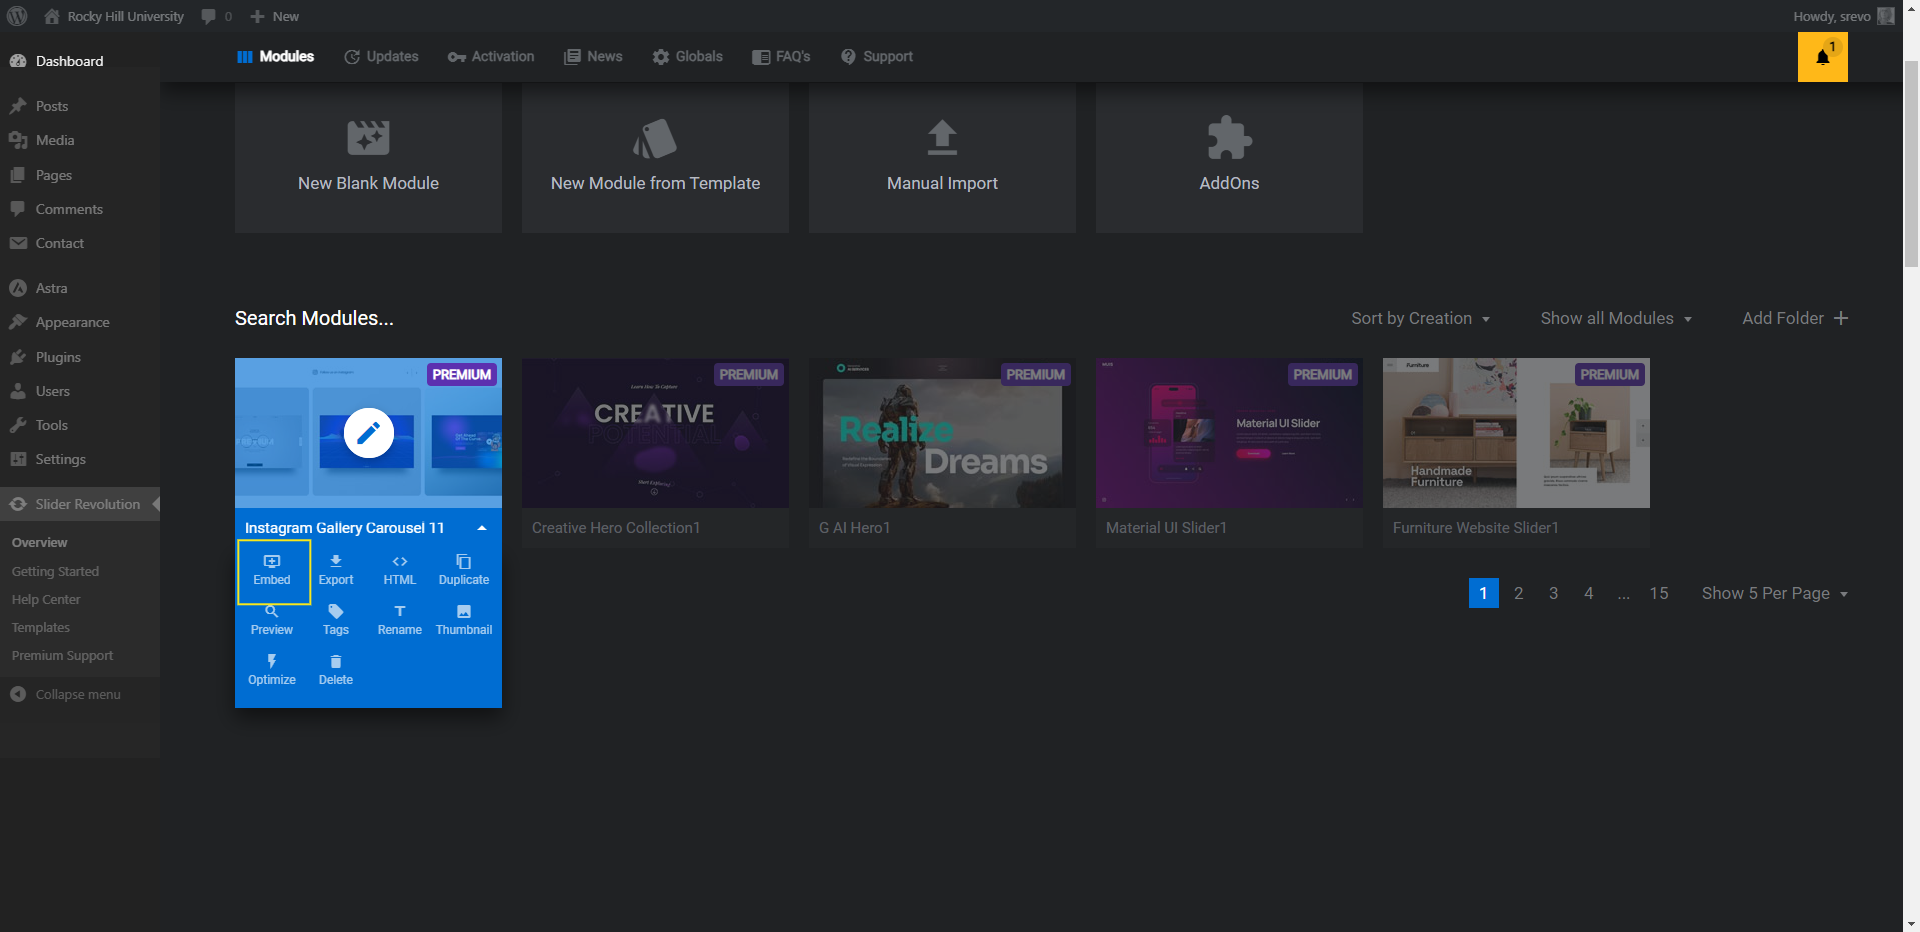
From the Slider Revolution dashboard, go to “New Module from Template” and do a search for “instagram gallery carousel”. Here you will find the four templates included in the package:
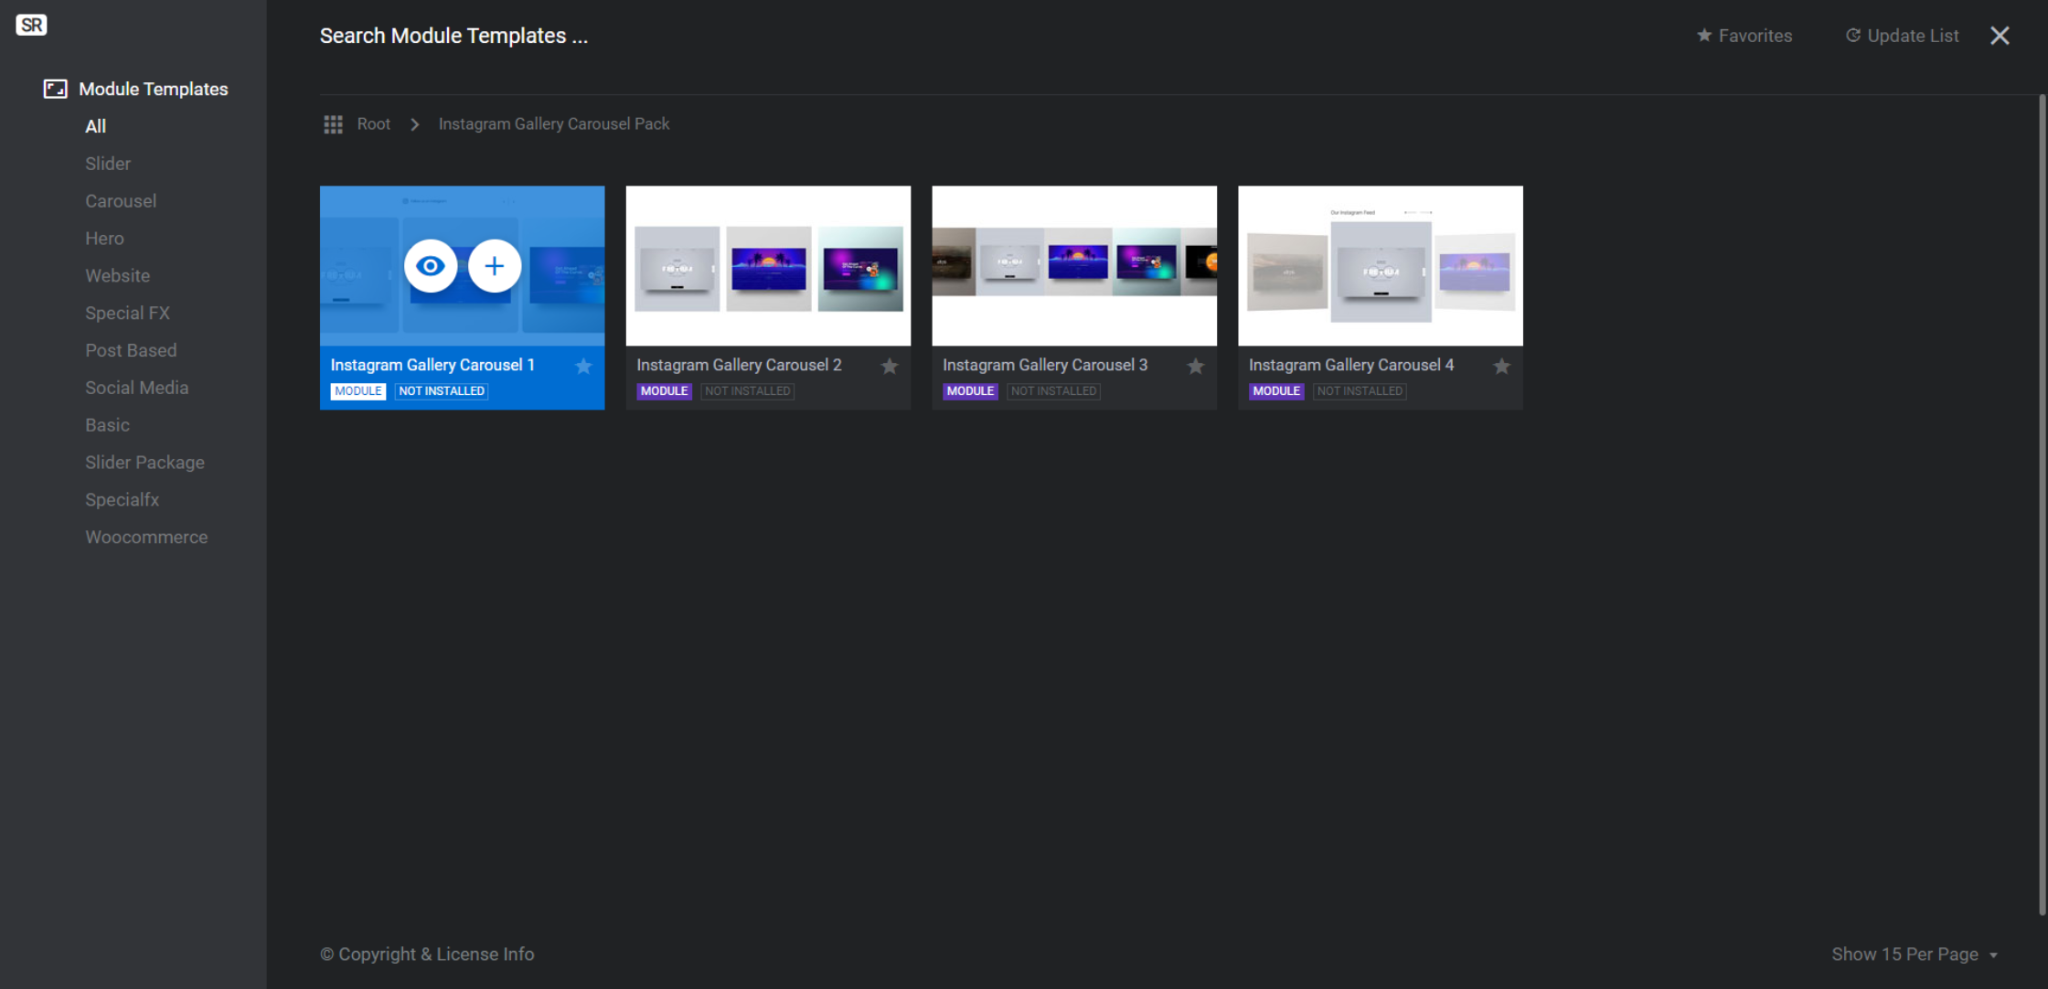
Preview and test each one out by clicking the eyeball icon that appears when you hover over it. Once you’ve found the general layout and style you like, click the plus-sign icon and install the template (not the full package).
Learn more:
Step 2: Connect your Instagram account
There’s no need to manually recreate the content from your Instagram feed inside of Slider Revolution. All you need to do is connect your account and the editor will pull in the content for you.
Go to “Module Options” and “Content”. Make sure Instagram is already selected under the “Content” section. Then scroll down to “Instagram Settings”.
There are two ways to connect the account.
If it’s your Instagram account and you’re logged into it in your browser, set Token Source to From Account. Then click Connect an Instagram Account below. It will leave Slider Revolution (temporarily) and take you to Instagram to authorize the connection.
If it’s not your Instagram account (for instance, if it’s your client’s) and you can’t log into it, choose the Manual option instead. You’ll need the owner of the account to give you the Access Token so you can establish the connection on their behalf.
If you need help completing these steps, read through the instructions below.
Learn more:
Step 3: Customize the module background color
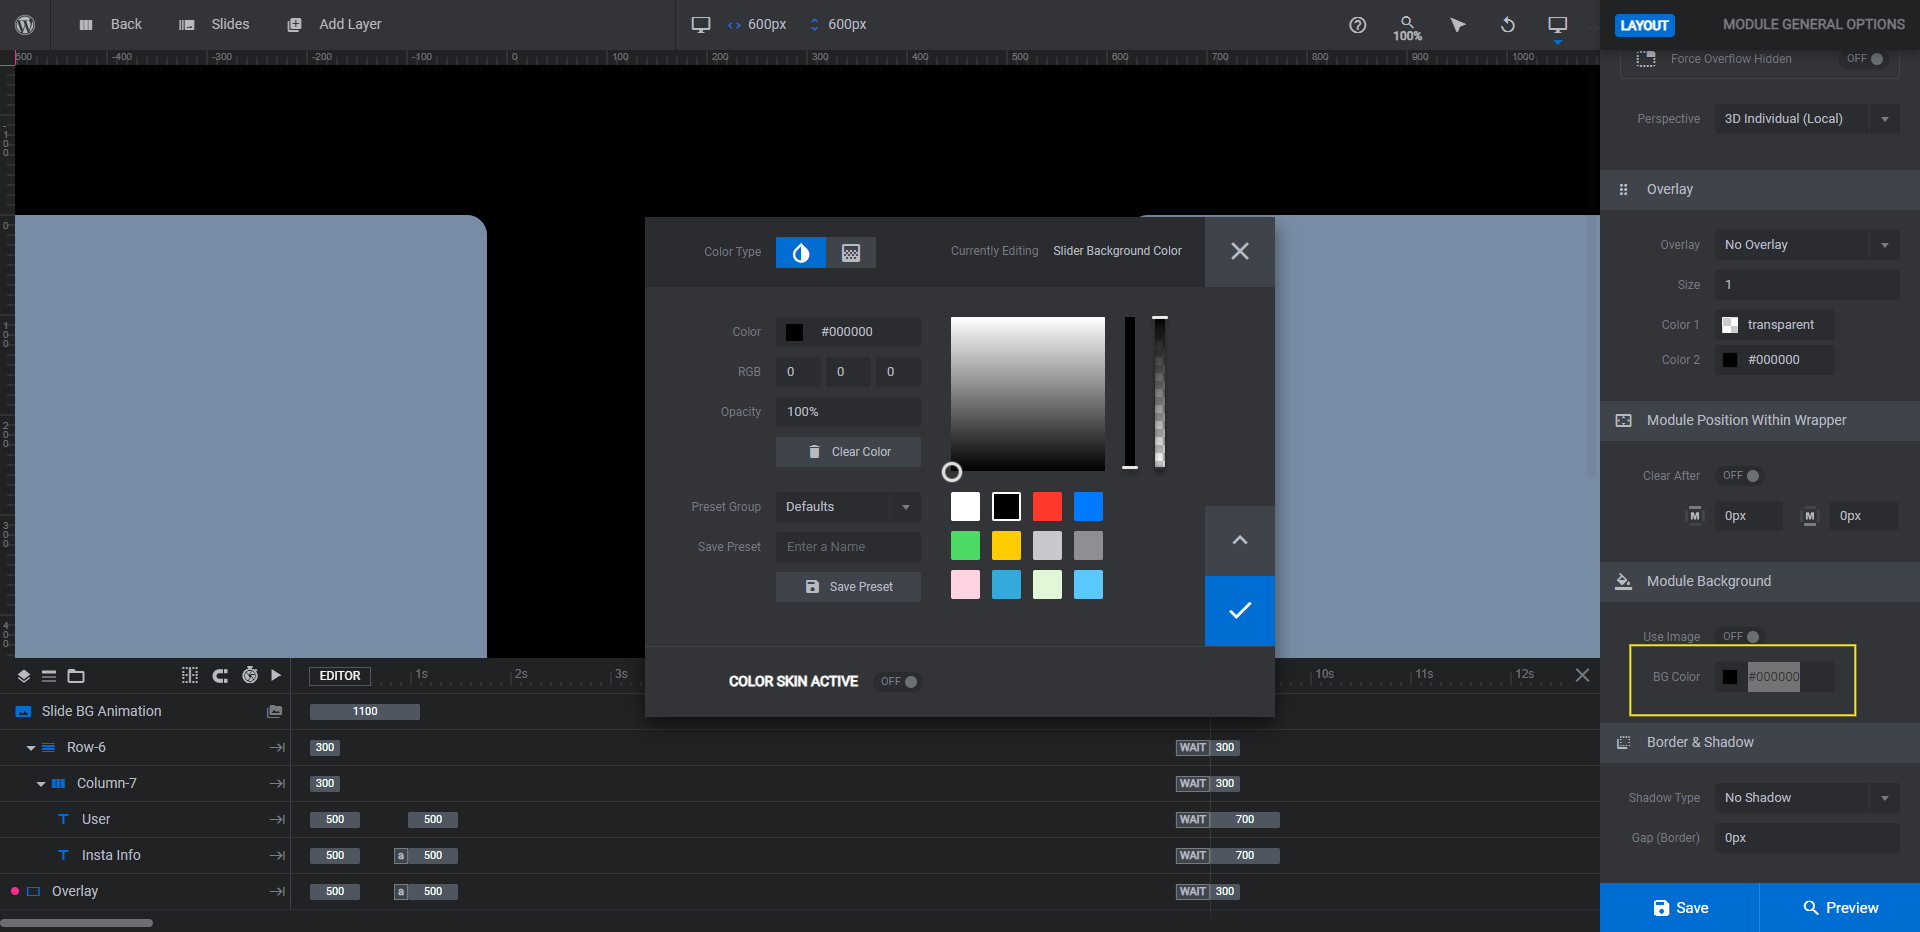
Depending on where this Instagram feed appears on the page, a white background for the section might not be ideal. To change it, go to “Module Options” and “Layout”. Scroll down to “Module Background”, click the color block next to BG Color, and choose a new one.
You might not be able to tell how the new background color works with your Instagram images from the canvas. Open the Preview to give it a look and make sure it blends well with whatever style or motif you’re using in Instagram.
Learn more:
Step 4: Adjust the Instagram carousel overlay
When visitors hover over the Instagram posts in the carousel, a dark overlay appears on top so they can clearly read the text no matter how busy the background is.
Right now, the Overlay layer found in the timeline editor applies a 70% black overlay to each post. You can keep it as is or you can change the color under “Content” or “Style”.
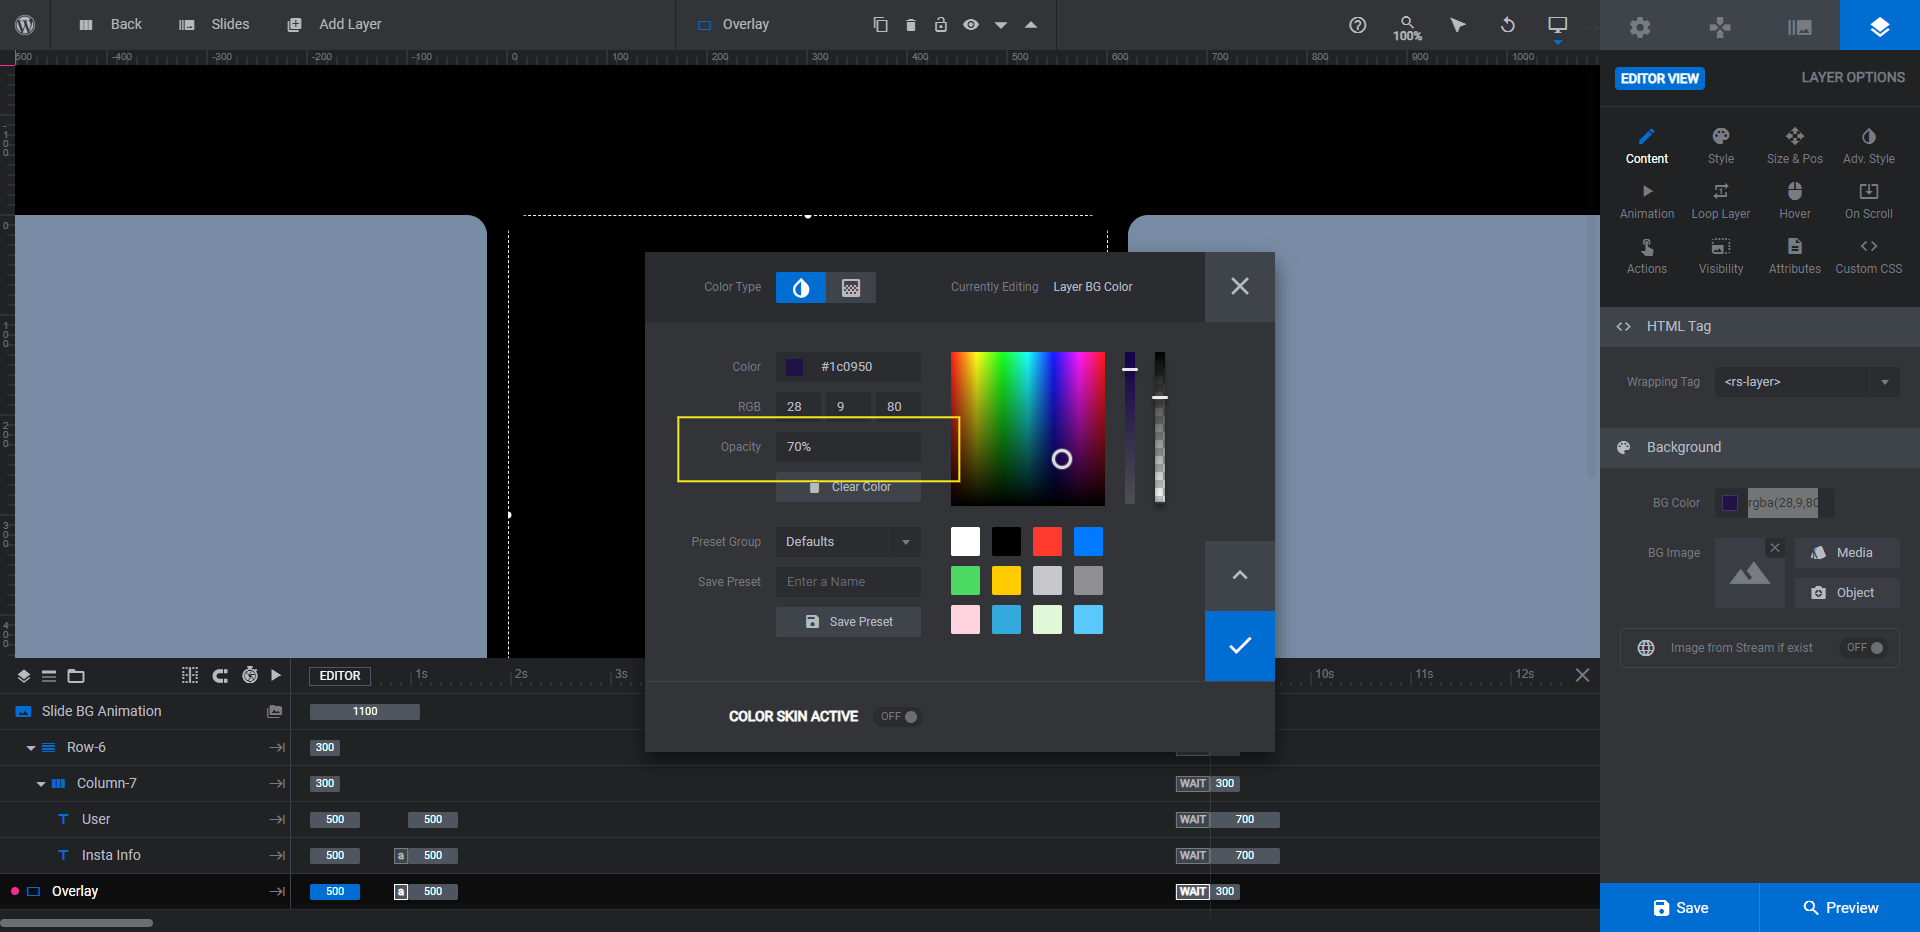
Whatever you change it to, just make sure the Opacity setting stays at 70% (unless you want to make it more or less transparent).
When you’re done, open the preview again to see how the color shows up. It might look slightly different from the original color because of its opacity setting. You’ll also be able to spot any issues with text readability if the contrast between the overlay and text isn’t high enough.
Learn more:
Step 5: Customize overlay content for the carousel
There are two text layers in the timeline editor. User is set to automatically display the Instagram user handle (like @sliderrevolution). And Insta Info is set to display the content from the post, with a limit on how many words appear.
You don’t have to keep these fields as they are. Select either of these text layers, go to “Content”, and then click on the Meta tab over the text editor box. Go to the Social tab and you’ll find a list of Social Basics you can pull in from Instagram.
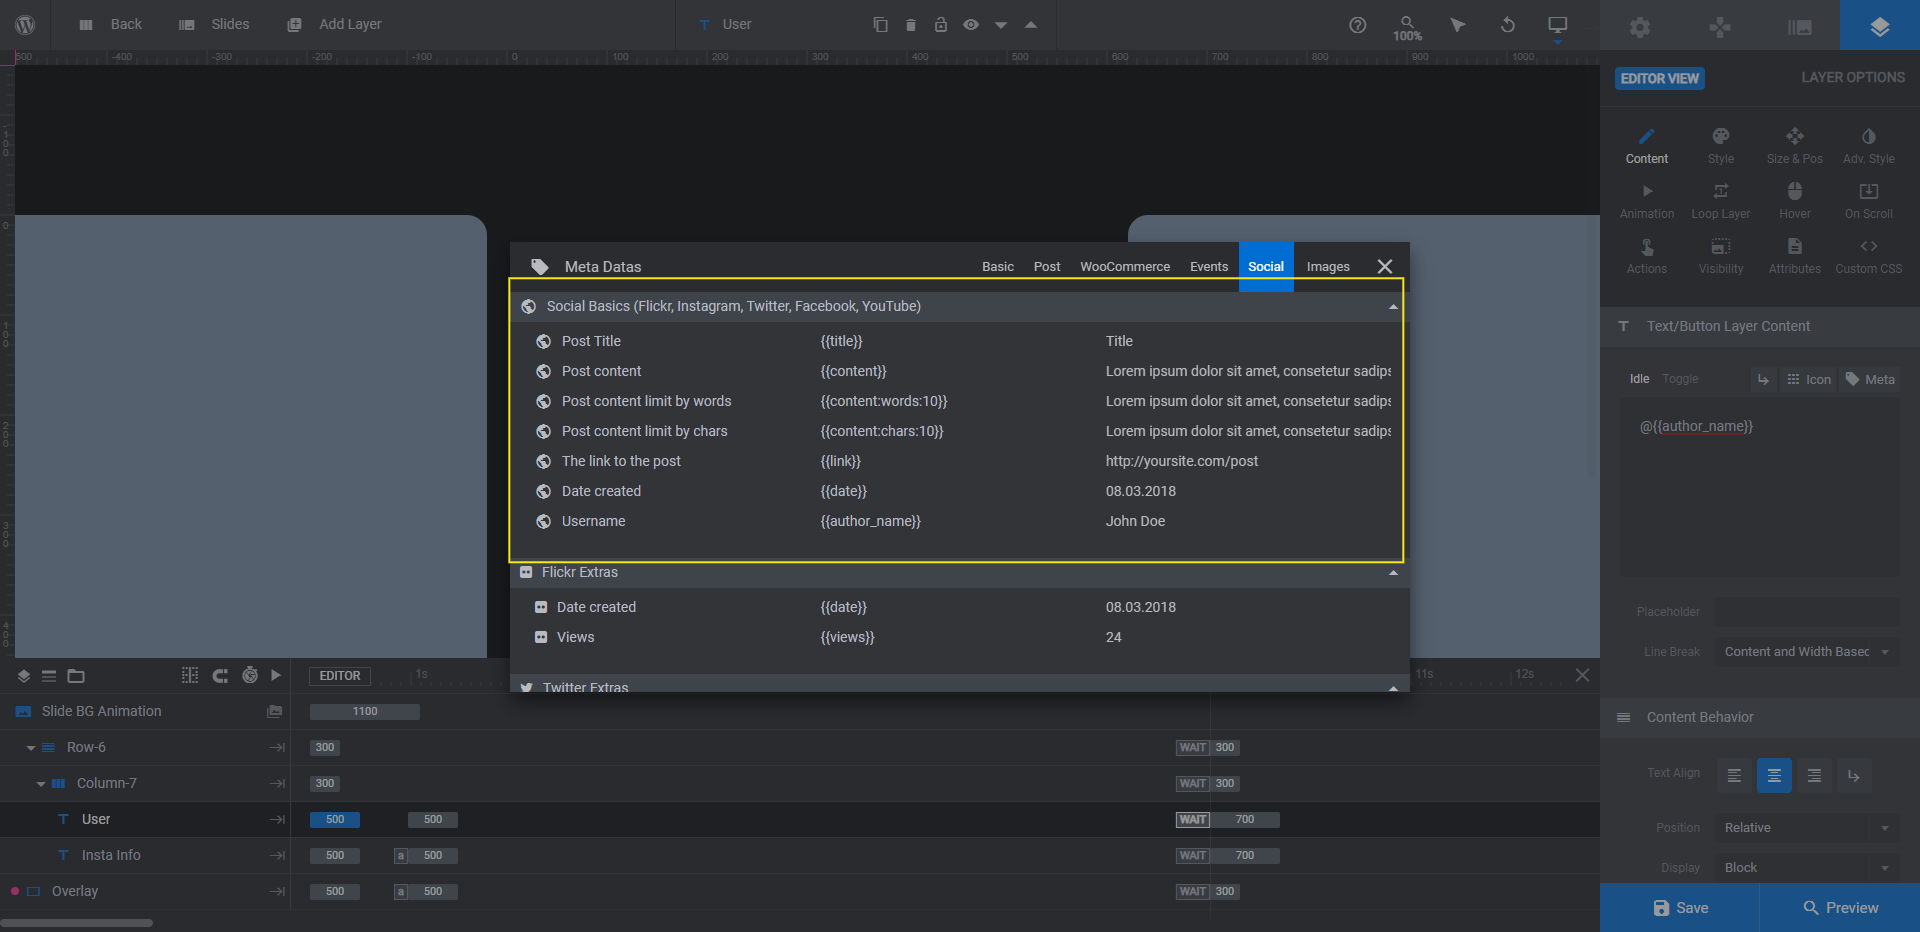
Post Title is the only one that isn’t relevant to Instagram. All the rest are viable options, so feel free to swap them out if you’d rather include the post date or link instead of the username, for instance.
Note: When replacing meta fields, make sure the old metadata gets deleted so you don’t end up with garbled text on the frontend.
You can also delete any of these fields, if you’d like. For instance, we’ve deleted the User layer since the account username will be displayed above our carousel. To do the same, select it in the timeline editor and then hit Backspace or delete.
Another thing you can do is to update the font and appearance of the text. You can do this from the “Style” panel and “Font & Icon” section.

You won’t be able to see the changes reflected in the canvas, so use Preview to make sure it looks good in the carousel.
Learn more:
Step 6: Update the content that appears above the carousel
The last bits of this template that need editing can be found under Global Layers. To open them up, go to “Slides” in the top toolbar.
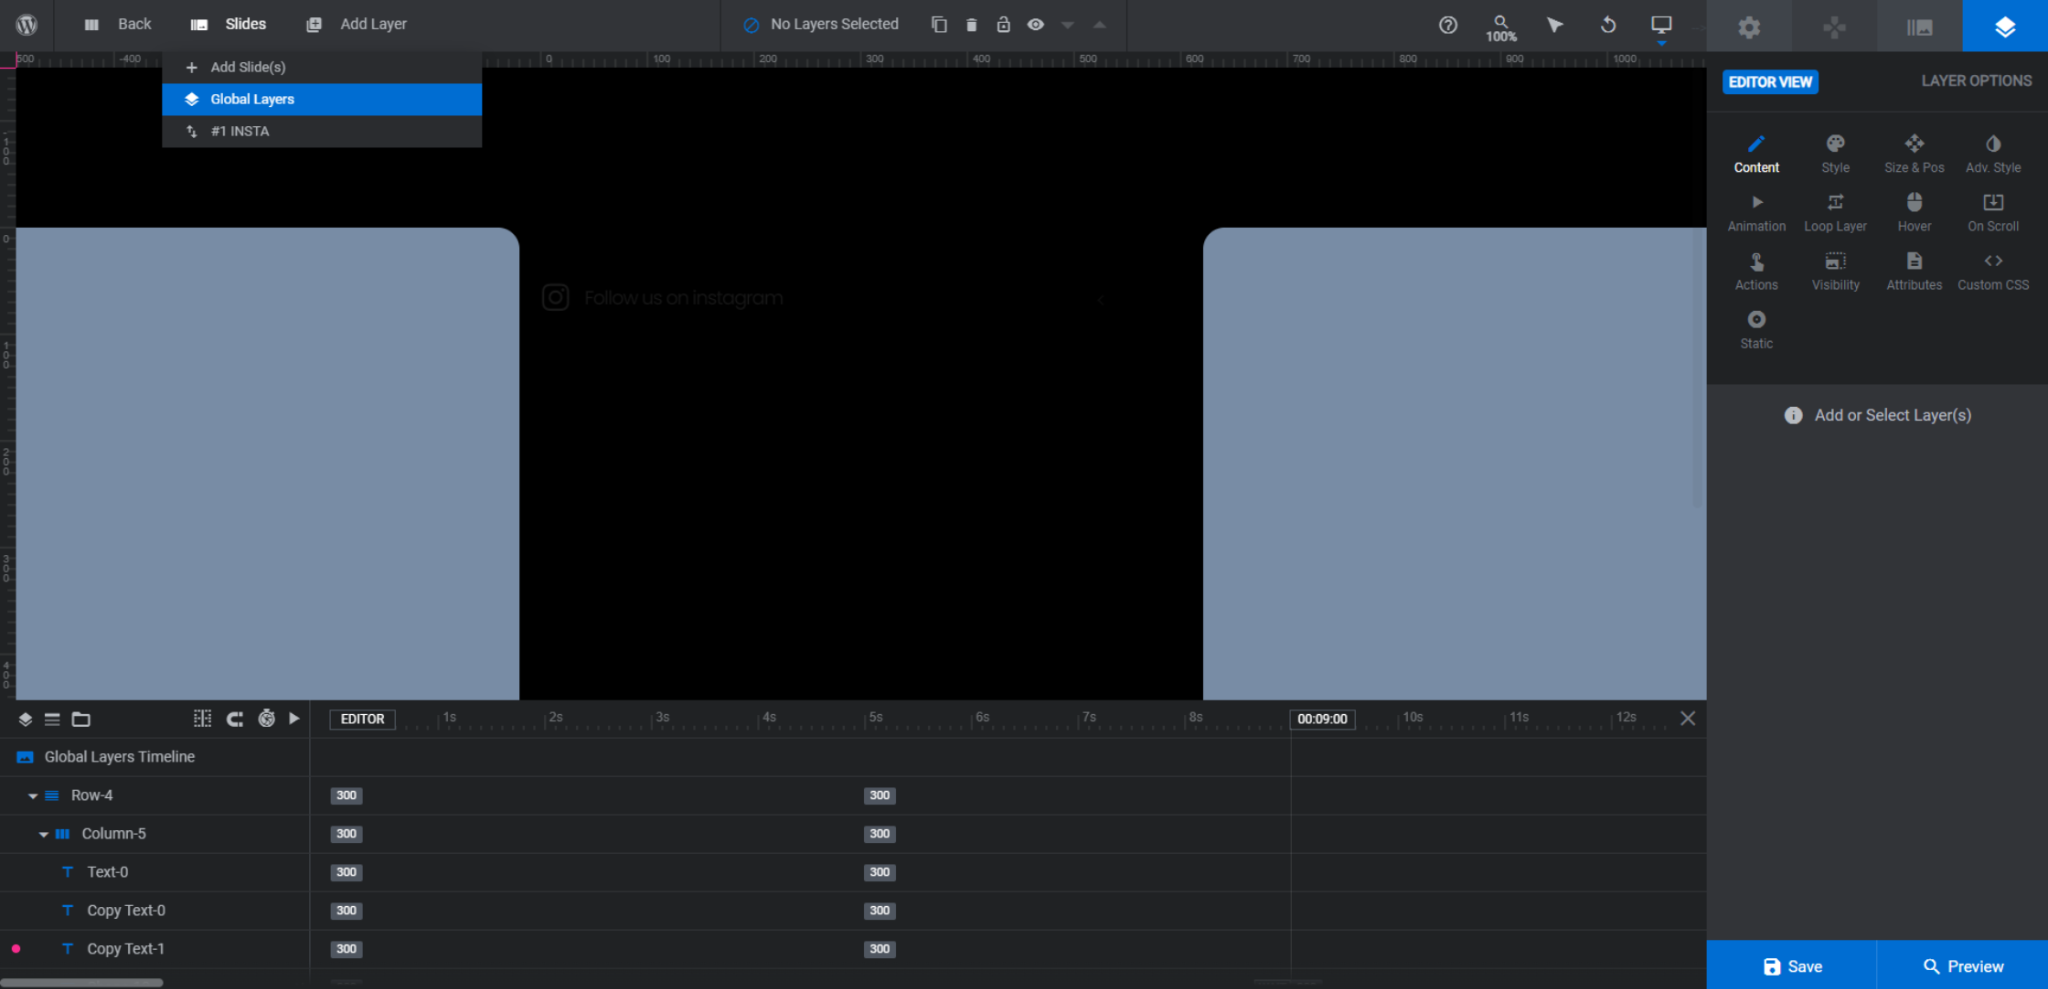
There are five layers to edit in here. Let’s tackle them one by one.
The first is Text-0. This is the Instagram icon that sits at the far-left of the section. Because it’s a text layer, use “Style” to update the font, size, and color of the icon.
Next is Copy-Text-0. This is the text layer that reads “Follow us on Instagram”. Modify the text under “Content”. Then update the font and styling under “Style”.
The Shape-10 layer is the vertical white line that separates the navigation arrows. If you changed the font color in the other layers, you’ll need to update this as well. Go to “Style” and set the BG Color to the same color as your icon and text.
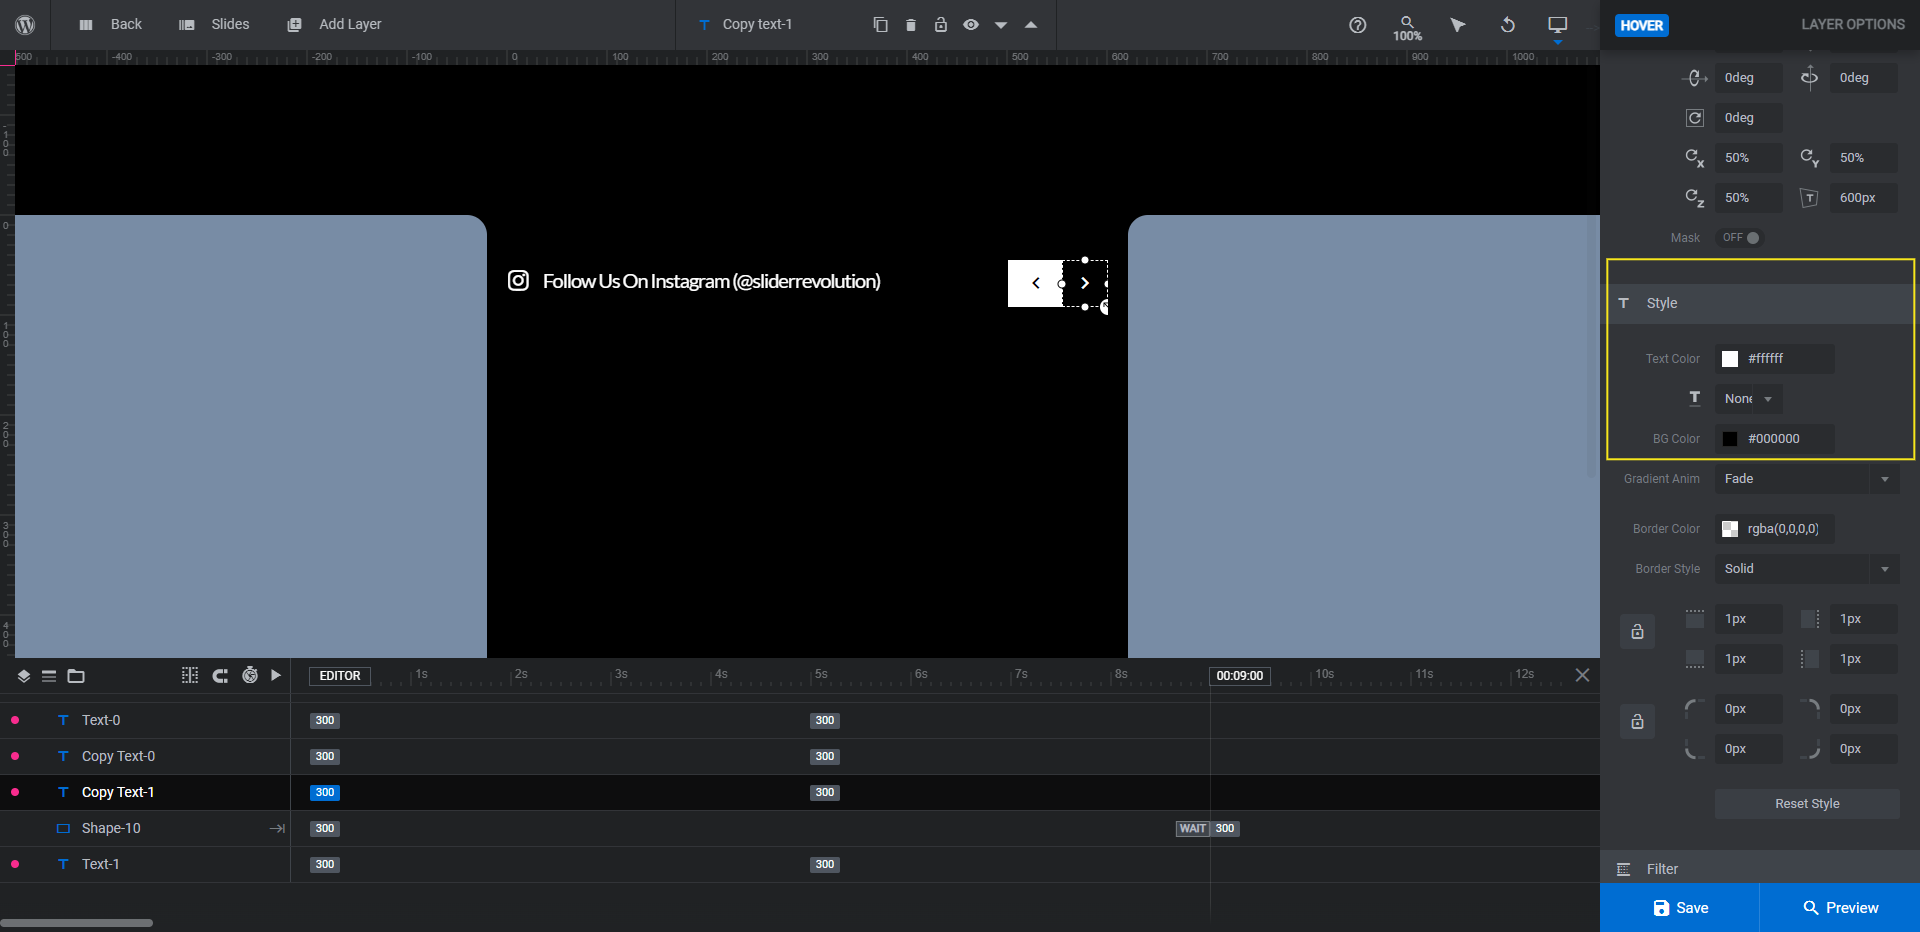
The last two layers to edit are Text-1 and Copy-Text-1. These are the left and right navigation arrows. If you’d like to change the arrow type, go to “Content” to pick another arrowhead. Then go to “Style” to edit the font, color, and size.
If you updated the background color, the hover text and background colors of the arrows will need to be updated as well. You’ll find this setting under “Hover” and “Style”.
We’re going to take one additional step here and add a link to both the icon and text. That way, visitors can click on these layers and be directed to Instagram where they can follow our account.
To do this, select Text-0 and Copy-Text-0 one at a time. Go to “Actions” and create a Simple Link. Also, set it to open in a new window so that visitors don’t completely bounce away from your site.
When you’re done, preview your work once more and test out the new links. Save your changes when you’re finished.
Learn more:
Step 7: Display the Instagram feed on your home page
The last thing to do is embed the Instagram feed on your home page (or wherever you want it to appear). There are two ways to do this.
One option is to grab the shortcode for the carousel module. You’ll find it under “Module Options” and “Title”.
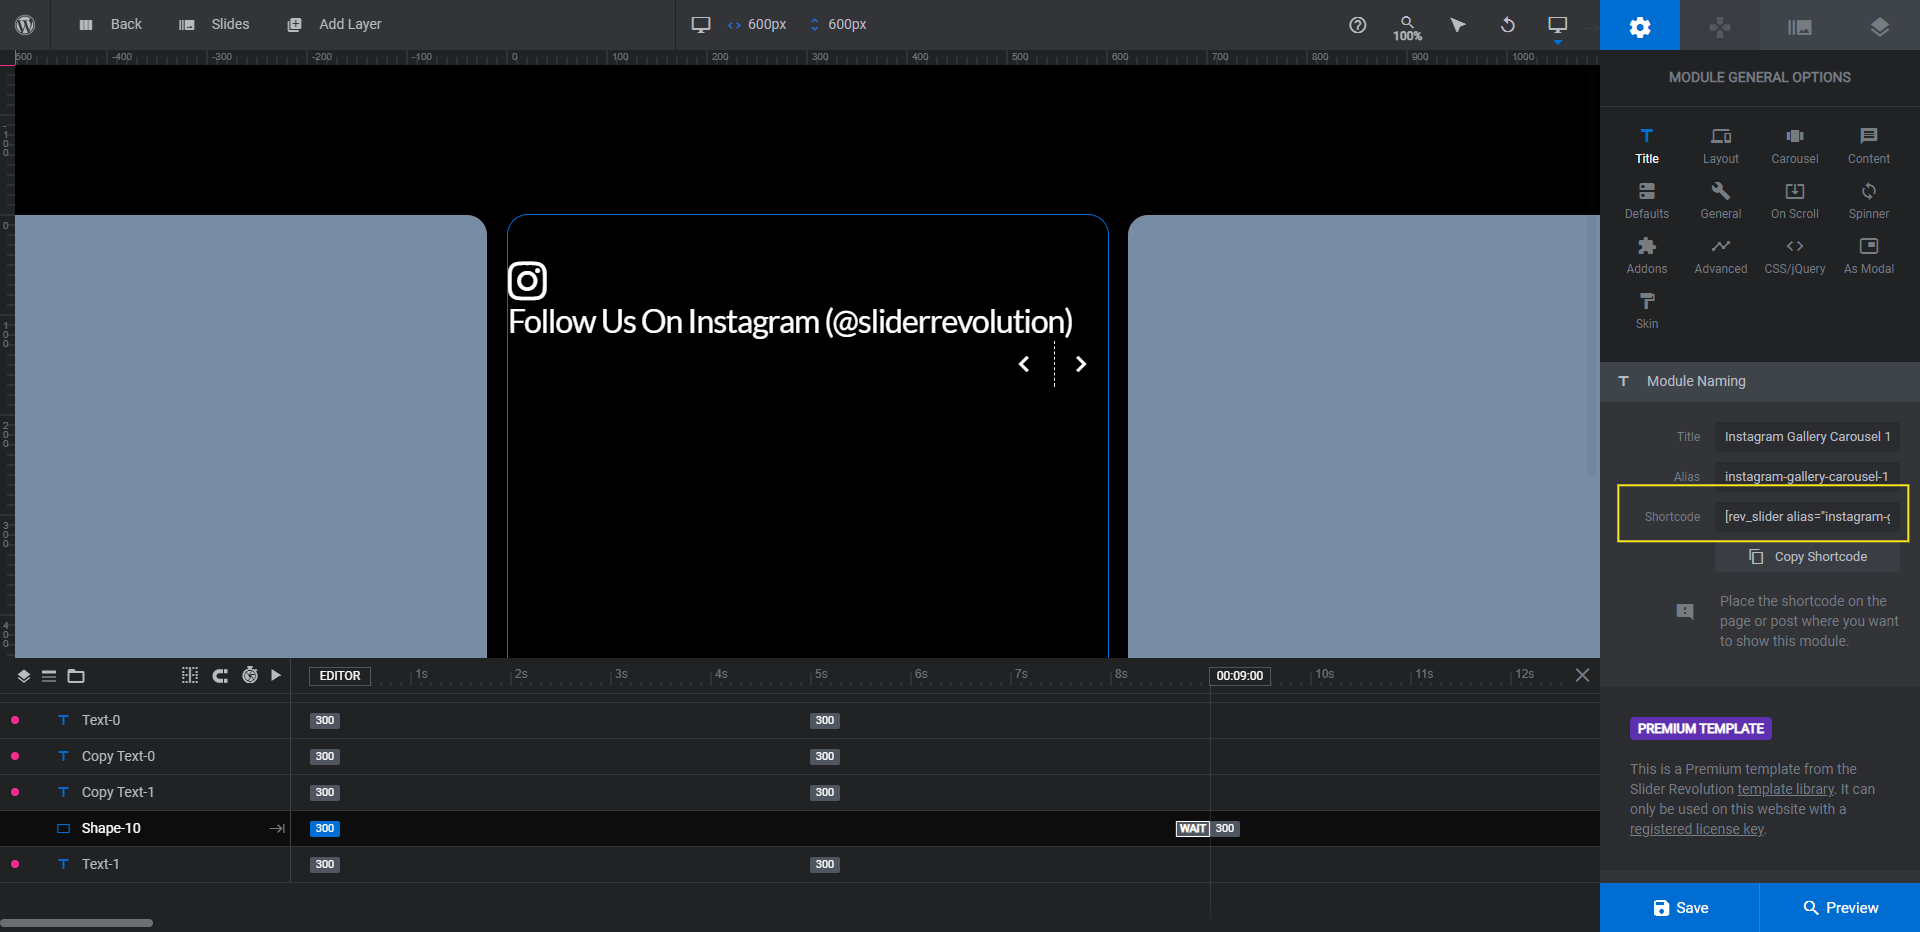
Another way to get the shortcode is to go to the Slider Revolution dashboard. Click the down-arrow in the module you just created. Then select “Embed” and copy the shortcode from there.
Then go to your WordPress page, add a shortcode block, and enter the code.
The other option depends on which page builder you’re using. If it’s something like the WordPress builder or Elementor, look for a block called Slider Revolution.
Look up the name of the module you just created. Select it to insert it into the page.
You might not be able to see an accurate depiction of what it looks like from this view. So open up the preview of the page to confirm it’s all good. When you’re done, save your changes and publish the update to the site.
Learn more:
Put a unique spin on your embedded Instagram feed
Rather than display your Instagram feed using a WordPress plugin that makes it looks like everyone else’s, take a unique approach to the layout and style of it. With the Instagram Gallery Carousel template package, you have four different styles to choose from and an easy-to-use editor to fully customize the one you pick.

