

Table of Contents
- Introduction
- The Dedicated “Slider Revolution 6” Widget
- Create a Page and Edit with Elementor
- Add a “Slider Revolution 6” Widget
- Displaying Web Fonts in the Elementor Editor
- After Adding the Widget
- Applying the Blank Page Template
Introduction
Slider Revolution [?]
Slider Revolution is a website content creation tool with a focus on captivating animation and stunning visual effects.
It began its life as a plugin for creating slideshows, but has evolved into a fully fledged piece of design software. and Elementor work together seamlessly. You can take content you’ve created in the Module Editor [?]
The "Module Editor" is the tool used to create & modify modules.
Through this visual, drag & drop, no-code interface you can add various types of layers, animation and special FX to your modules, as well as managing slides and configuring options. and integrate it into your Elementor pages in just a few clicks.
Let’s learn how.
The Dedicated “Slider Revolution 6” Widget
If you’ve used Slider Revolution and Elementor together in the past, or perhaps followed some older tutorials, you might have used a shortcode to place a module [?]
A module in Slider Revolution acts as a container for slides, which in turn act as containers for layers. Modules are created and edited with the module editor.
A "module" is a single, self contained piece of content. You can think of this as being similar to the way a post or page in regular WordPress is a self contained piece of content.
A module can represent any kind of content Slider Revolution is capable of creating, such as a slider, carousel, hero unit, navigation menu, posts display and so on.
Multiple modules can be combined to form rich content such as complete sites and landing pages. into your layout.
You can still use a shortcode if you want to, but you no longer have to. That’s because you can instead use the dedicated Slider Revolution 6 widget for Elementor.

This widget is available in both the free and pro versions of Elementor.
Let’s take a look at how to add a Slider Revolution module using the Elementor widget, and what you can do with the widget after you add it.
Create a Page and Edit with Elementor
Note: This tutorial assumes you already have both Slider Revolution and Elementor installed on your WordPress site before you begin.
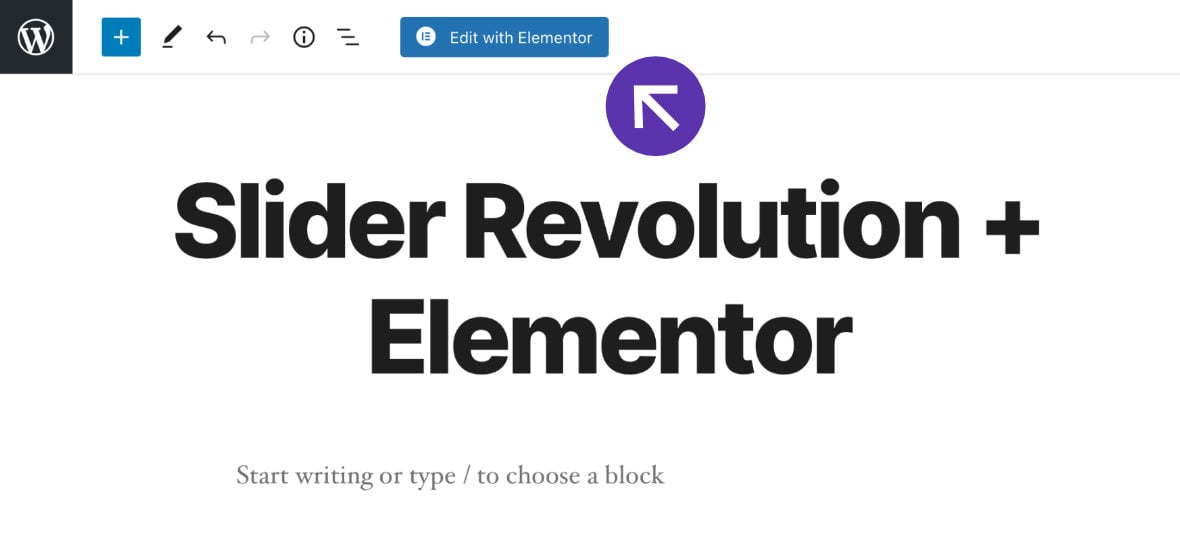
Start by creating a new page in WordPress, and give it any title you like. Then click the blue Edit with Elementor button, located in the top toolbar, to switch into Elementor editing mode.
Add a “Slider Revolution 6” Widget
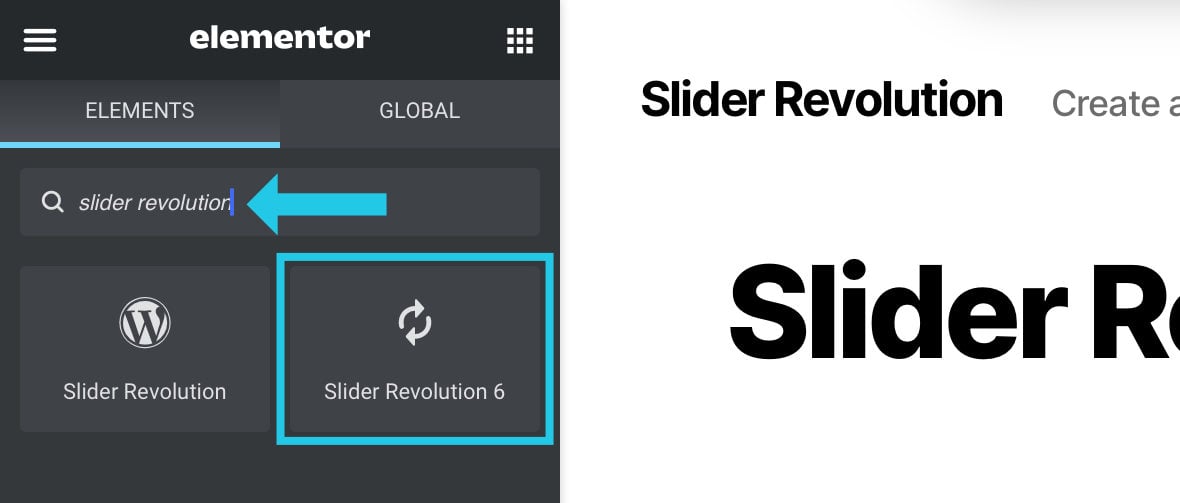
There are a few widgets that can be used to add a Slider Revolution module, but the one we are going to focus on is titled “Slider Revolution 6”.
You can find the widget in either of two ways. The first way is to search in the box at the top of the left sidebar:
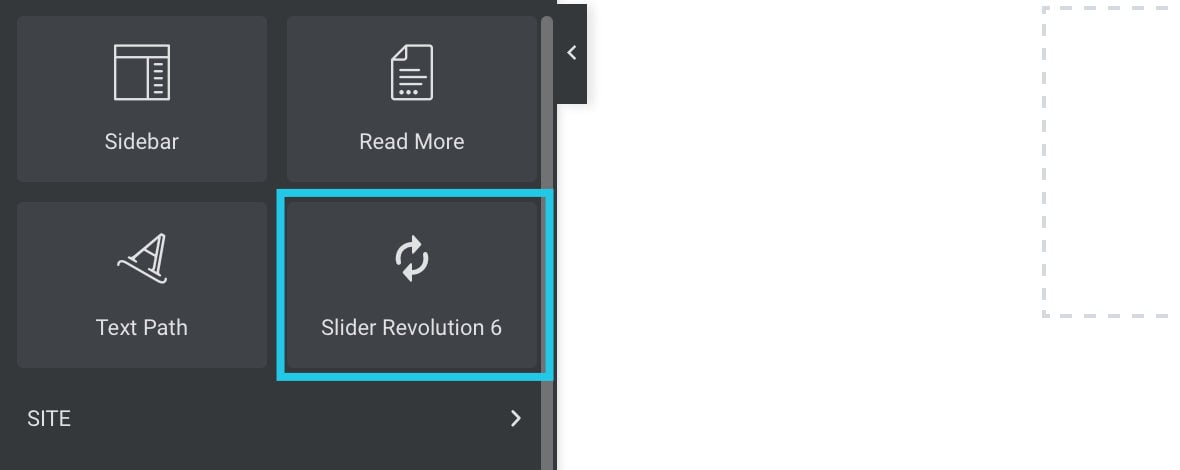
The second way is to go directly to the widget at the end of the “General” category of widgets, which is below the ”Pro” category and above the “Site” category:
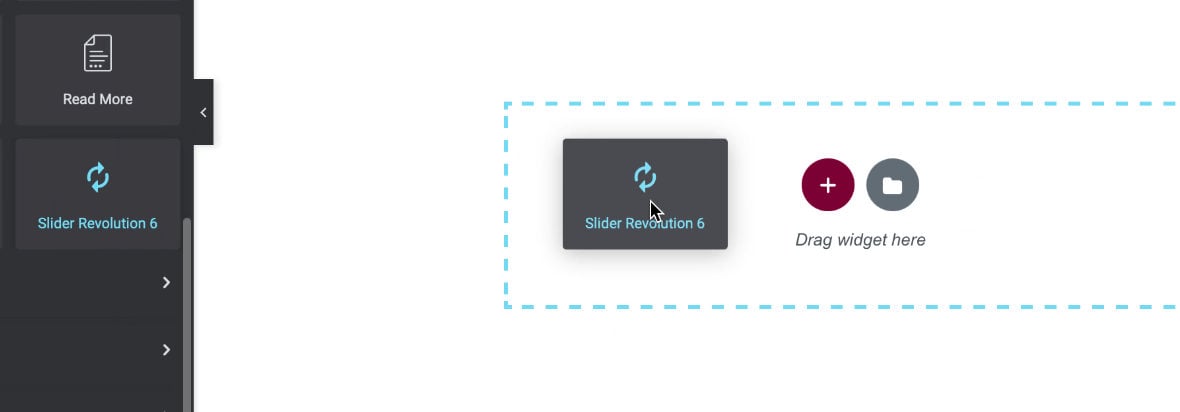
Once you find the widget, drag and drop it onto the page, into one of the blue outlined widget areas:
After you drop the widget Slider Revolution’s module selection window will appear. From here you can select the module you want to use, and click its thumbnail to insert it into your page:
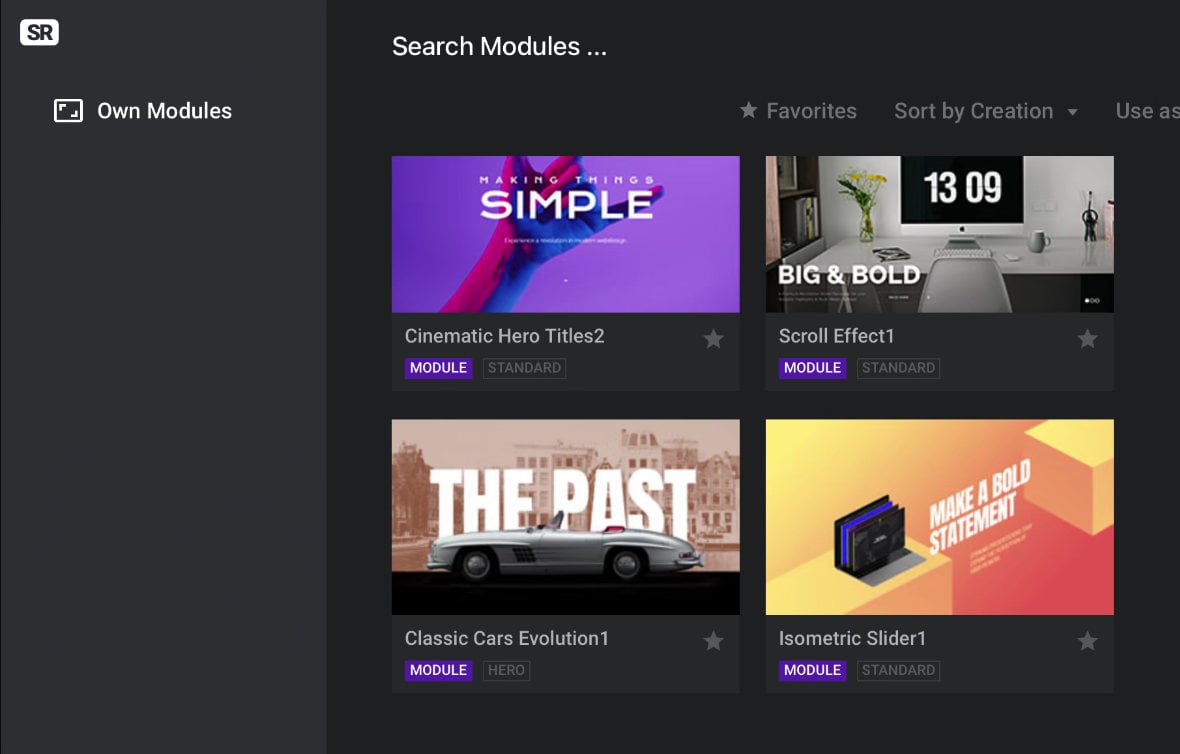
The module selection window will then close and you’ll see the module appear in your page:
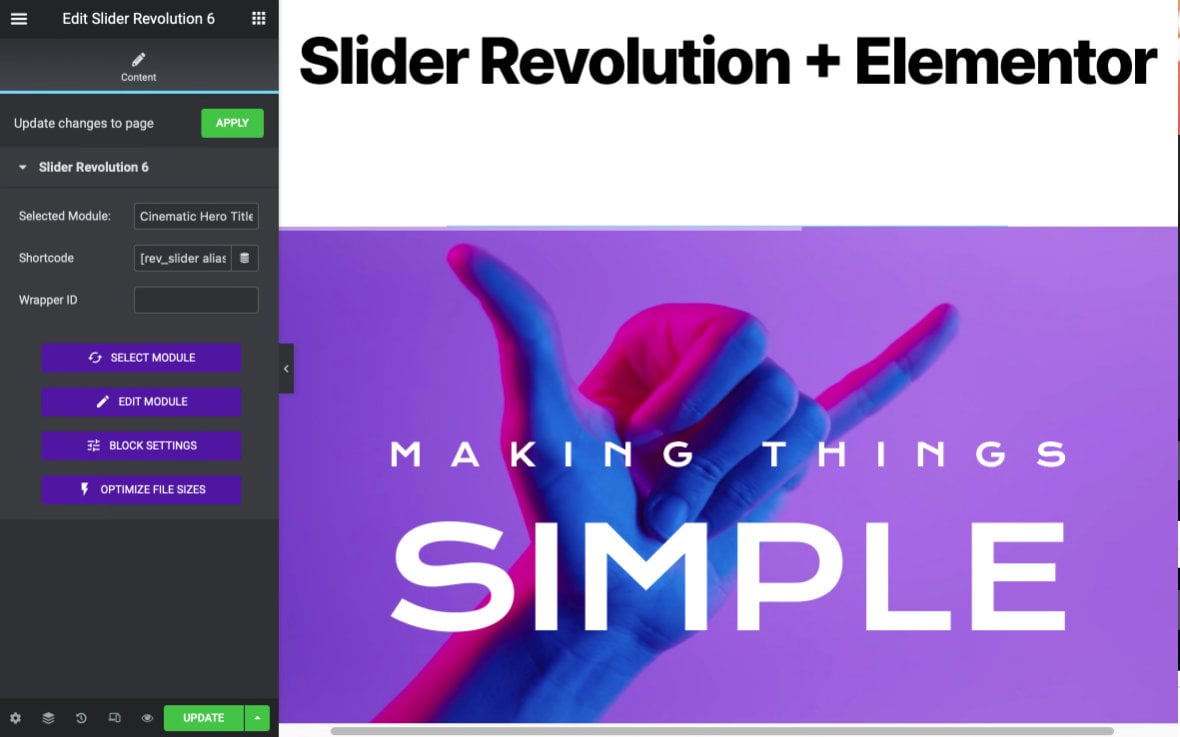
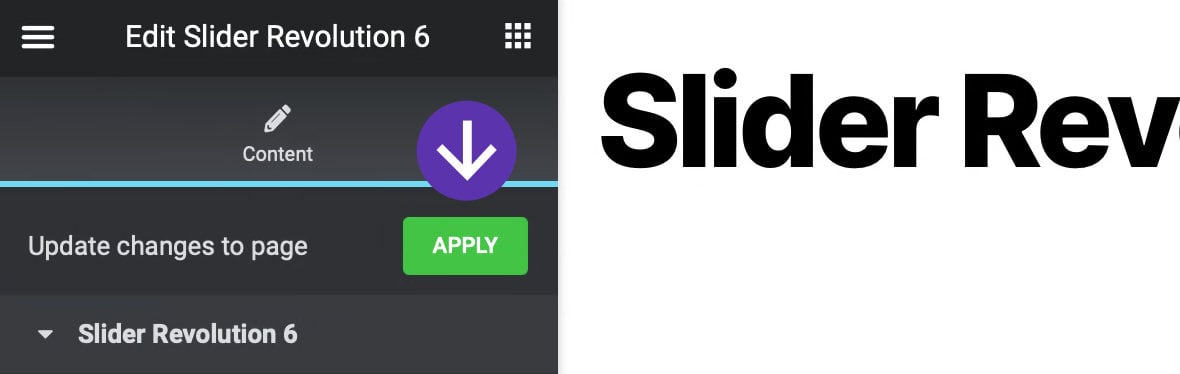
Apply your changes by clicking the green APPLY button near the top of the left sidebar:
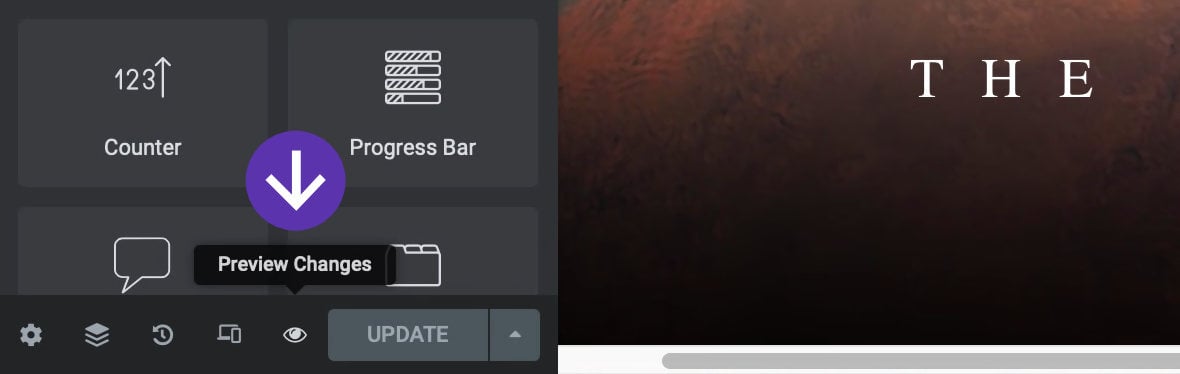
And you can then preview the page by clicking the small eye icon at the bottom of the left sidebar:
Displaying Web Fonts in the Elementor Editor
You might notice when you add a module into an Elementor page that web fonts may not load, displaying fall back fonts instead.
If this is the case don’t worry, it’s only in the Elementor editing area that this happens – you should see the correct fonts when you preview your page.
However, you can also make the correct fonts appear within the Elementor editor by enabling local font caching in Slider Revolution’s global settings:
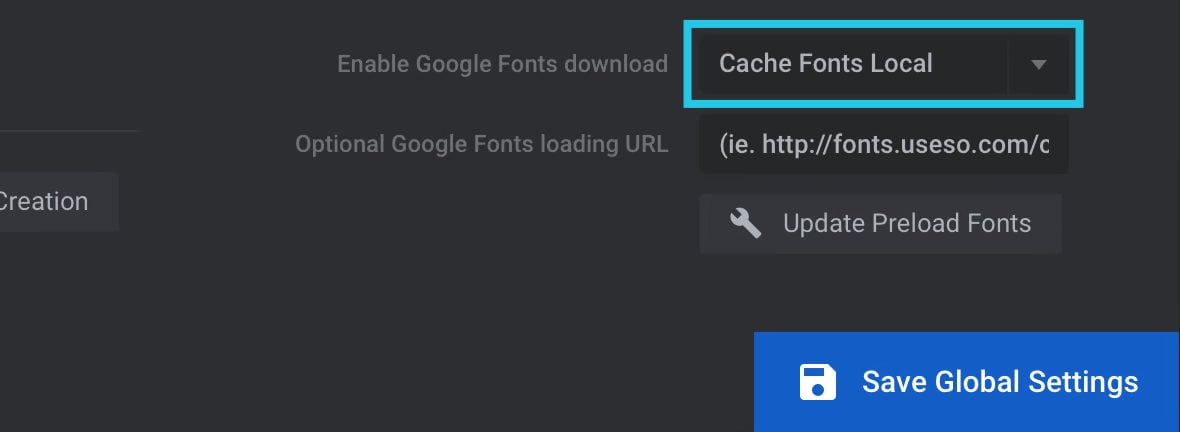
After enabling local font caching, make sure to visit your module in the module editor, (or refresh it if you already have it open), in order to get the required fonts into your local cache.
Then refresh your Elementor editing area and you should see the correct fonts displayed in your module.
After Adding the Widget
After adding the widget you’ll see it has some helpful extras you can work with:
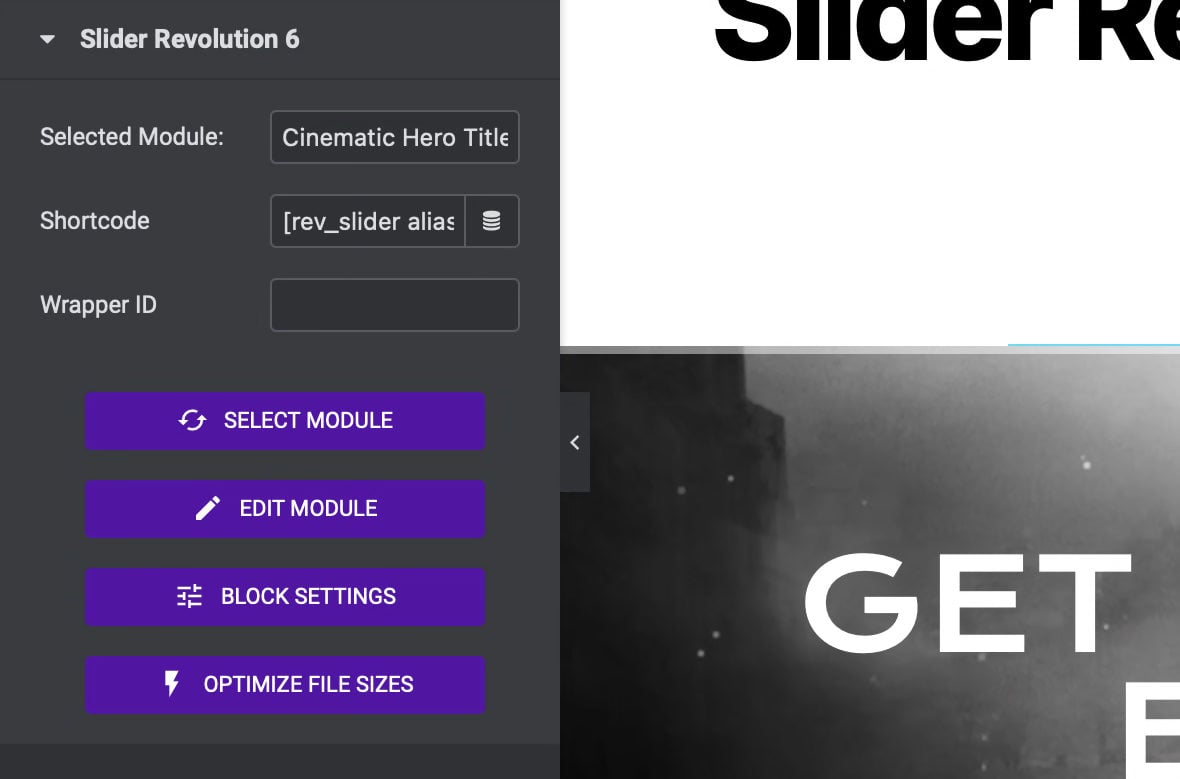
The items you’ll use most commonly are the four purple buttons stacked on the bottom. Let’s see what each one does.
Select Module Button
Click the SELECT MODULE button and the module selection window will reopen, allowing you to replace the module with a different one:

Edit Module Button
Click the EDIT MODULE button to jump directly into the module editor and make changes to the selected module:

Block Settings Button
Click the BLOCK SETTINGS button to open the block settings dialogue box and modify things like module layout and block offsets:

You can read more about block settings in the Editing Block Settings section of our manual guide on adding modules to a page.
Optimize File Sizes Button
Click the OPTIMIZE FILE SIZES button to launch the file size optimizer window and compress your module’s files into their most efficient form.

You can read more about what this tool does in our article on the File Size Optimizer.
Applying the Blank Page Template
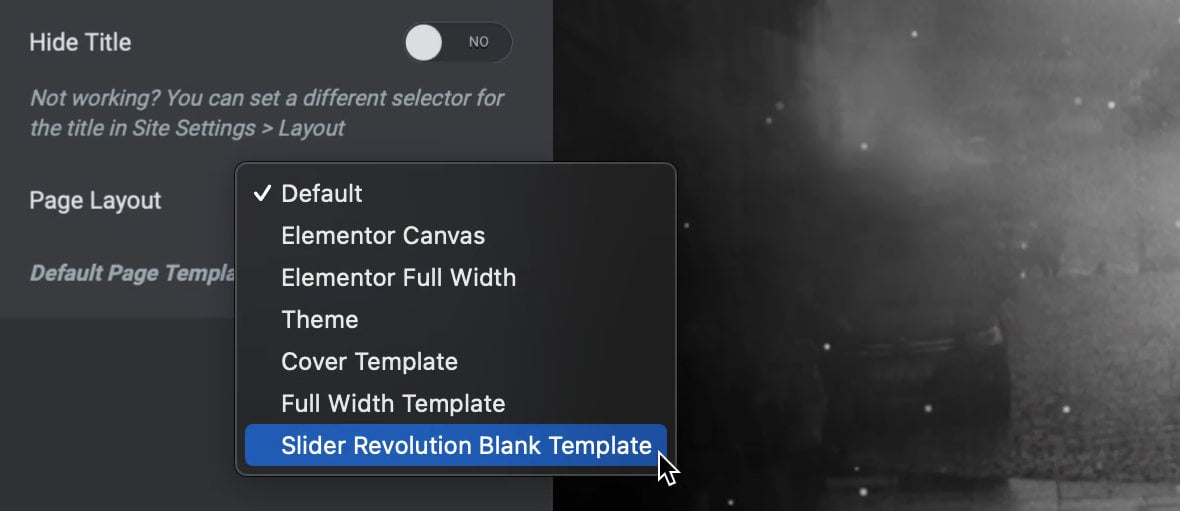
You can use the “Slider Revolution Blank Template” to hide the default elements of your theme, so the only visible elements on the page are widgets you add through Elementor.
You can read more about this in our guide Hide Theme Elements via Blank Page Template.
To apply the “Slider Revolution Blank Template” click the gear icon at the bottom of the left sidebar:

Then open the Page Layout dropdown and select “Slider Revolution Blank Template” from the list.
Wrapping Up
As you can see, the “Slider Revolution 6” widget for Elementor makes it fast and seamless to use these two creative powerhouse tools side by side.
Be sure to check out our Manual, FAQ tutorials and Video Tutorials to learn more about what you can create with Slider Revolution.


Hi Kezz,
I have a problem importing sliders from one website to a Elementor Cloud Website, both sides with Premium license. Any advise?
Hi there,
Thanks for your message. Looks like we’d need to have one of our technicians in our support center to investigate. Contact us over at our support center at https://support.sliderrevolution.com or by email at [email protected] and a member of our team can investigate this for you asap!
Thanks!
Cheers, KC @ Slider Revolution
Thanks for the info, this was very helpful
Ive tried for 6 hours to get the slider to work. Never an issue in Wp Bakery page Builder, easy as can be. I see it in elementor backend but not on live site, tablet or phone.
Hello,
thanks for contacting us! Your request requires one of our support agents to have a closer look.
In order to give our clients the best support possible, we are having a support ticket system reachable via the link below.
Please use it for your upcoming questions concerning one of our products. This will guarantee the fastest answer possible. Support requests here cannot be answered unfortunately. Thank you!
Please use our ticket systems over at:
https://support.sliderrevolution.com
Cheers Dirk @ Slider Revolution